Objective
To create an SQL datasource by entering database connection information.
Procedure
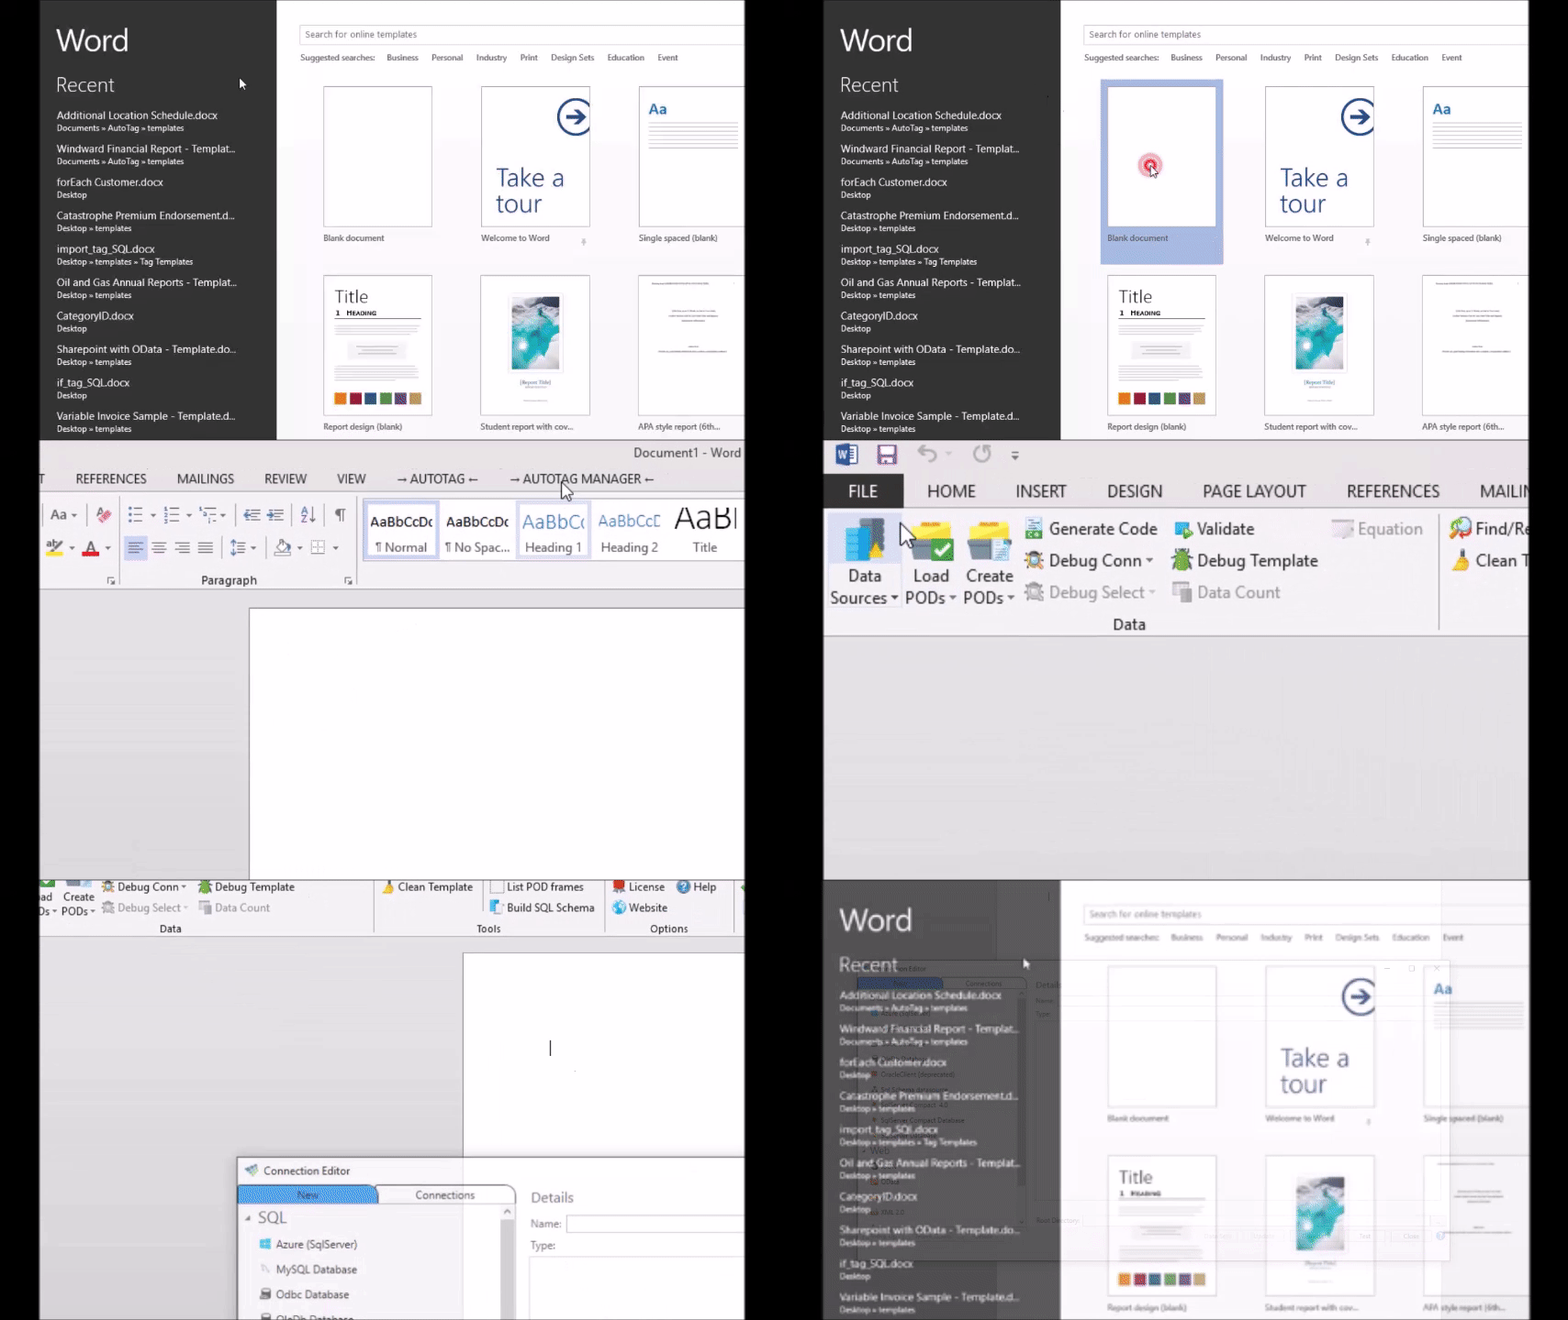
1. Click the "Datasources" button
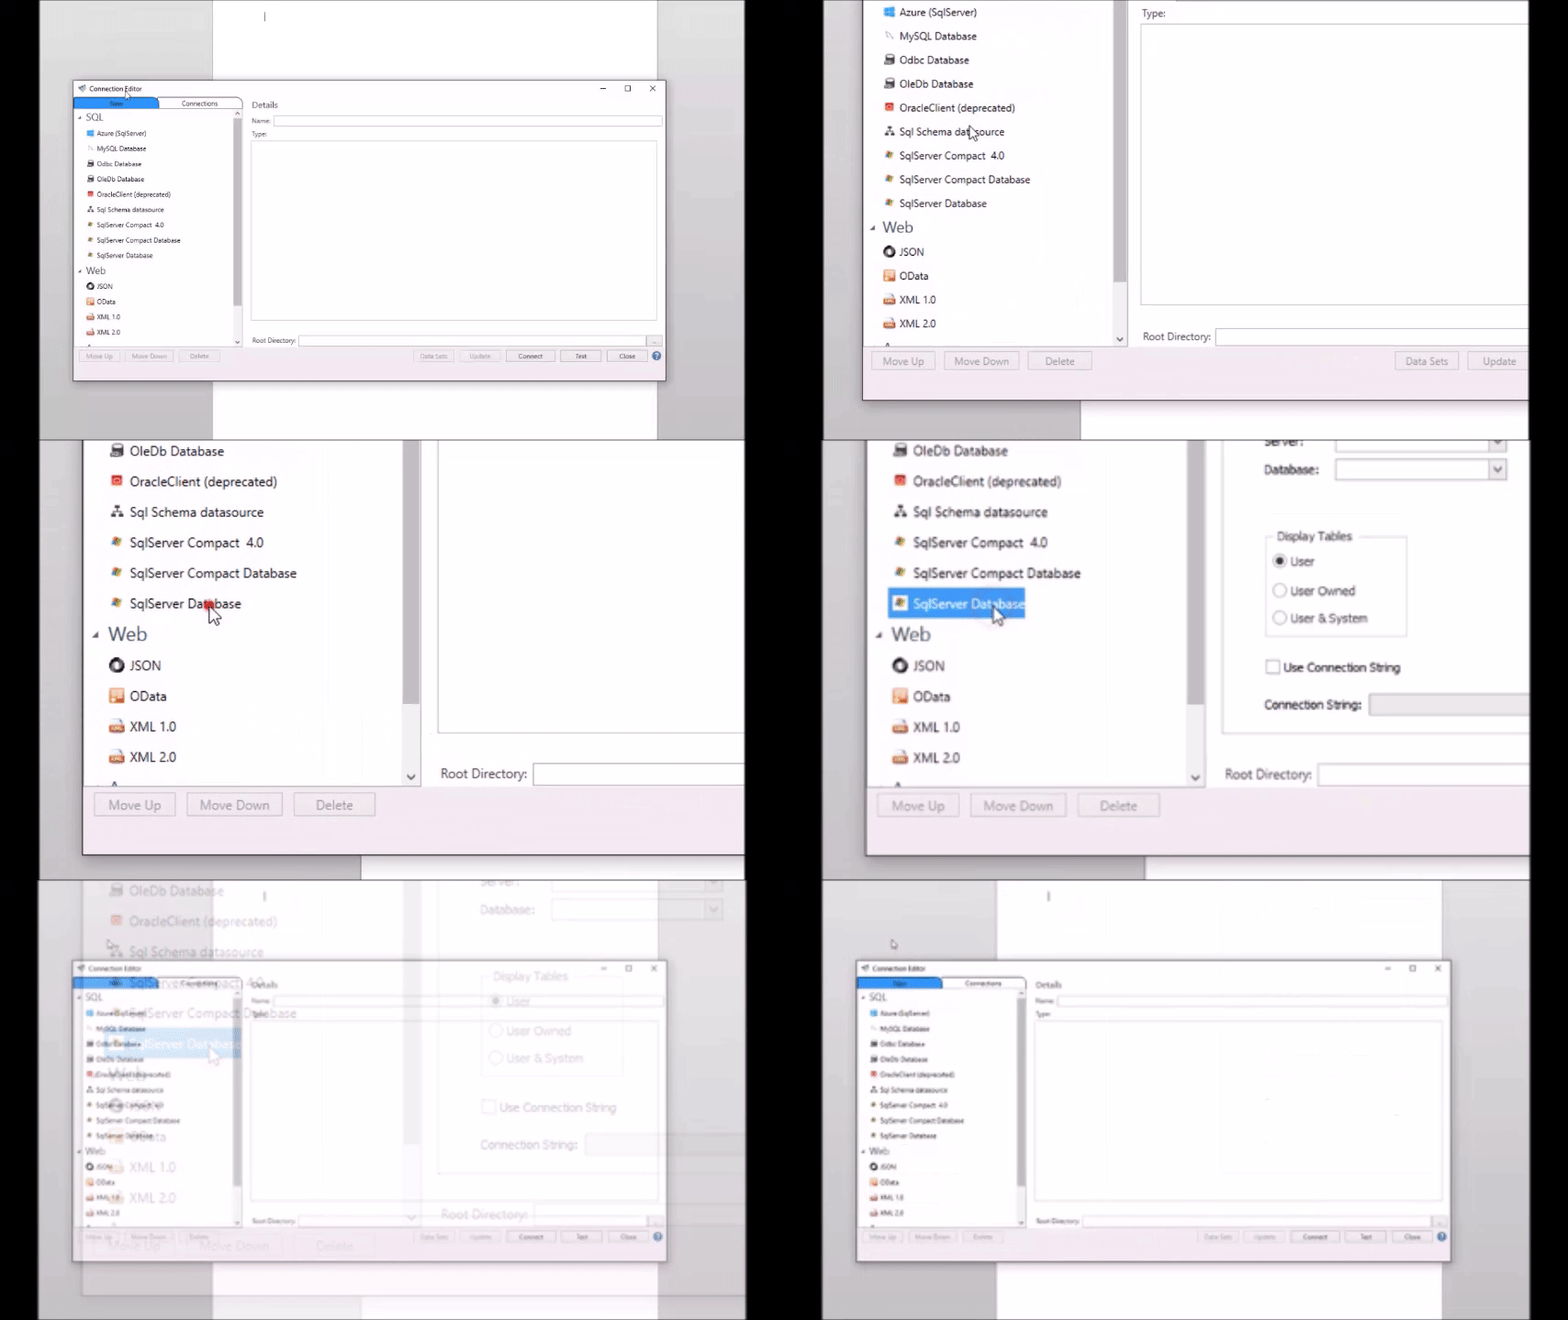
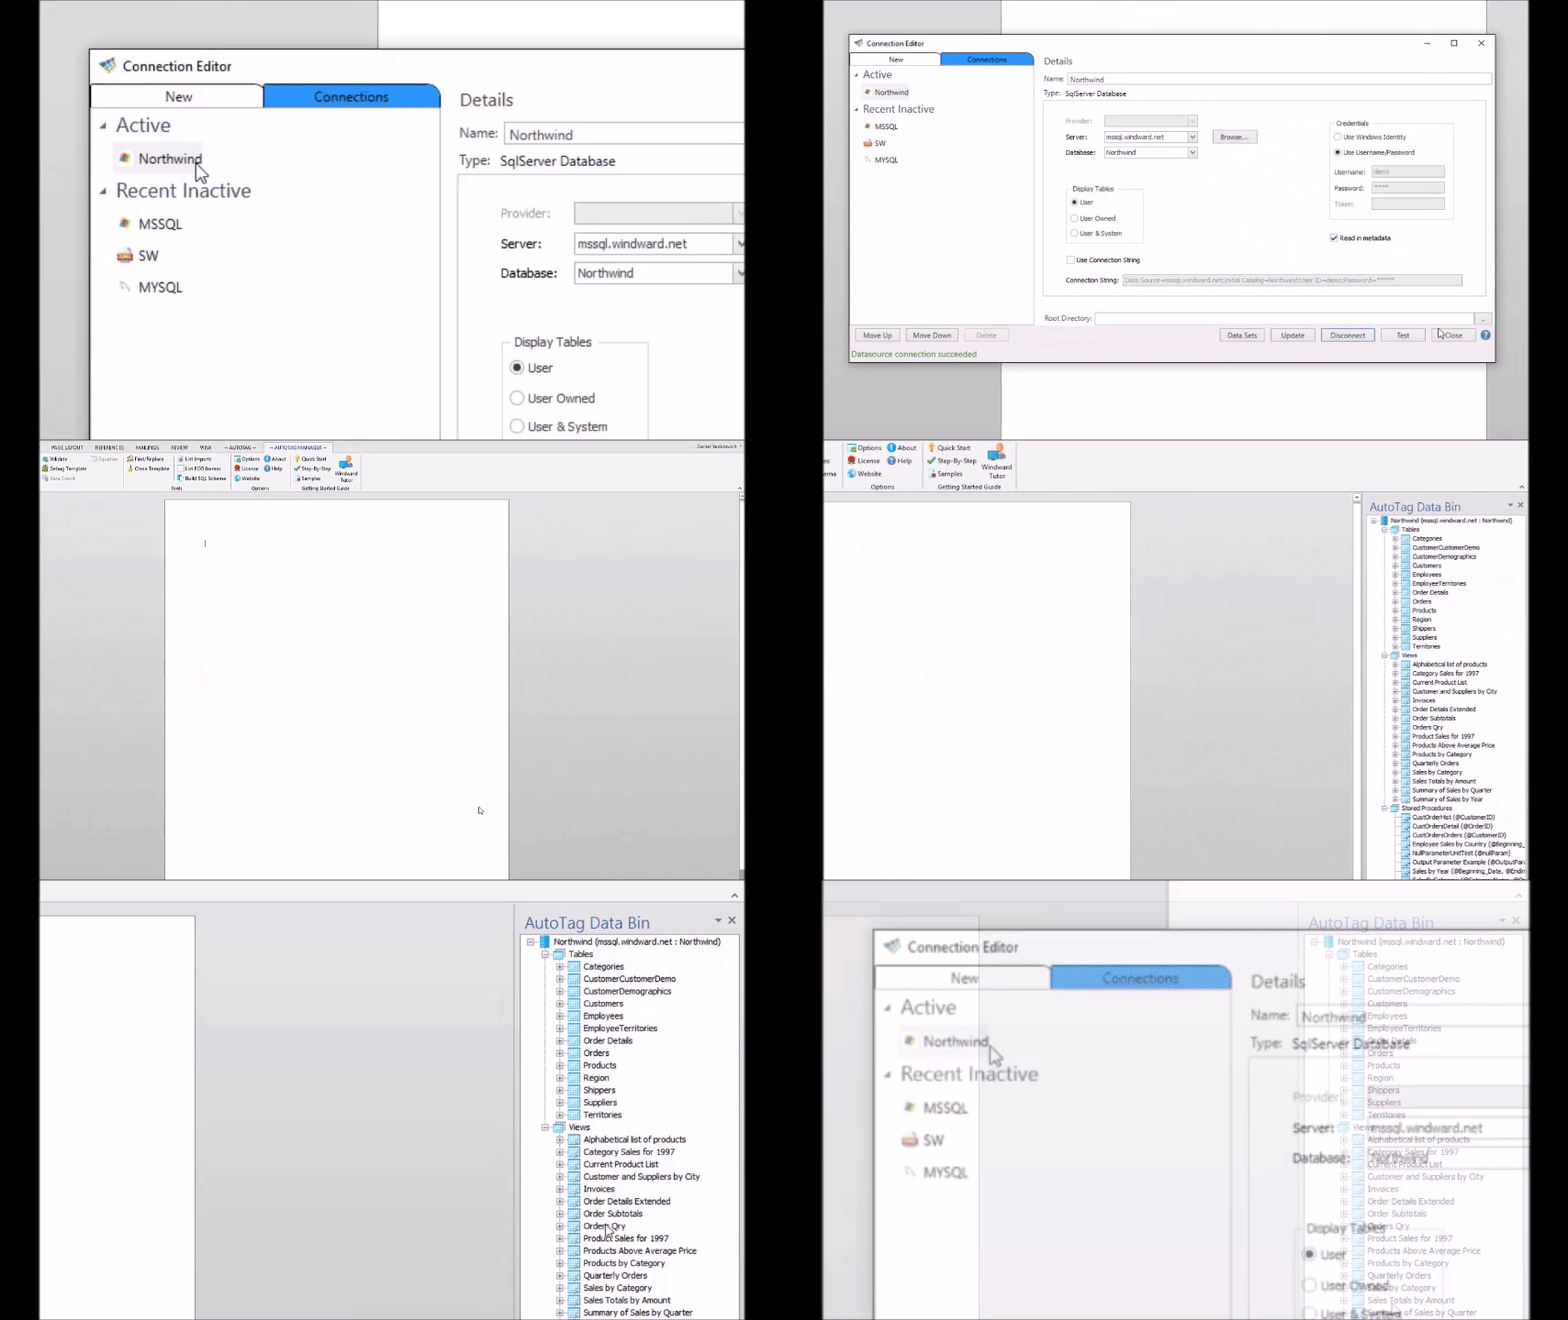
Click the Data Sources button on the AutoTag Manager ribbon. This will open theConnection Editor window.
2. Select a Vendor
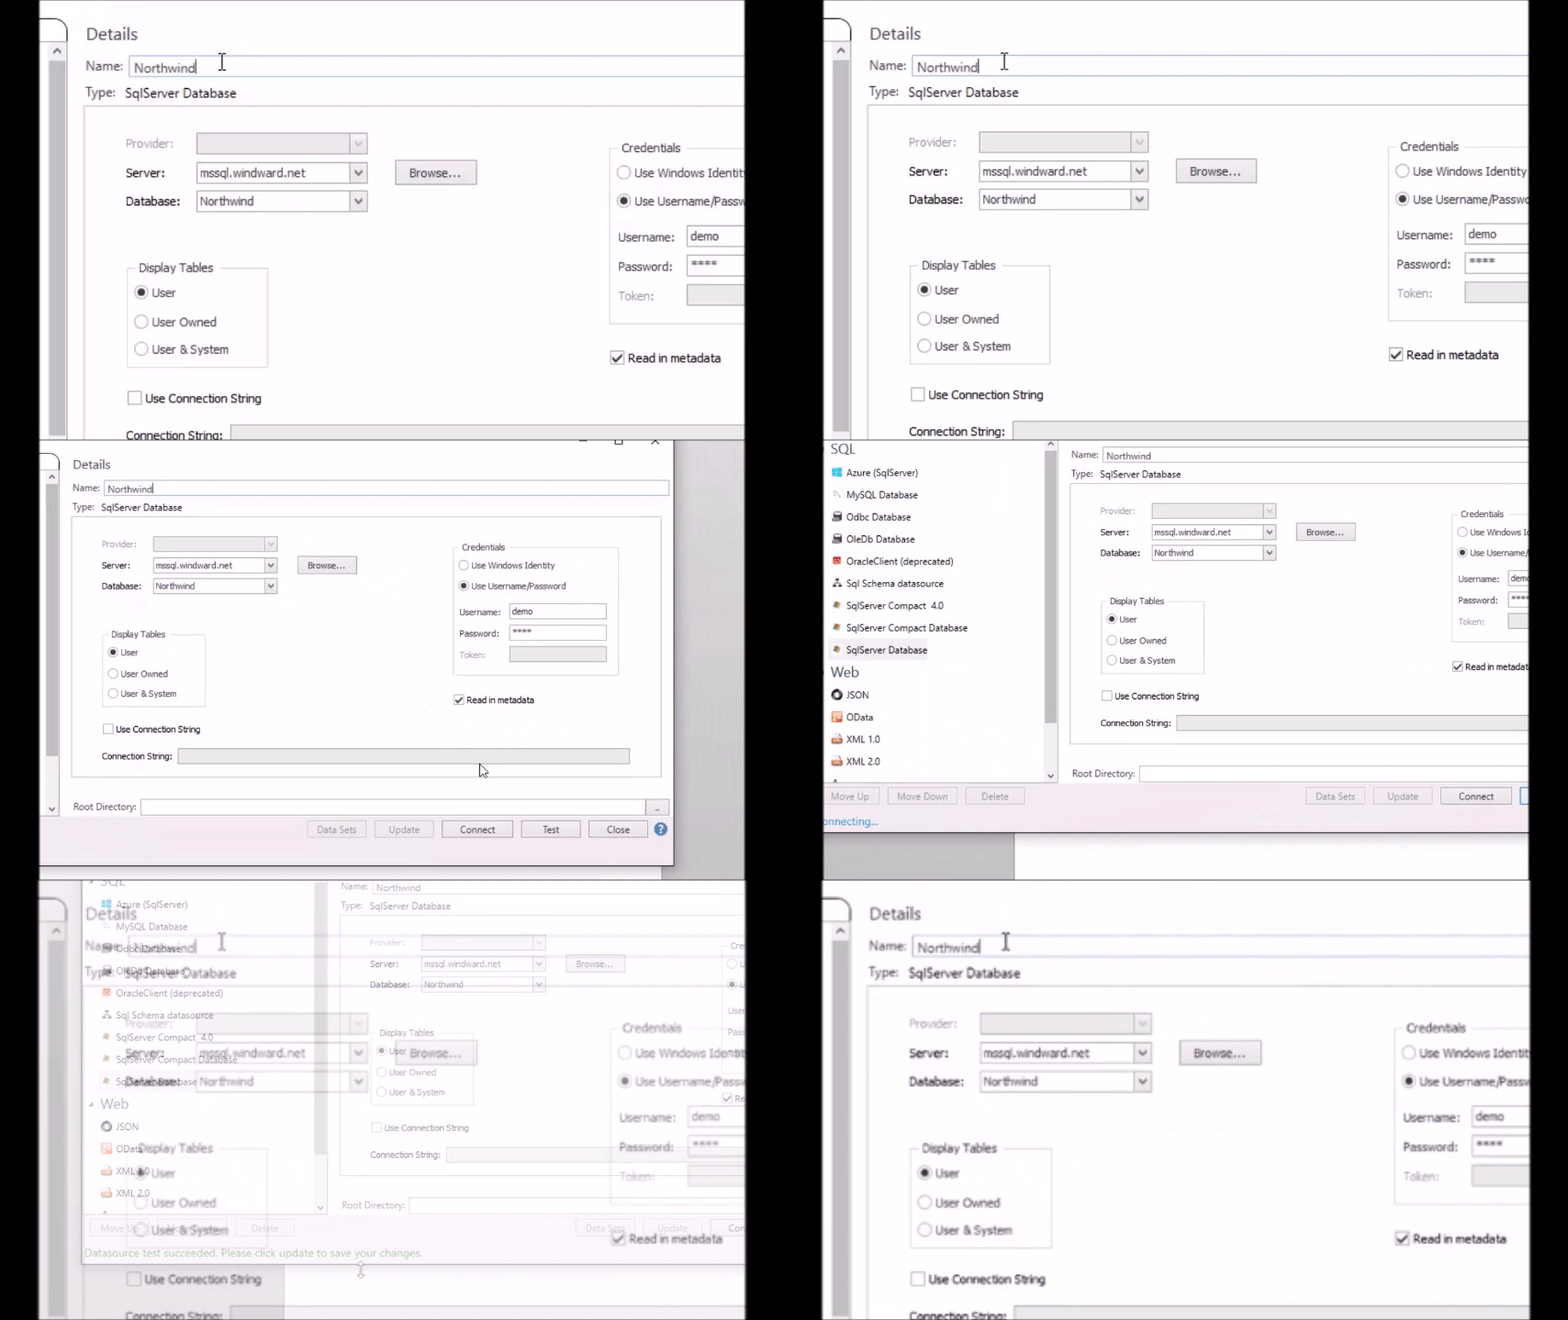
Select your data vendor here. For this example, we'll be using a Microsoft SQL Server, which is listed as "SqlServer Database." Take a look at the other options to find your data vendor's name.
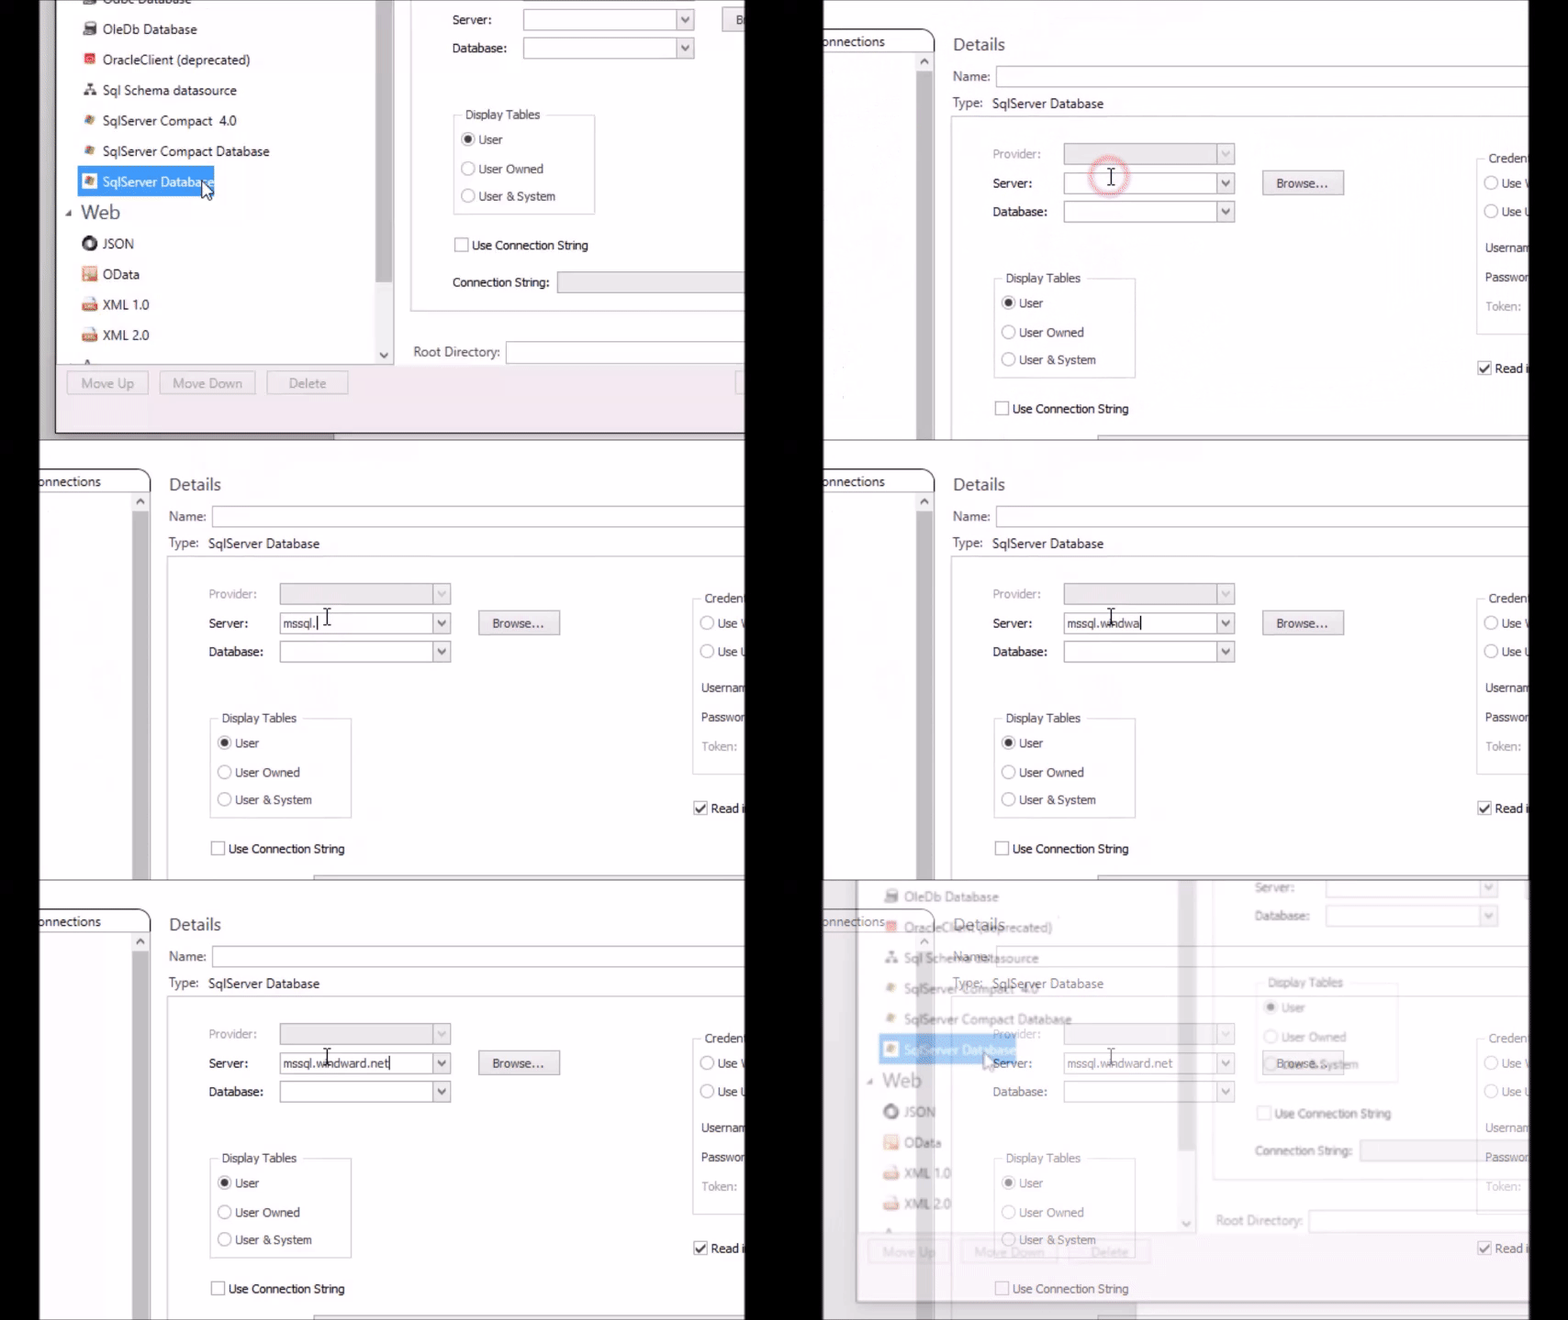
3. Input Your Database Address
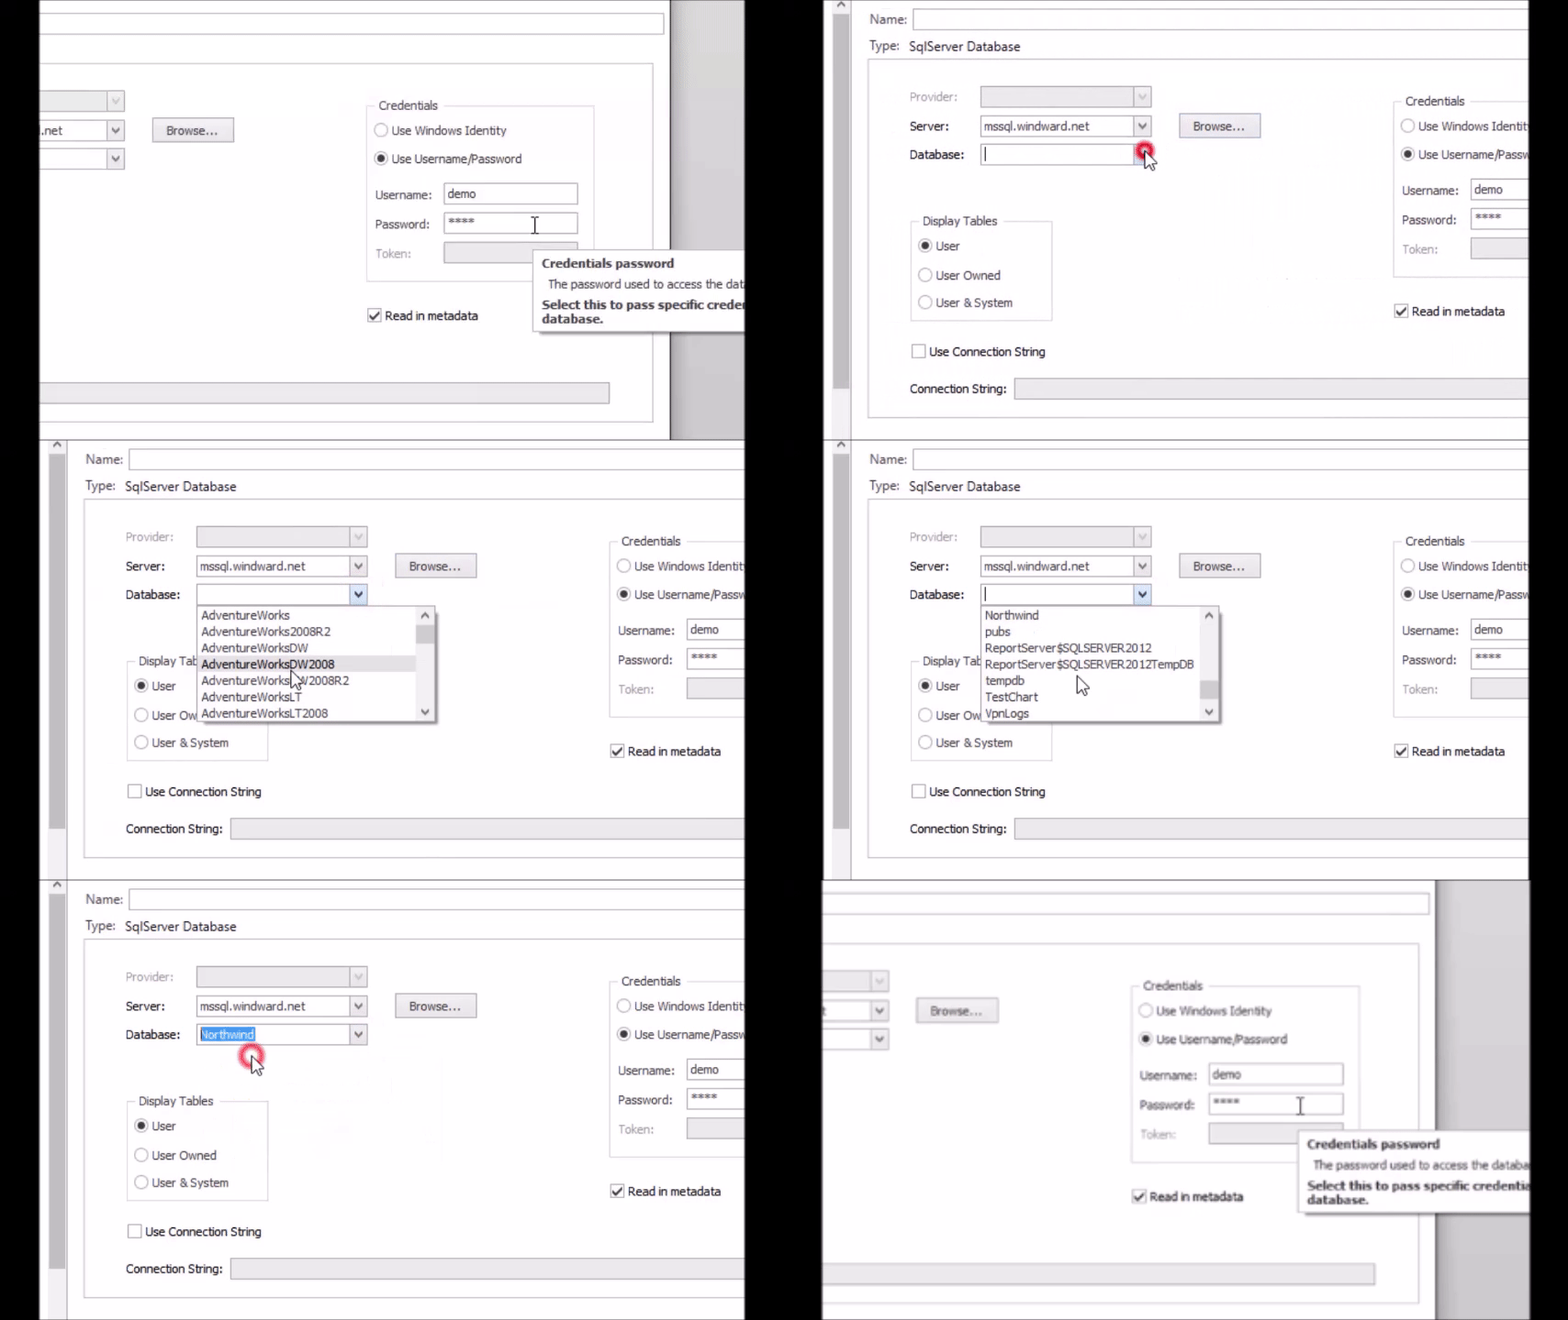
For this example, we'll be using "mssql.windward.net"
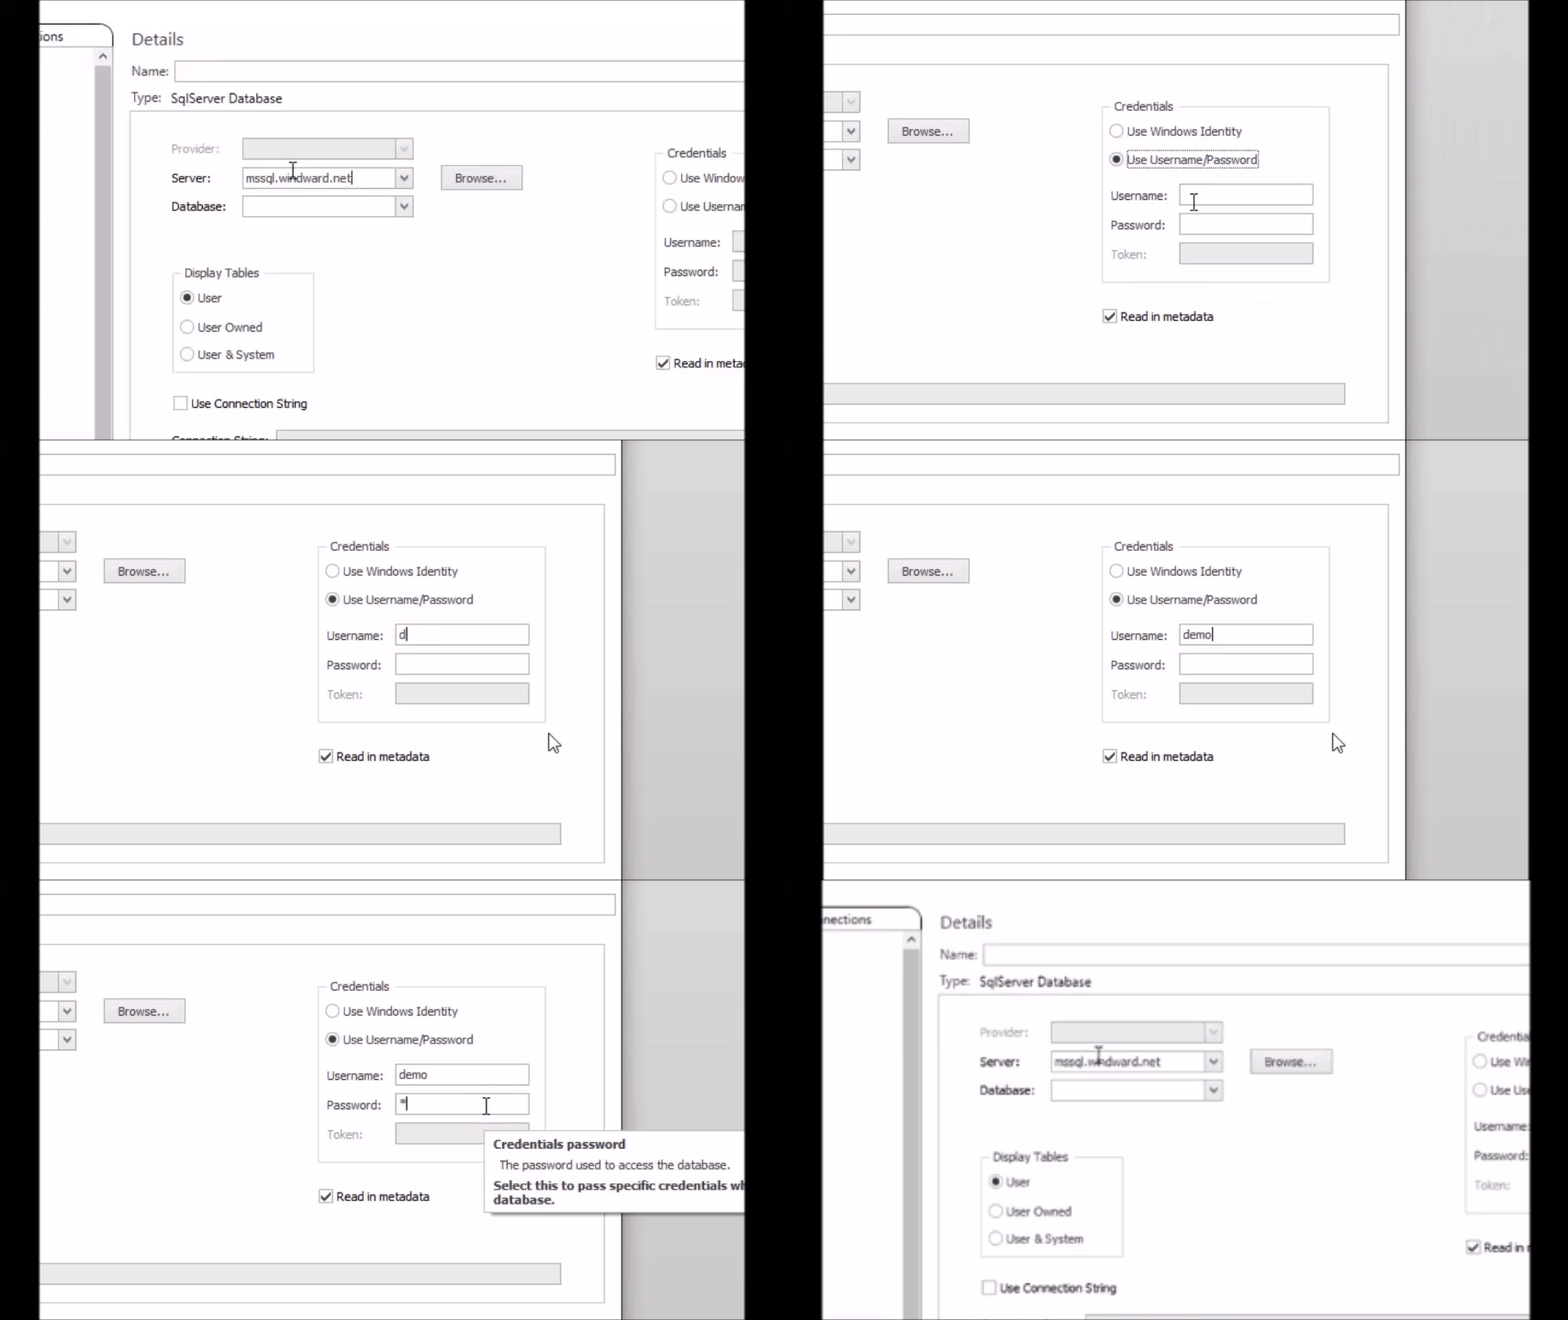
4. Input Credentials (if required)
If your database requires it, enter your credentials in the "Credentials" section, or select "Use Windows Identity." For Windward's sample databases, the username and password are both "demo"
5. Select a Database
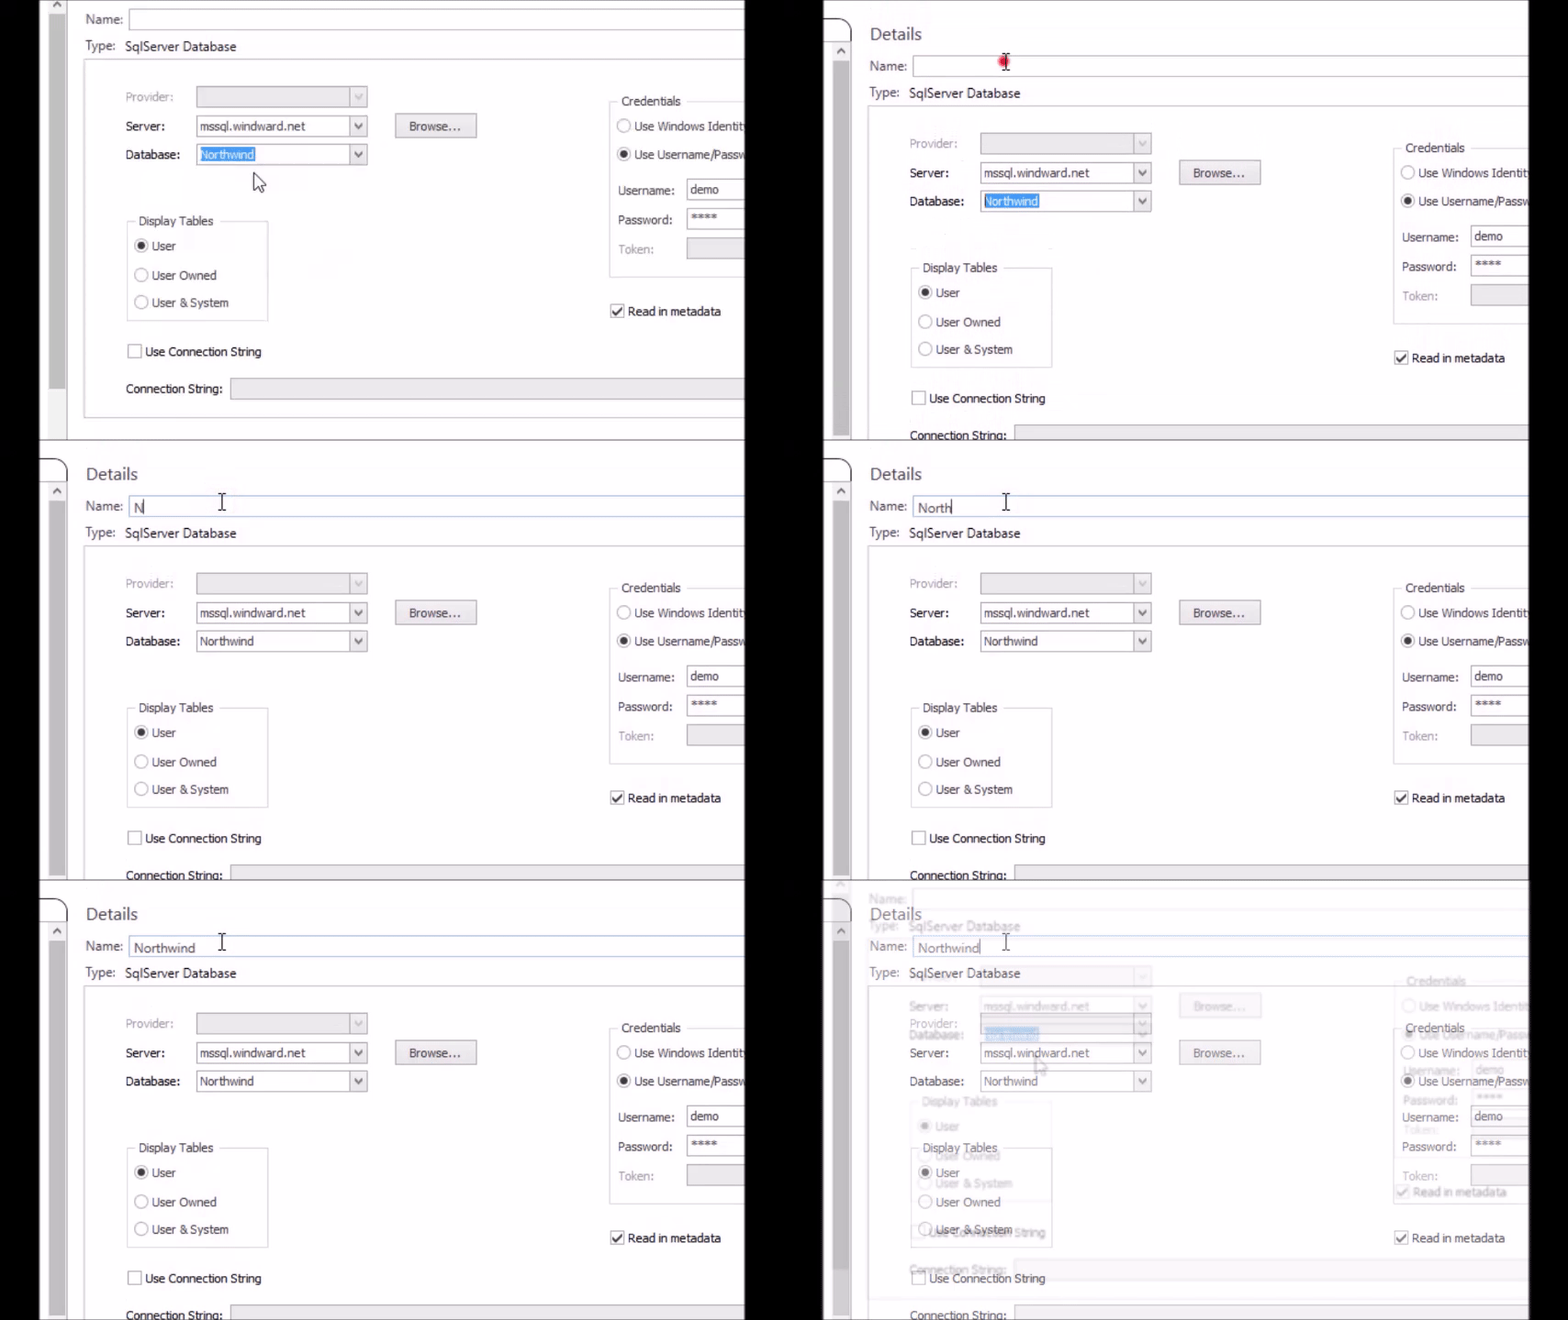
Type in (or select) the name of your database in the "Database" field. If the server address given in step 4 was correct, the database should be listed in the dropdown box. If you have been following along with the example information given, select the database "Northwind."
6. Name It
Give your datasource a name in the name bar at the top of the window. This is to identify it later on when putting data in a template, or in case you want to use the datasource in future templates.
7. Test the Connection
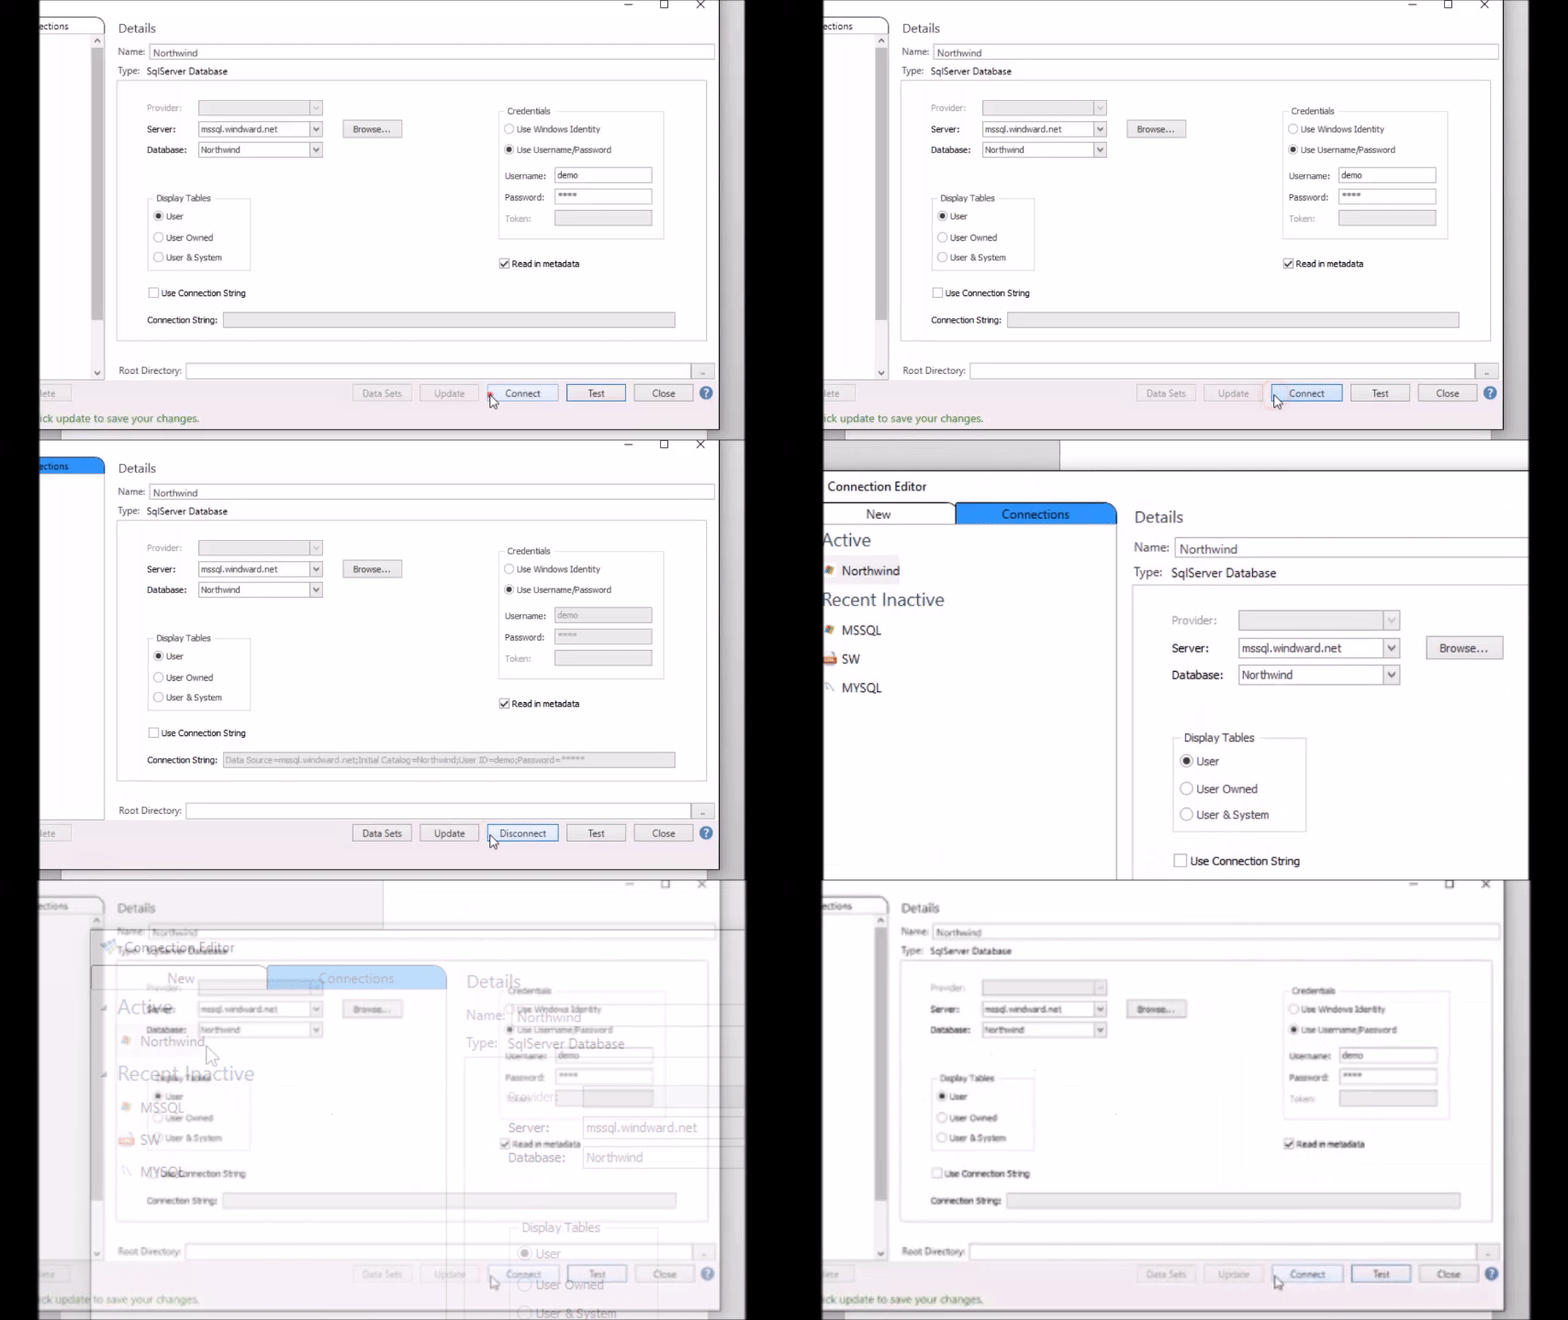
Click "Test" to test the connection. This will verify that the information you have entered is correct.
8. Click "Connect" to Add It
Your database will now be listed under “Active” in the connections tab. Click "OK" to finish. Any errors will appear at the bottom in red.
9. Verify the Data is Accessible
After adding a datasource and closing out of the Connection Editor, the data bin will automatically open. Look at the information listed in the data bin to verify your data is there. In addition, the status icon on the “Data Sources” button will turn green if all your datasources are connected correctly!
