Objective
To make links in an AutoTag document that point to web documents, or anchors within a Word document, based on location information retrieved from a database
Pre-requisites
Inserting a Tag, Connecting to your XML dataStarting Template
Before starting this tutorial, create an XML datasource using the LinksDemo.xml file (found in Documents/AutoTag/data if you installed the samples when you installed AutoTag) You can refer to the Create an XML Datasource tutorial if required.
Procedure
1. Insert Link Tag
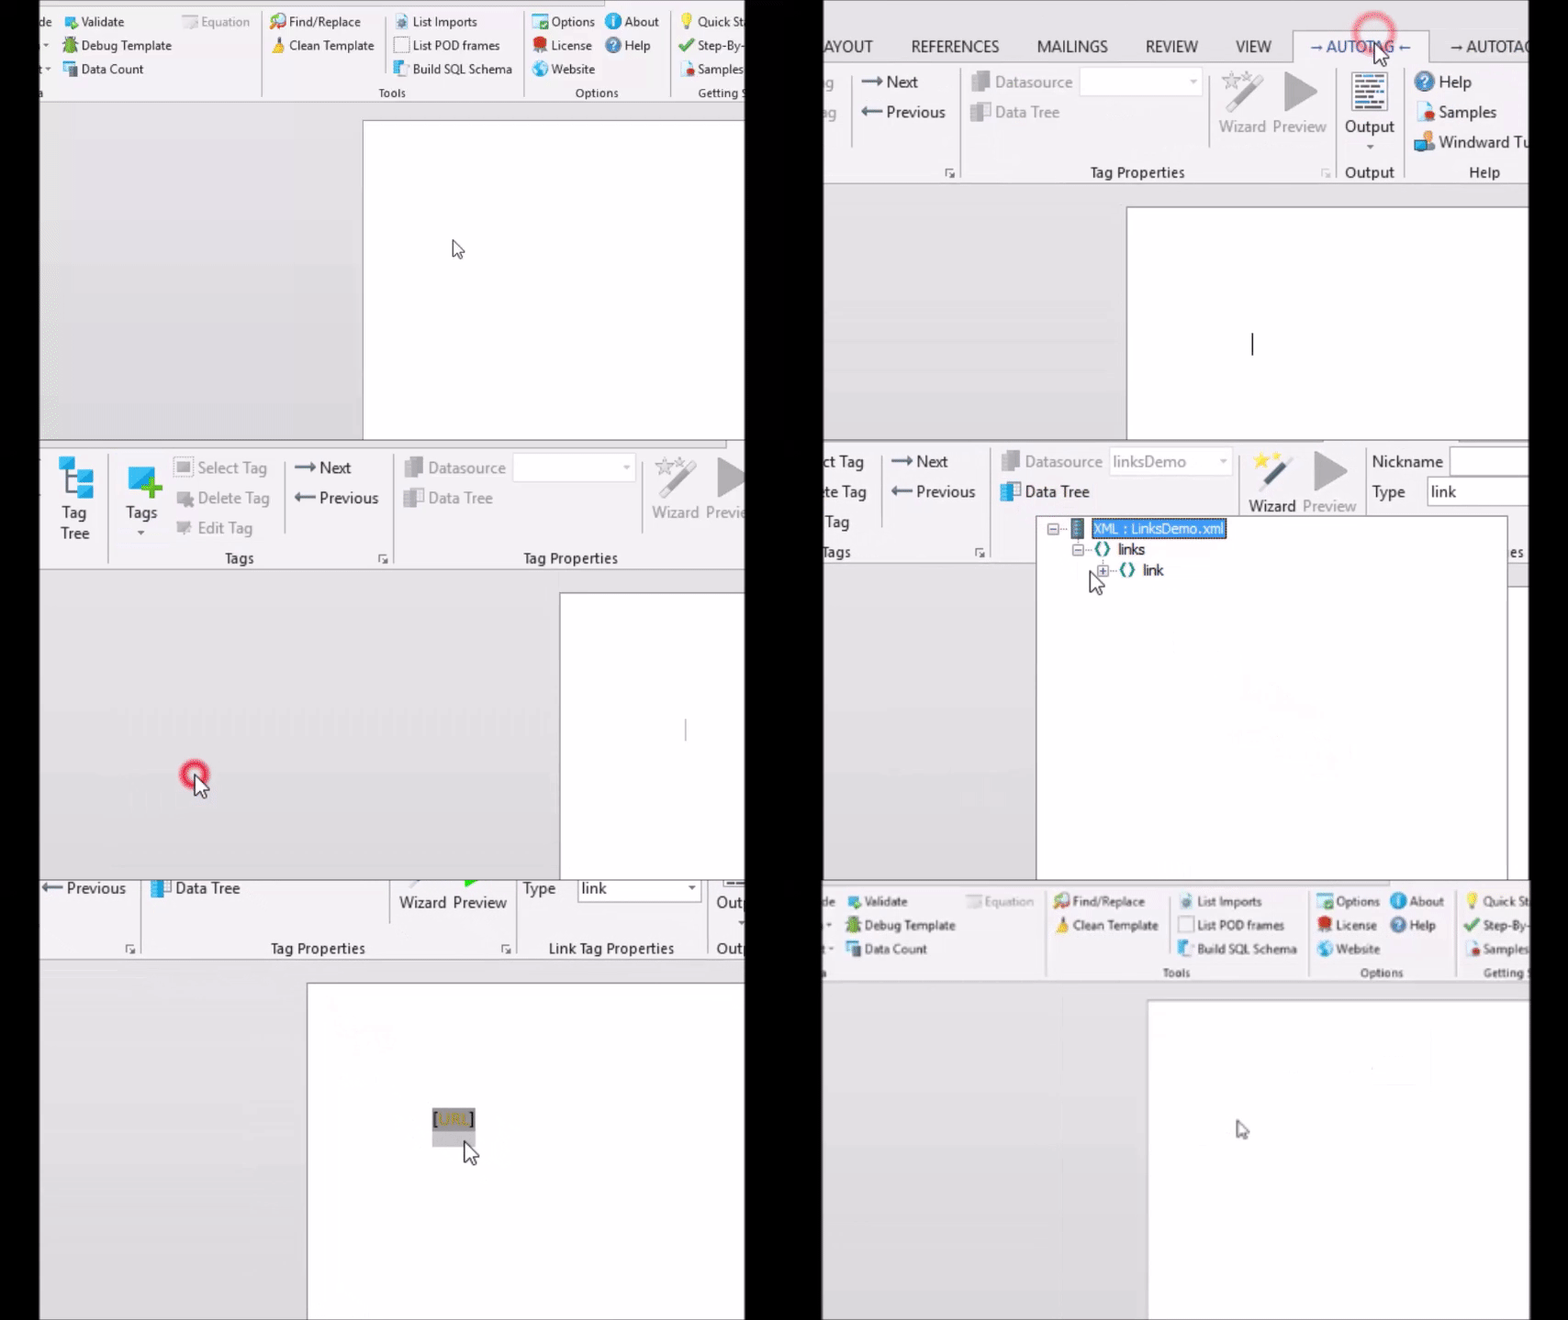
Insert a Link tag and select "URL" as its data in the "Data tree" When generated, anything between the Link tag and the End Link tag will turn into a link which points to the address retrieved from the datasource. In the Bookmark Tag tutorial, we'll go over how to use a Link tag to point to another location in a Word document.
2. Insert Out Tag
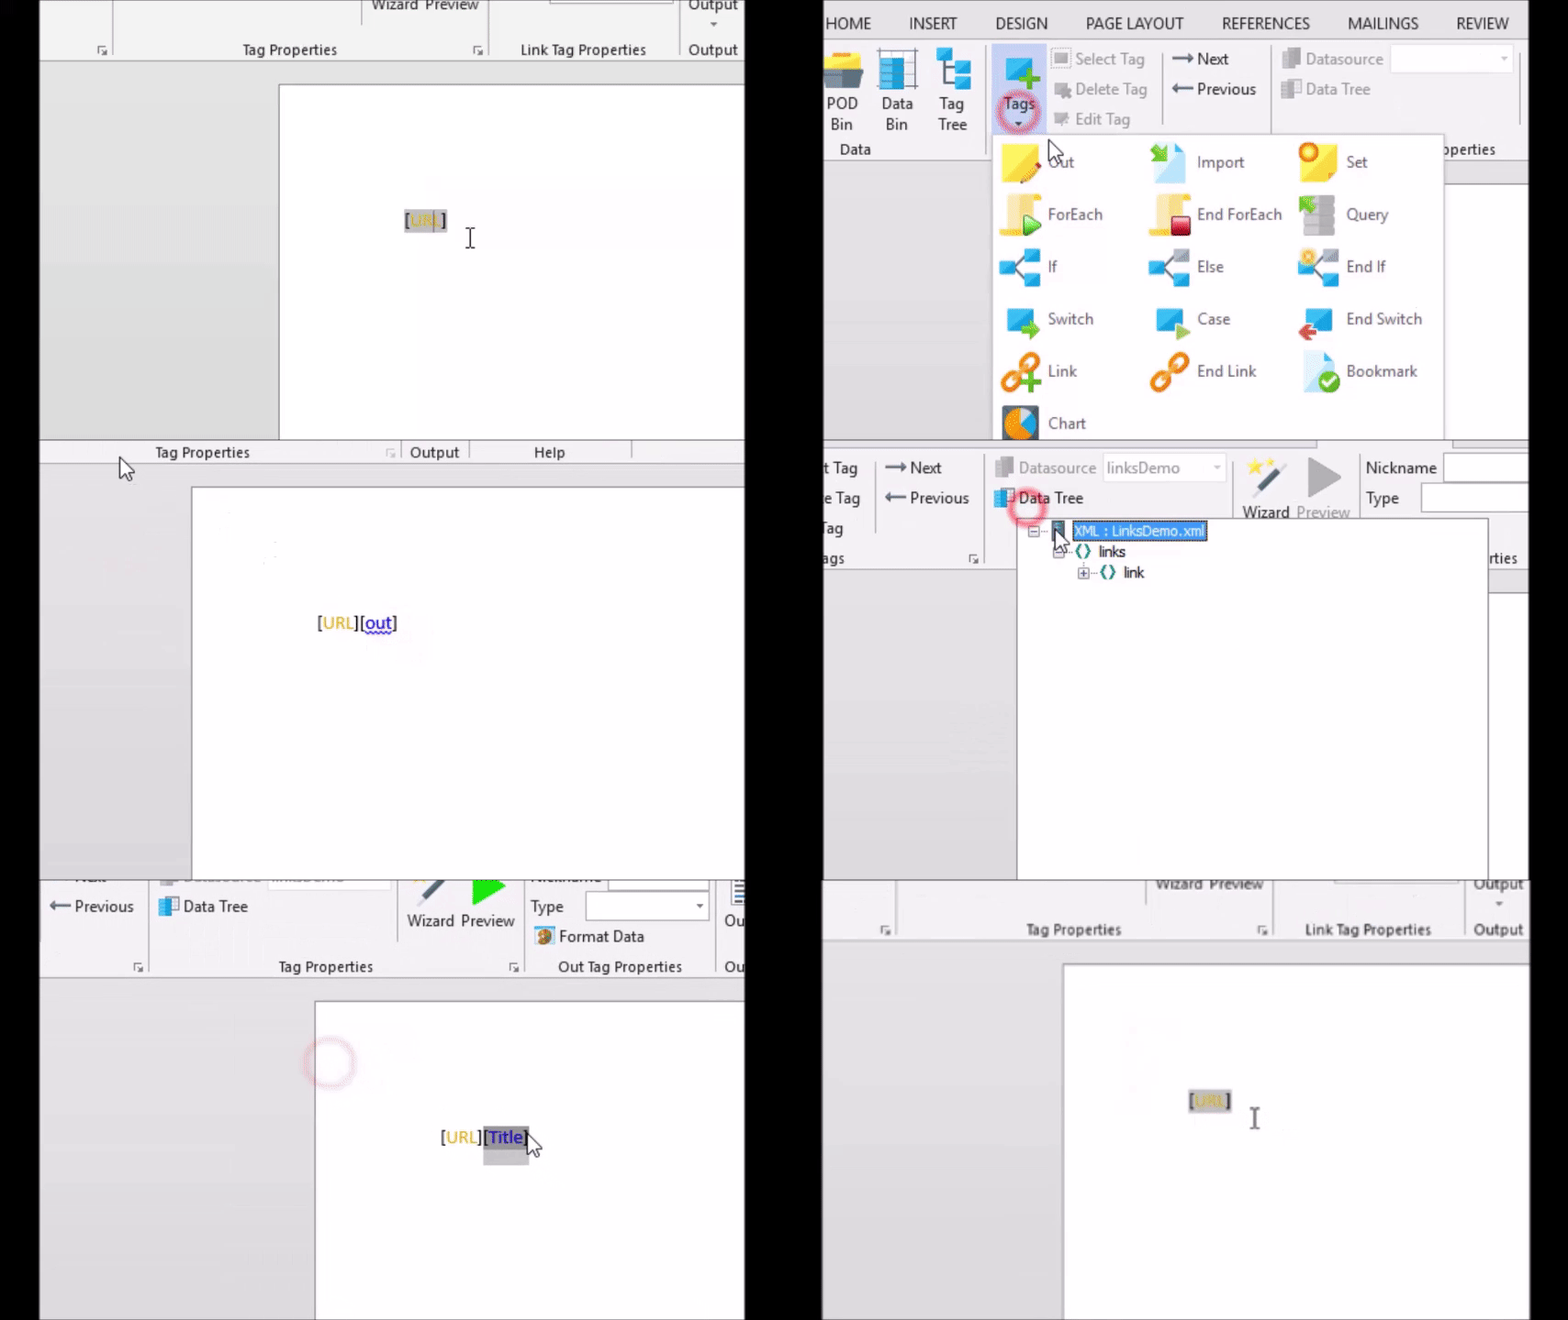
Now insert an out tag and select "Title" as it's data--this is the accompanying text that will be displayed as a link.
3. Insert End Link Tag
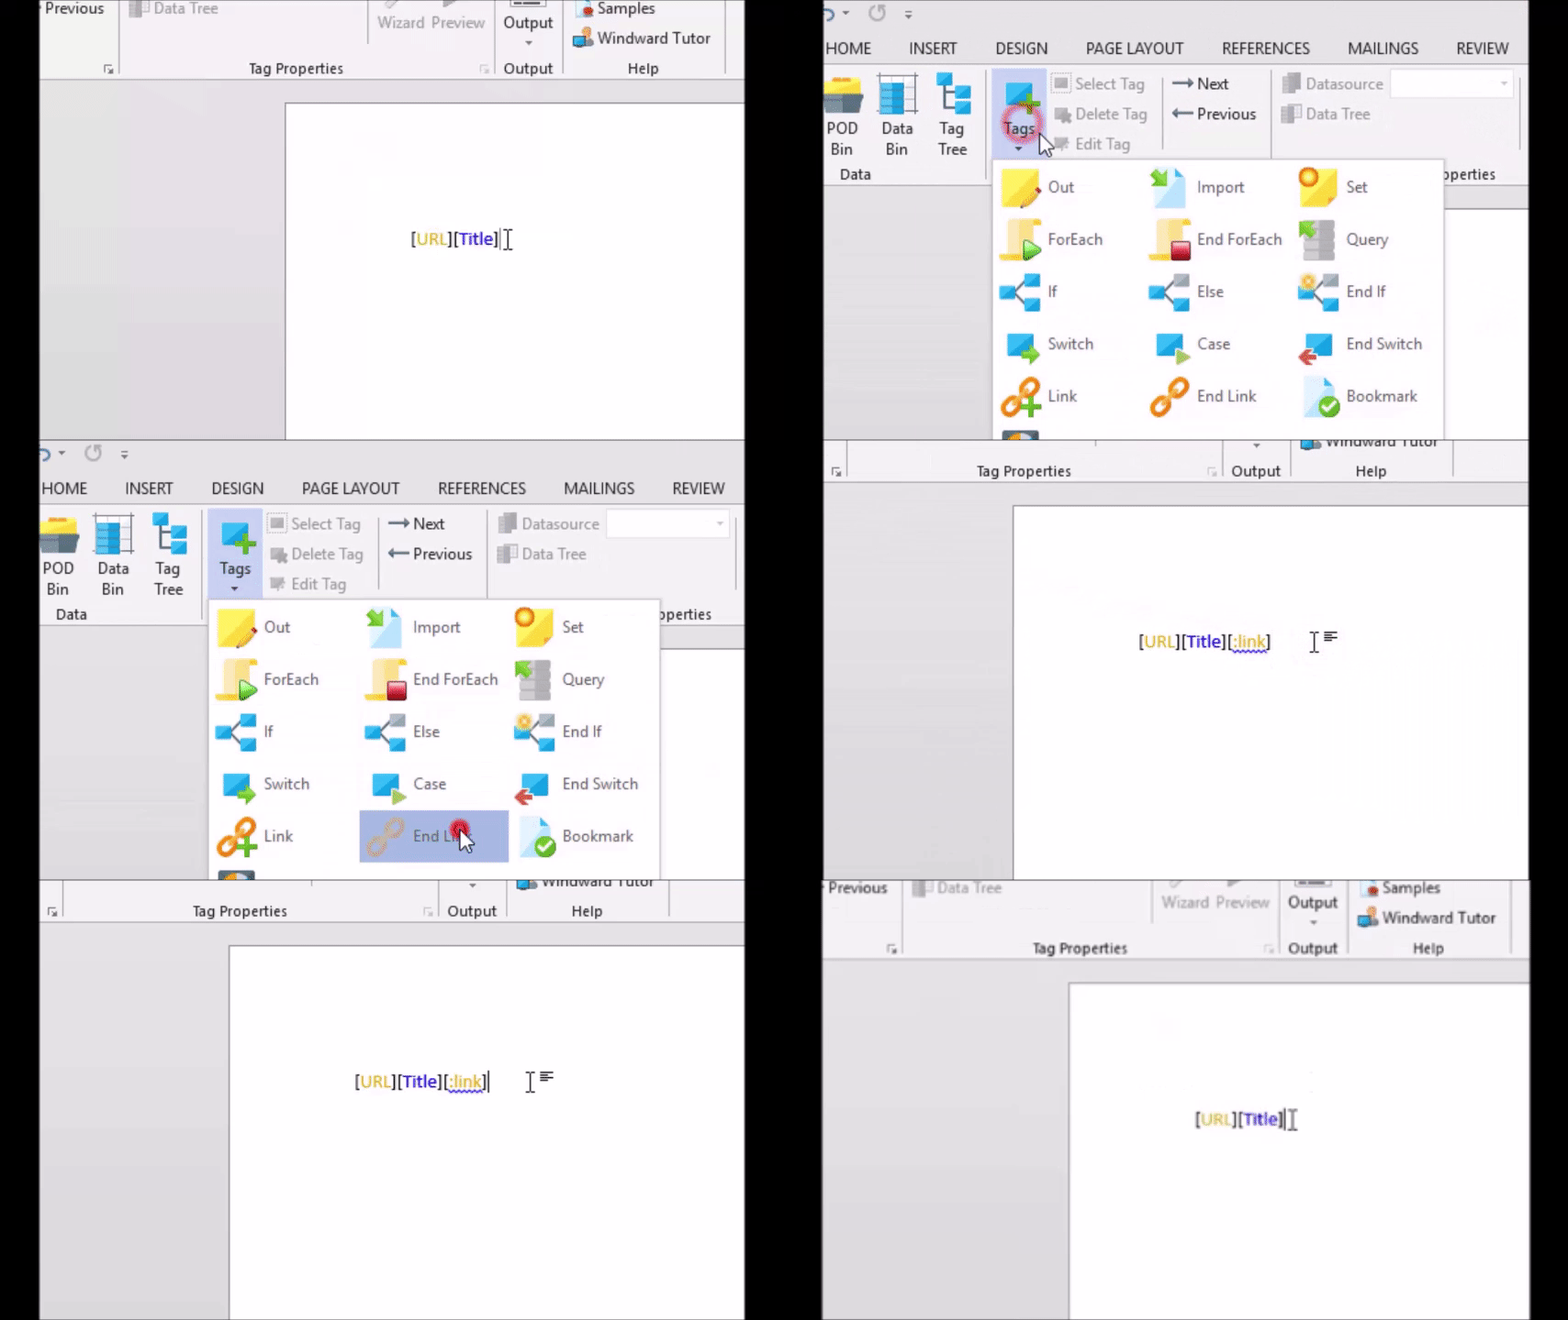
Now insert an End Link tag. This denotes the end of the link.
4. Generate Output
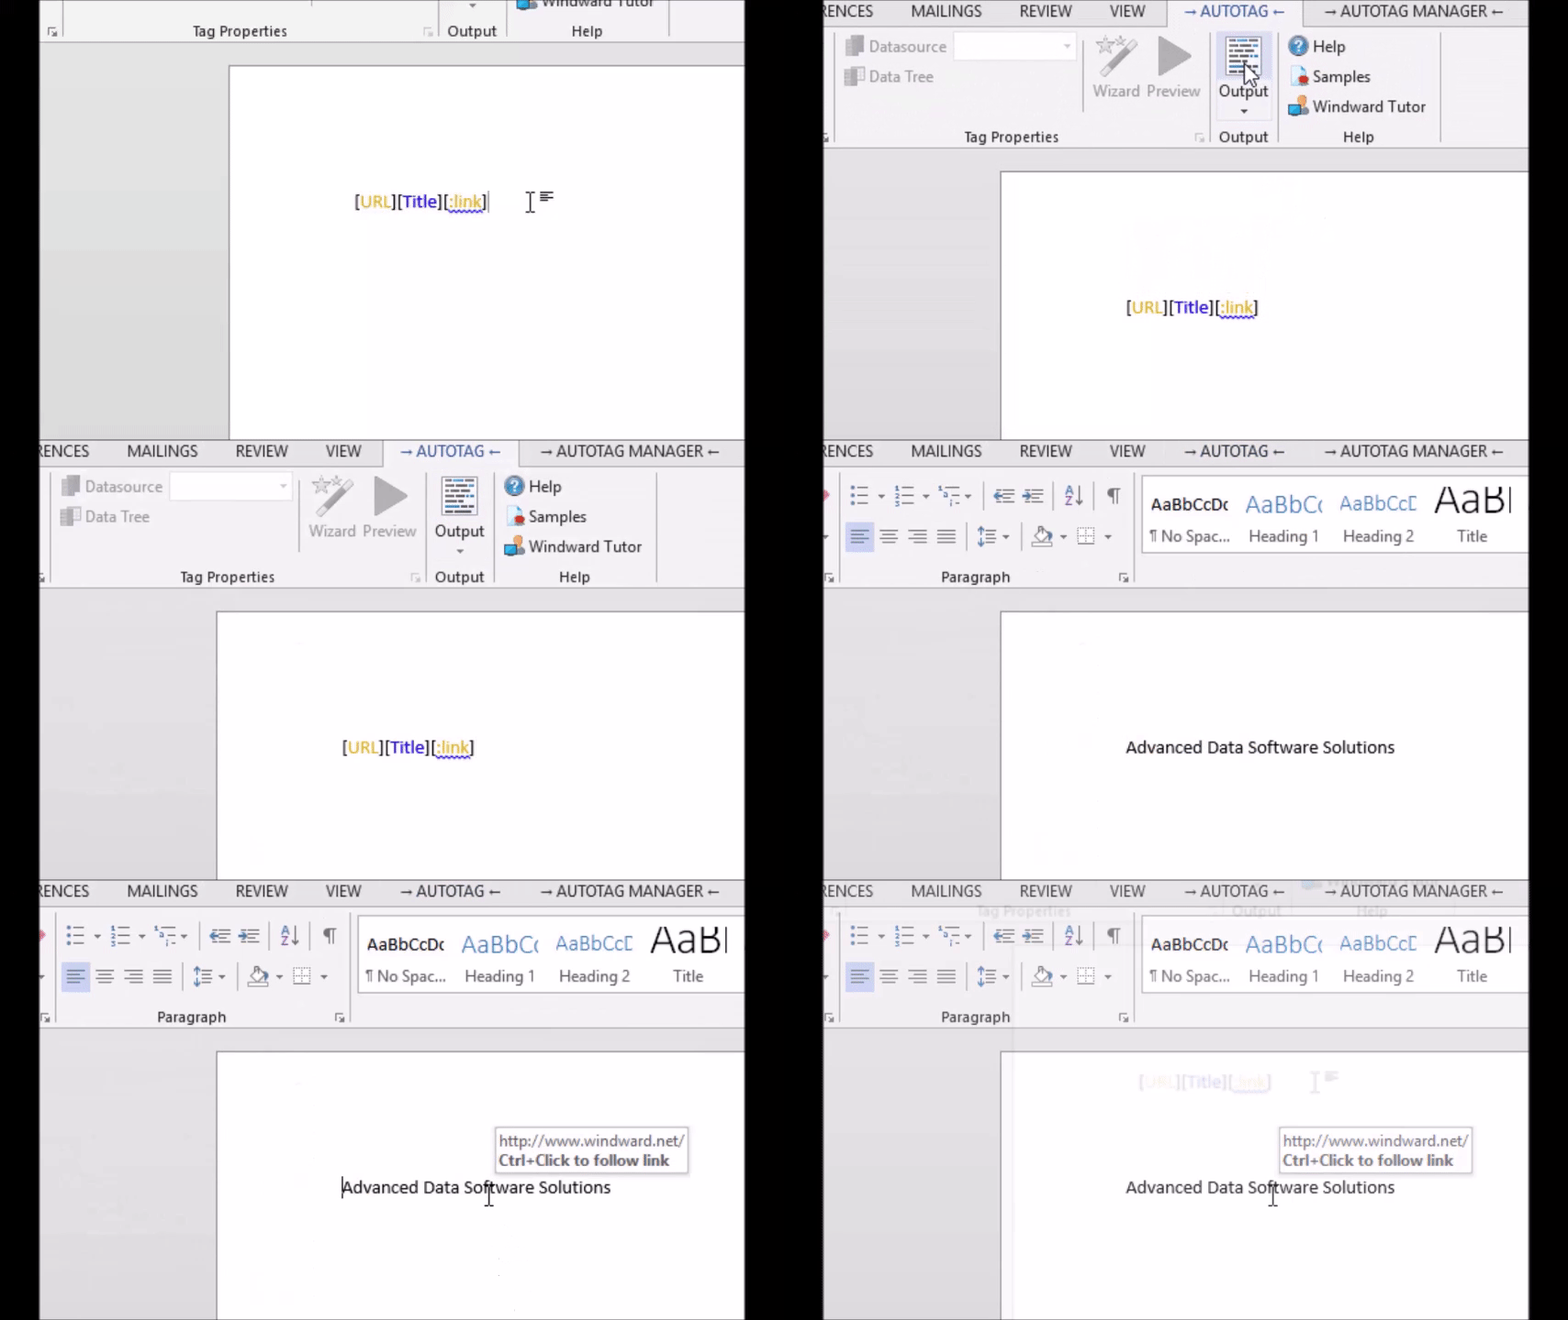
Finally generate the output and enjoy the results. Do this by clicking Output, and then DOCX.


