Objective
To learn about the OData Wizard, and replicate the process of creating a ForEach table with a simple selection of 4 columns of data through the creation of an employee directory.
Background Information
Up until this point, you most likely have been limited to selecting tables for your ForEach tags through the Data tree, and had no way of sorting or filtering your data. The OData Wizard is a very powerful tool that can aid you in your quest for the ultimate data (and to please your boss with a good report)! Here you will learn the basics of the OData Wizard, and your knowledge can only expand after this.
Pre-requisites
Inserting a Tag, ForEach TagProcedure
1. Insert OData datasource
Load the OData datasource by clicking the bottom half of the "Data Sources" button, and selecting OData. If there is no OData option in the drop down menu, you may select another OData datasource, or follow the instructions in the Connecting to OData tutorial.

2. Insert a table with 2 named columns
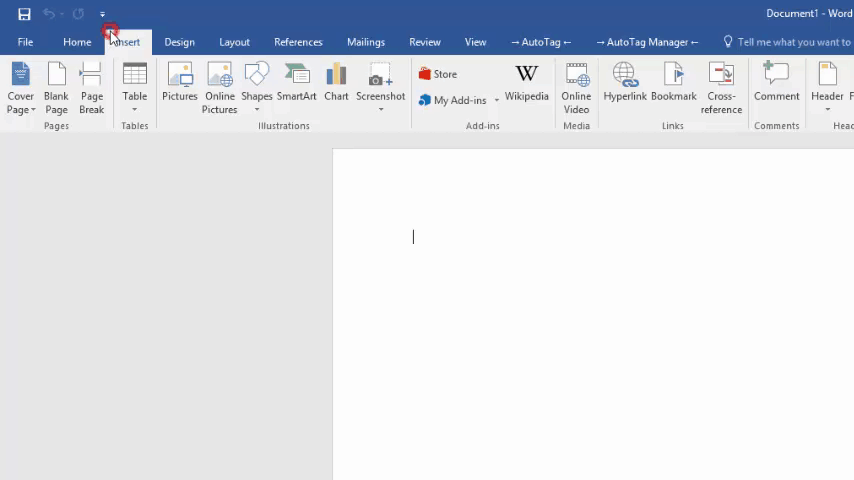
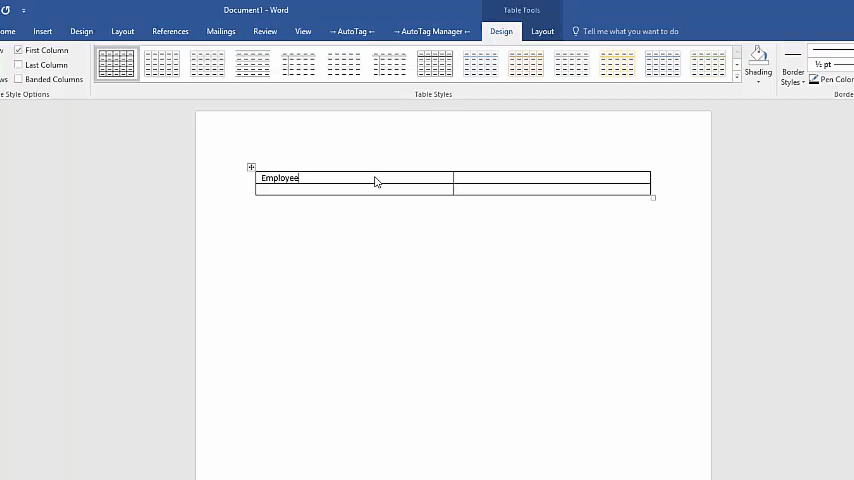
Open the Insert menu in Word, and click the Table button to insert a table. Select a 2X2 table. In the interest of spicing this design up in the simplest way possible, we’re going to select a table style from the menu that pops up (if you lose it, it’s one of the highlighted Table Tools ribbons, called Design) The styles are right in the center of the ribbon. We chose the third one called Plain Table 1
Now, we’re going to go ahead and name the columns. Employee, and Phone are the names we use since we’re going to try to make a directory for the companies employees.
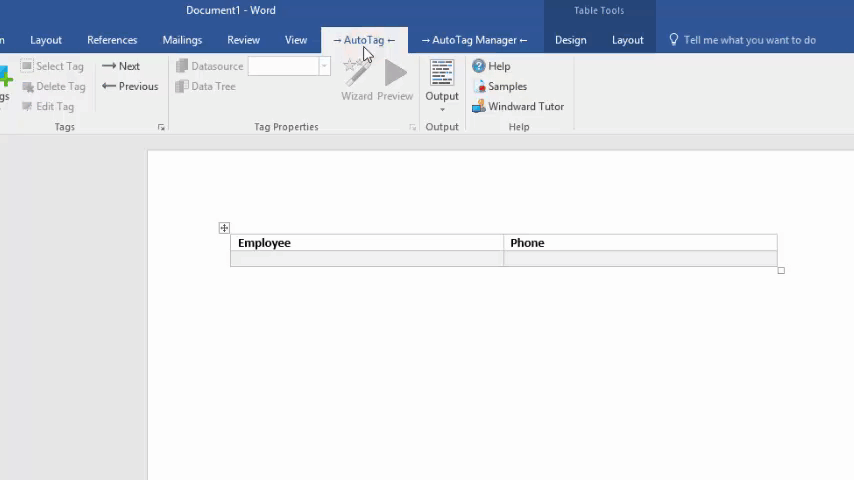
3. Insert tags for a ForEach table
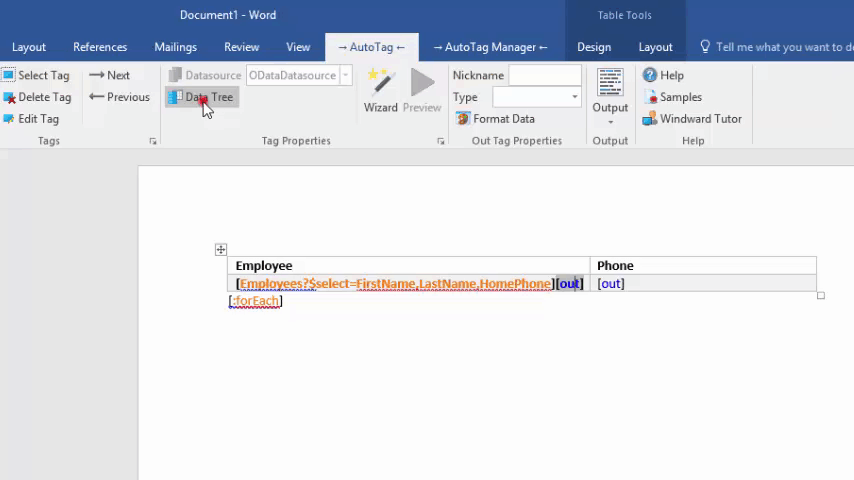
Now we’ll insert a ForEach tag, just as before. Open the AutoTag ribbon, find the Tags button and select the ForEach tag. We’ll give it a nickname, [forEach Employee: and a variable name:employee Also insert 3 out tags (two under the “Employee” column for a first and last name) and an End ForEach tag using the same device.
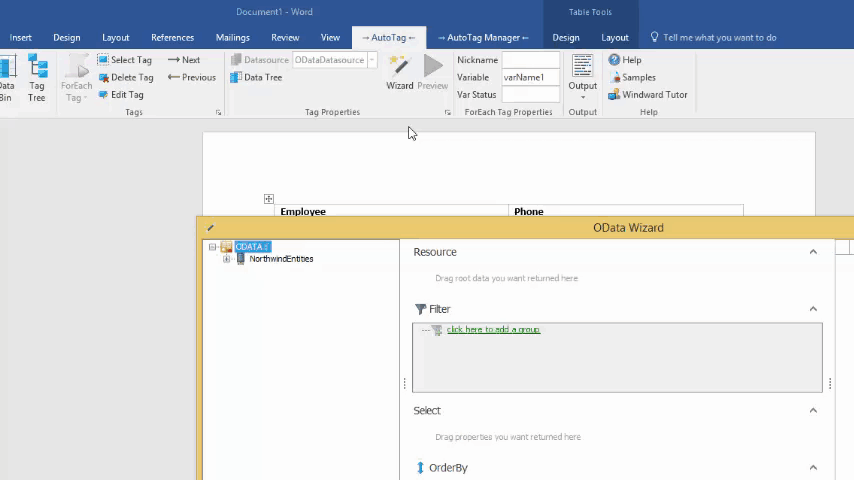
4. Open the OData Wizard
To do this, select the ForEach tag you just created, and under the AutoTag ribbon, click the Wizard button. This pops up a window called the OData Wizard. Feel free to take a look around. We’ll explain what everything does in step 7.
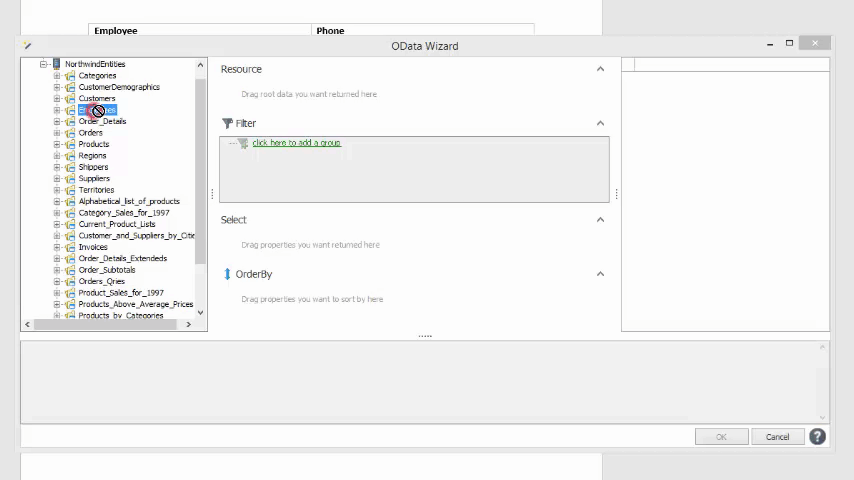
5. Drag Employees to indicate root of data
In the middle pane, there is a box labeled Resources. We need to drag any resources (parent nodes) we want to work with to this box. This data will later be accessible by the out tags inside the ForEach tag we are working on. We’re going to go ahead and drag in the Employees resource.
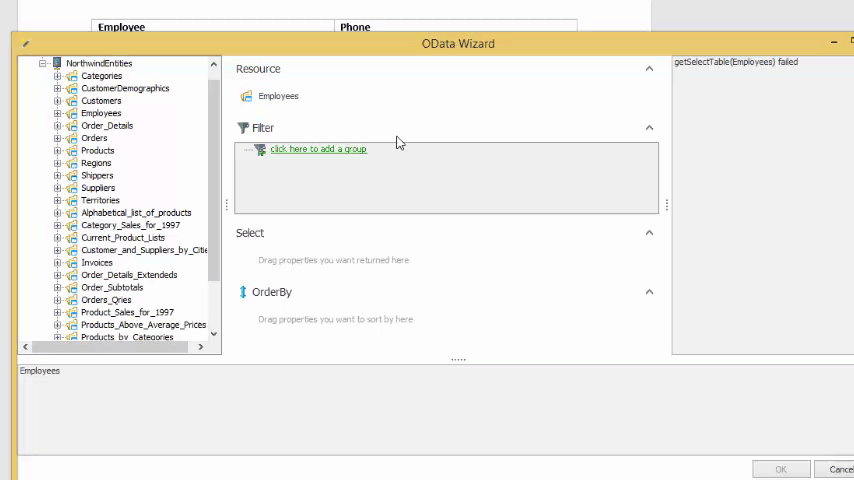
6. Select properties to return by dragging
There is also a box labeled Select, where we drag the properties (similar to columns in a table) that we need. Drag FirstName, LastName, and HomePhonehere.
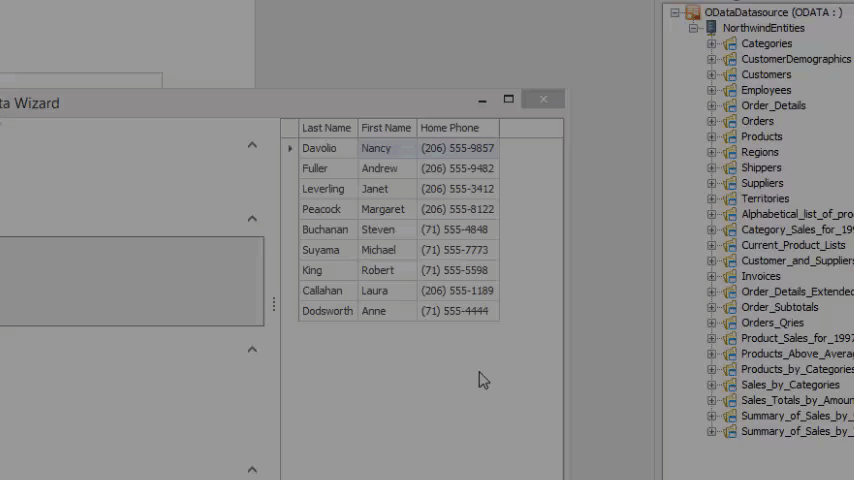
7. Inspect window, then close the wizard
There are three main components you should take a look at here. The left pane holds all of your data, and the right pane holds the returned results (which includes any sorting or filtering you may apply). The middle pane has boxes labeled Resources, Filters, Select, and OrderBy
If you take a look at the tutorial listing, we have tutorials to exclusively cover operations in each of these boxes, but the run down is as follows: Resources is where you drag tables or resources you want to work with, Select is where to specify exactly which properties you want returned. OrderBy is where you drag data you want to sort by, and Filter is where you create conditions to filter your data.
8. Select data for out tags
All we have left to do is set the out tags to display the data we just found in the OData Wizard. Hopefully you have lots of practice in this already since you’ve done it in nearly every tutorial so far. Click the tag, open the Data tree and select a piece of data. With the OData Wizard, we have only returned 3 properties in 1 resource which means the Data tree is a lot simpler to look at now!
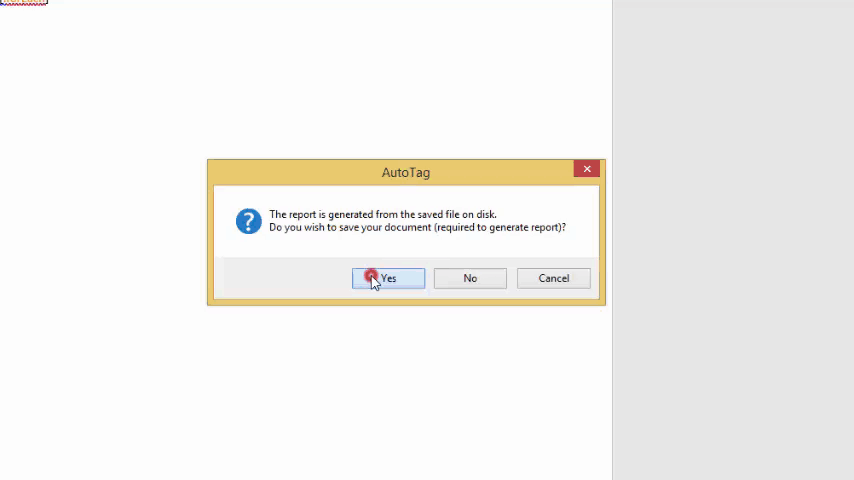
9. Generate and view results
You should be well versed in this step as well. If you have any problems here, please take a look at some of the tutorials under AutoTag Basics