Objective
To display image data stored directly on a database by using an Out tag an an AutoTag template.
Background Information
Your images may be stored in a file system, with a file path in a database for retrieval, or the image may be stored in the database itself. If the image itself is in the database you'll want to use an Out tag to display it, otherwise Import tag is your best choice.
Pre-requisites
Inserting a Tag, ForEach TagStarting Template
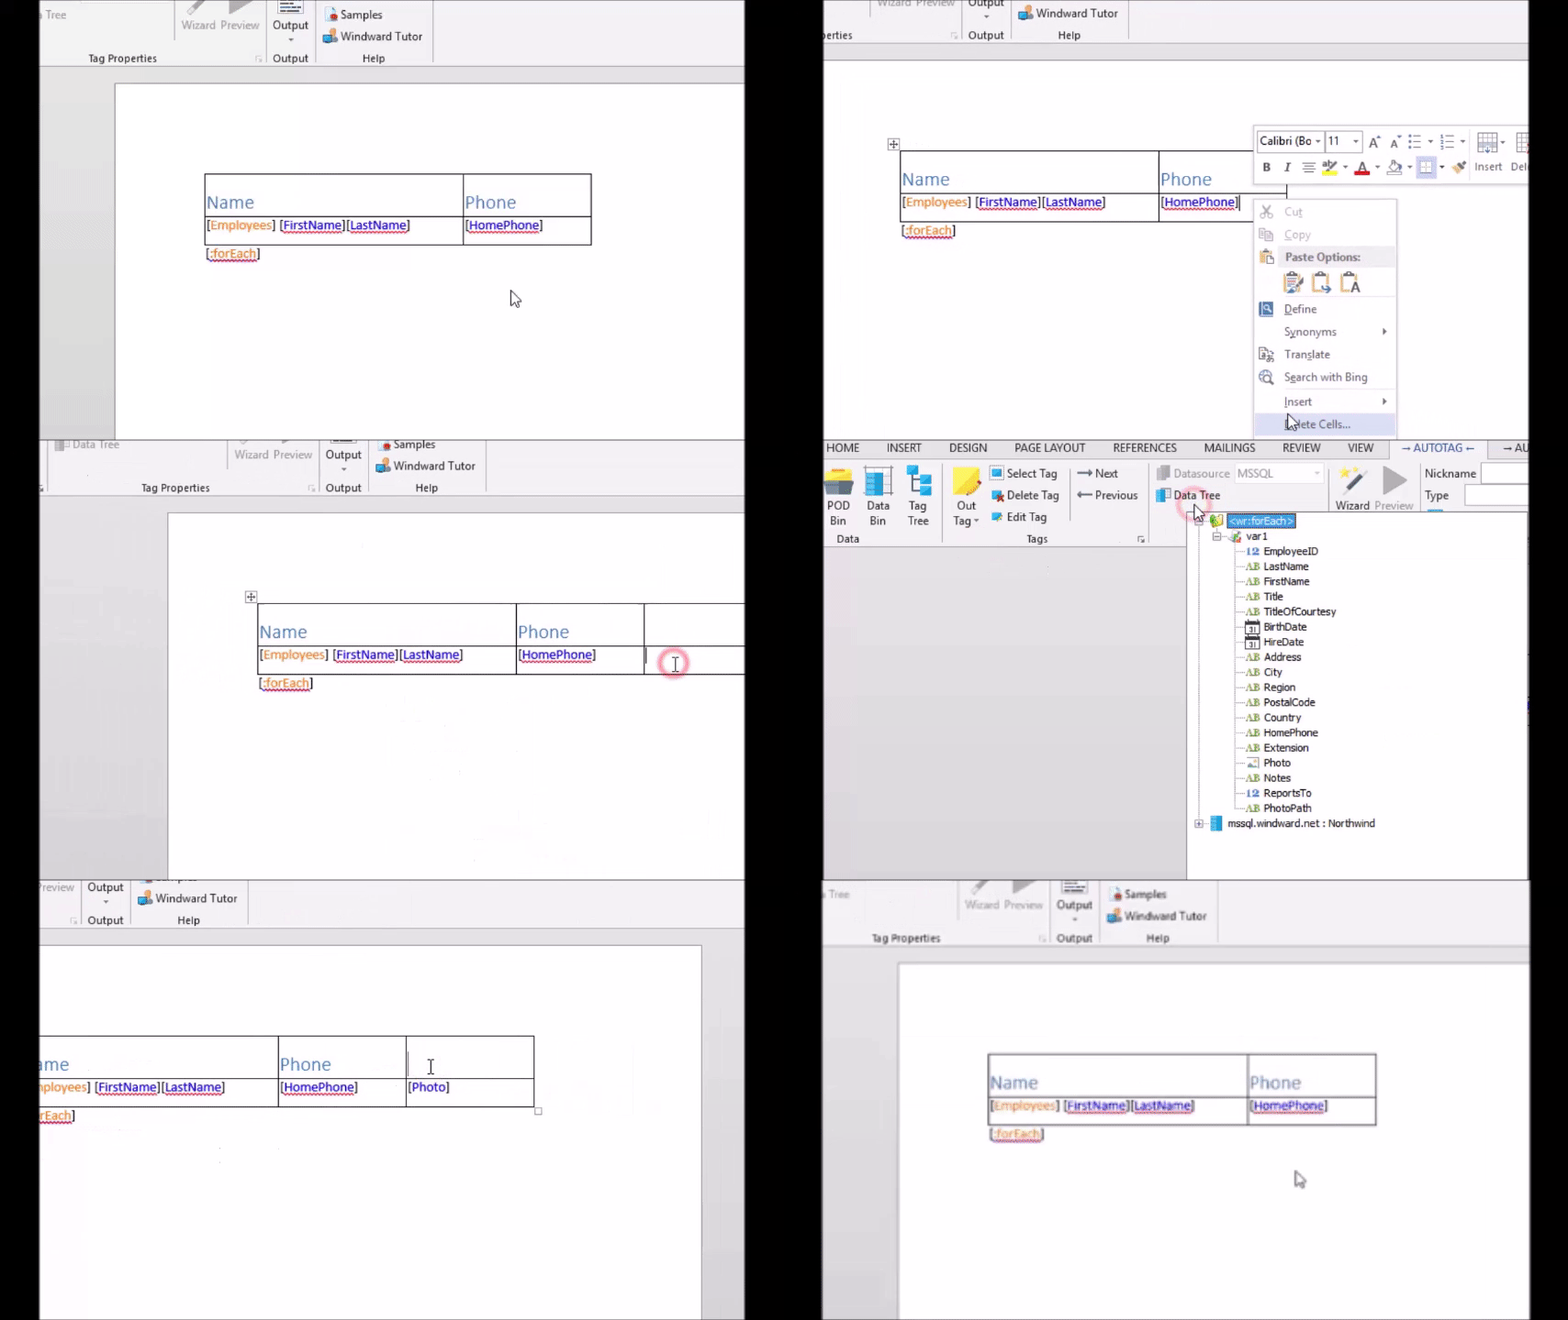
Start with a template that looks similar to the following. This is simple a table with a ForEach tag looping through the Employees table in the sample MSSQL datasource (See the Connecting to an SQL Datasource tutorial). 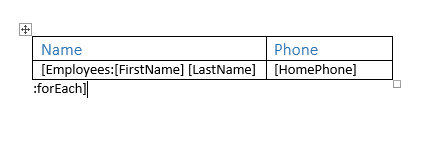
Procedure
1. Add a Column for Photos
We want to make this directory a picture directory so we need to add a column for Photos. Insert a column, then insert an Out tag which will contain the Photo data item.
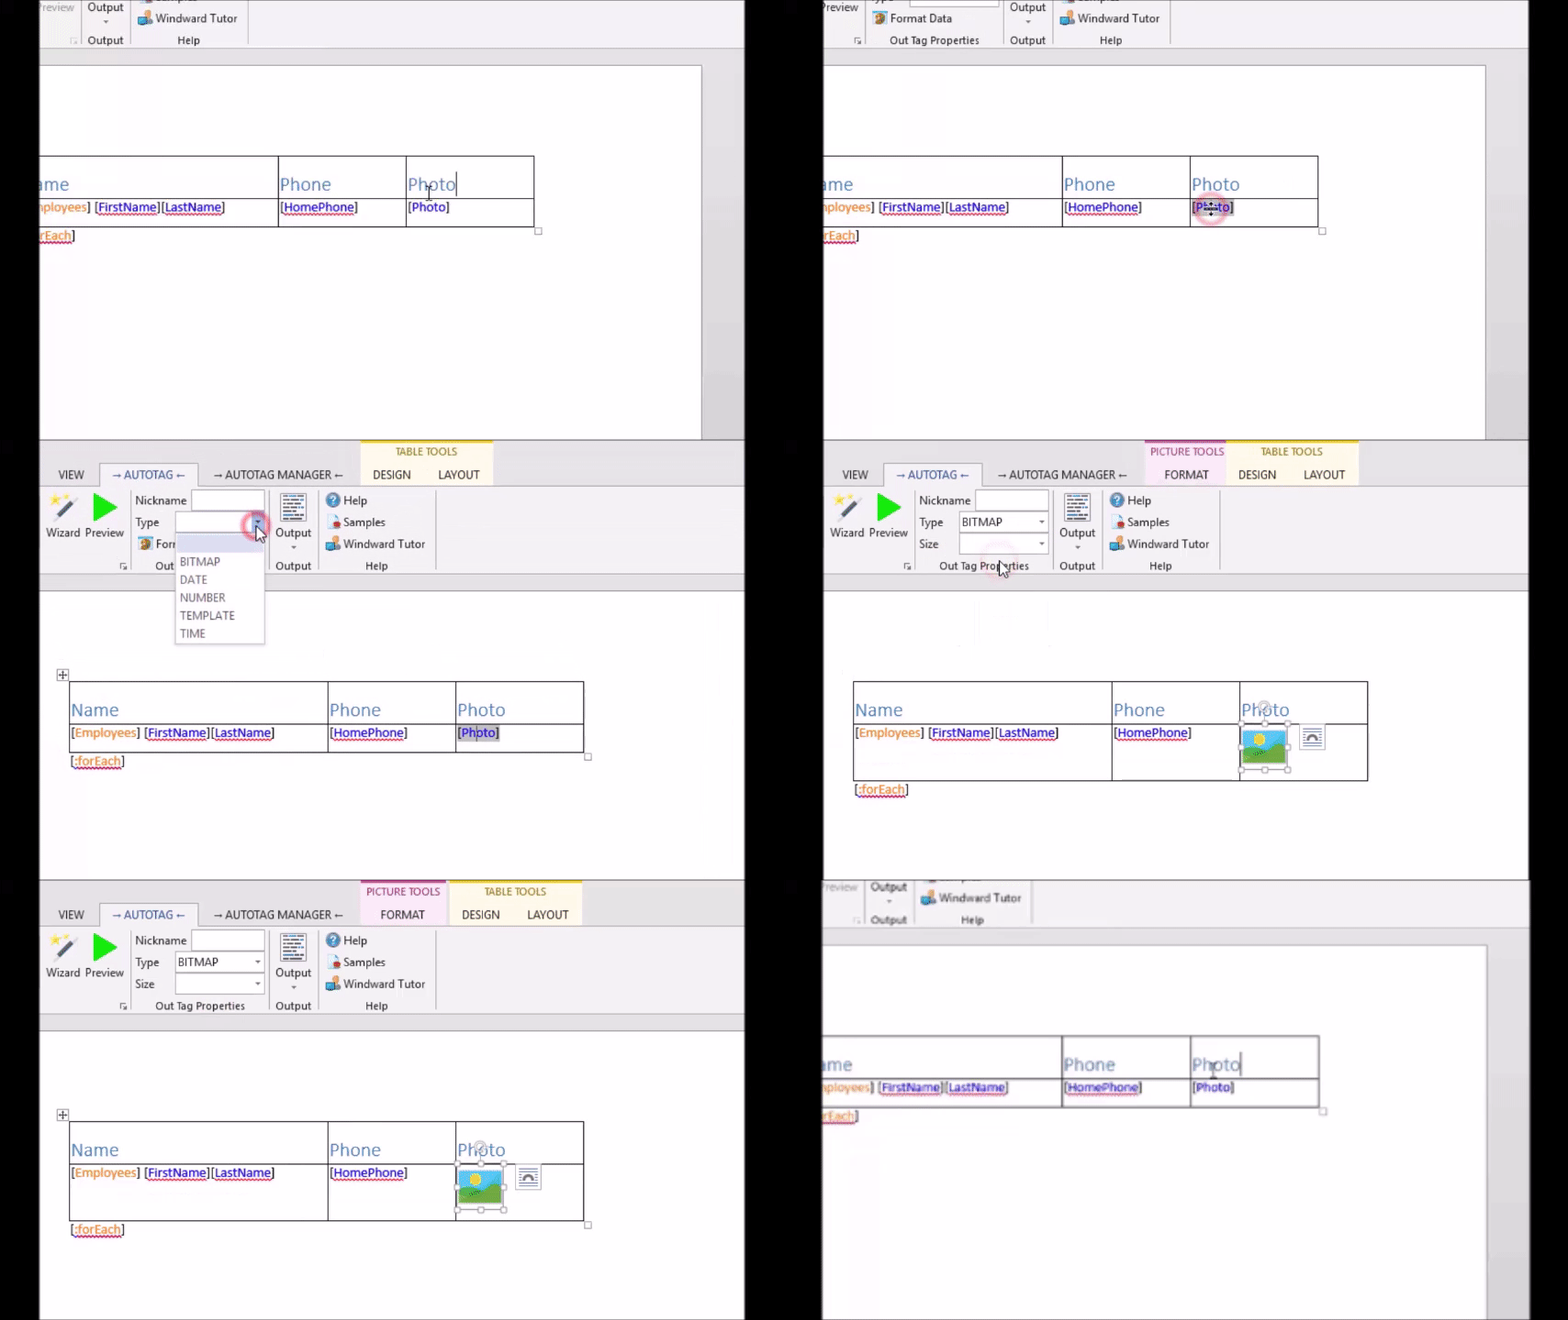
2. Change Out Tag Type to "Bitmap"
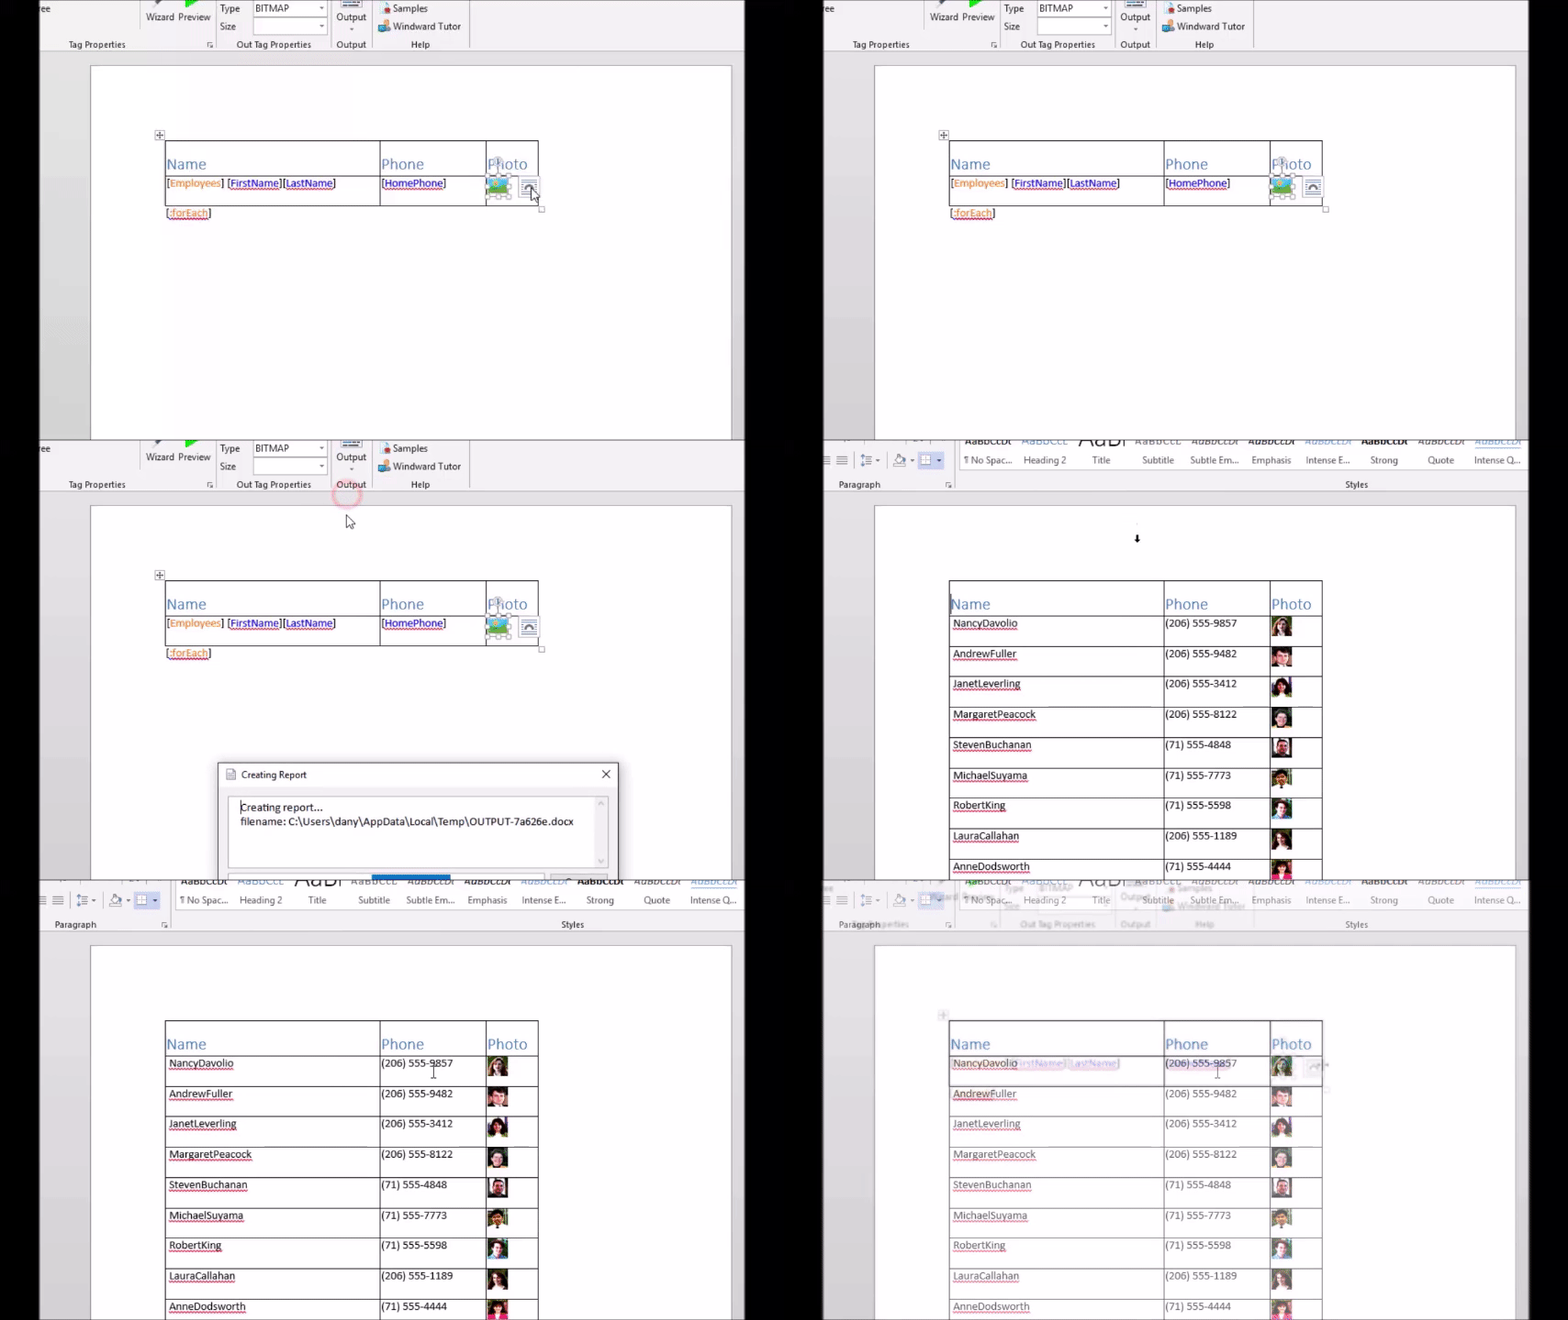
With the Photo Out tag selected, select "Bitmap" from the Type drop-down box on the right side of the AutoTag ribbon. This is important because it let's AutoTag know that you intend to display this tag as an image. When you do this, it will change to an image object in Word.
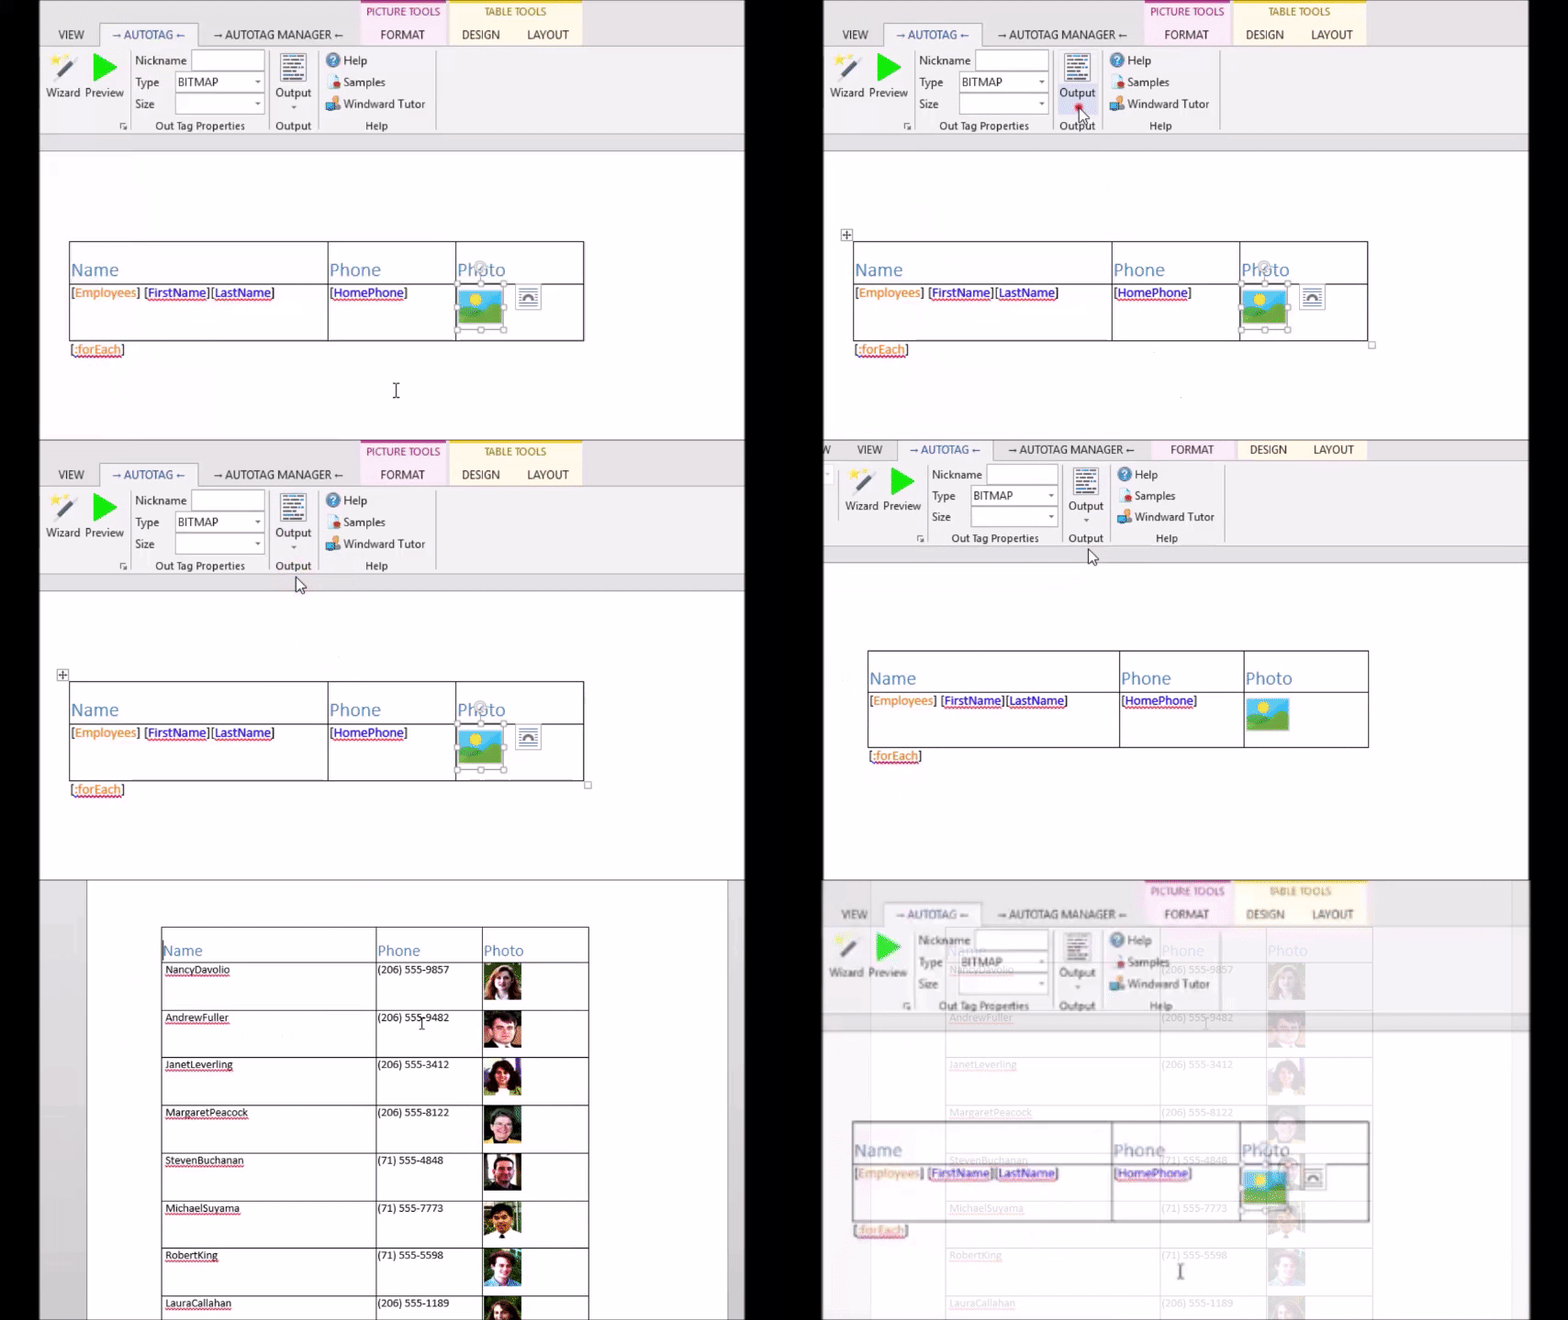
3. Generate Document
Now generate the document and view the results. Next we'll look at changing the size.
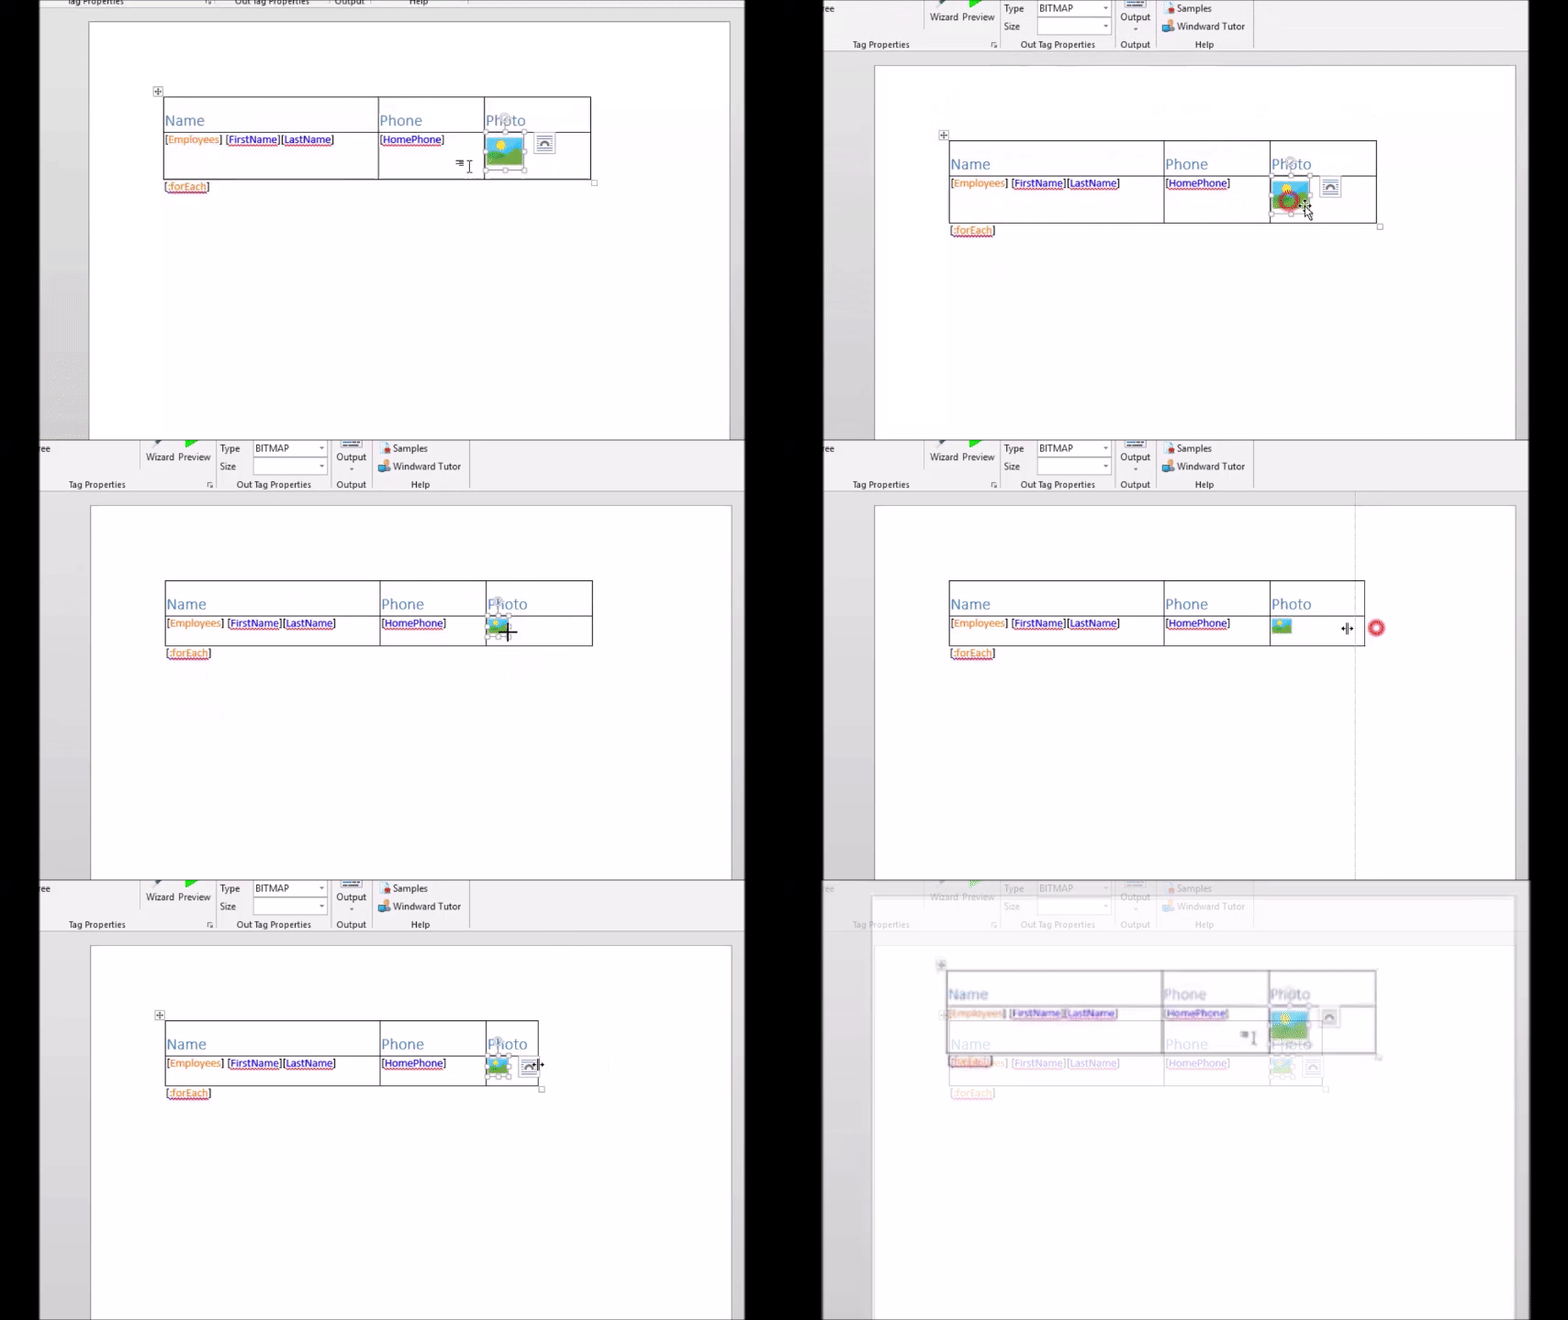
4. Change the Size
Now we'll change the size of the displayed bitmap image. There are a couple of ways of doing this. First is obviously selecting the image and dragging the points along the edge, however there is also a drop-down box in AutoTag that lets you select presets. We'll go ahead and drag the image handles to resize it.
5. Generate Again
Generate the document again the see the result of the changes you made.
