Objective
To insert "Out" and "ForEach" tags to a template by dragging the respective data from AutoTag's "Data Bin"
Background Information
Previously, we have added data bindings to a template by inserting a tag, then selecting the data. In this tutorial, we will show you a second way to add data by dragging it from the "Data Bin."
Pre-requisites
Inserting a Tag, ForEach TagProcedure
1. Load the MSSQL datasource
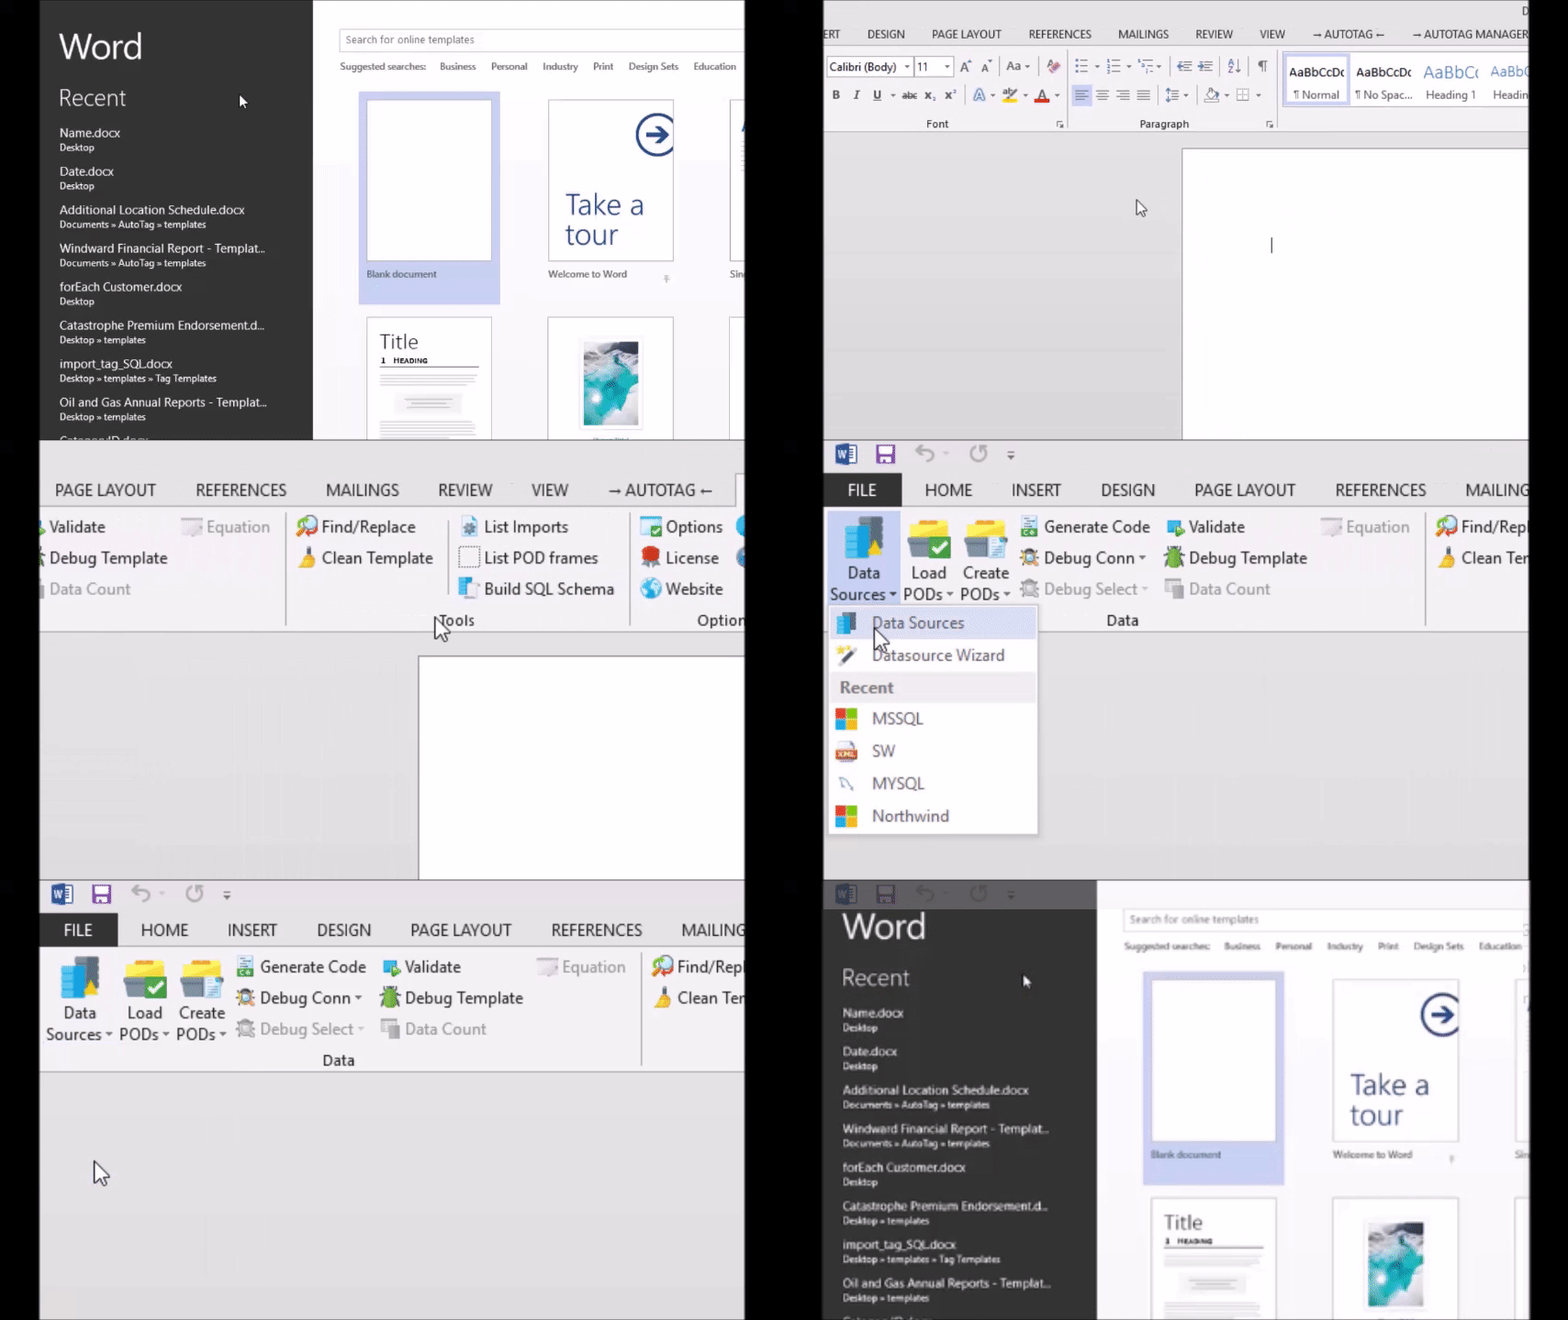
Load the MSSQL datasource by clicking the bottom half of the "Data Sources" button, and selecting MSSQL. If there is no MSSQL option in the drop down menu, you may select another datasource, or follow the instructions in the "Creating a SQL datasource" tutorial.
2. Open the Data Bin
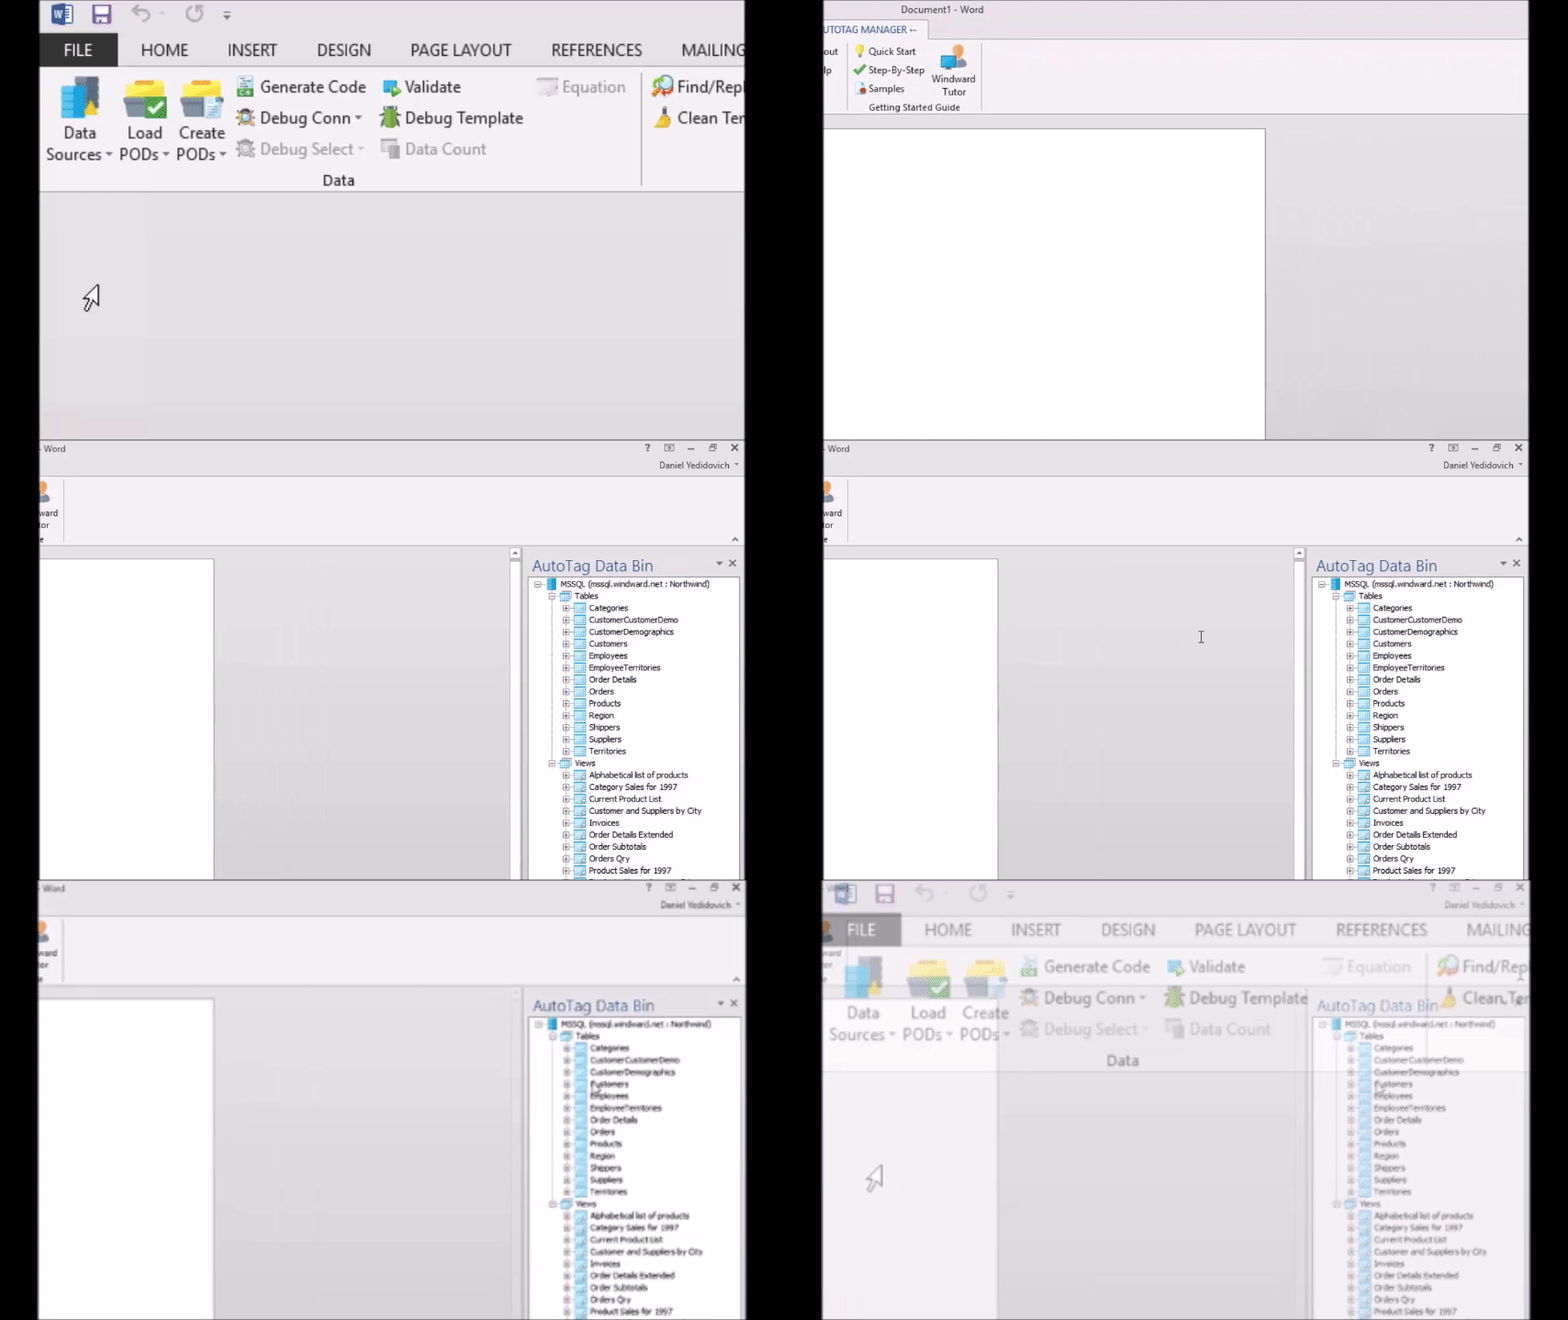
After closing the Connection Editor, the Data Bin will open automatically. You can also open the Data Bin by clicking the respective button in the "AutoTag" ribbon. It should be on the left side of the window.
3. Drag a Table
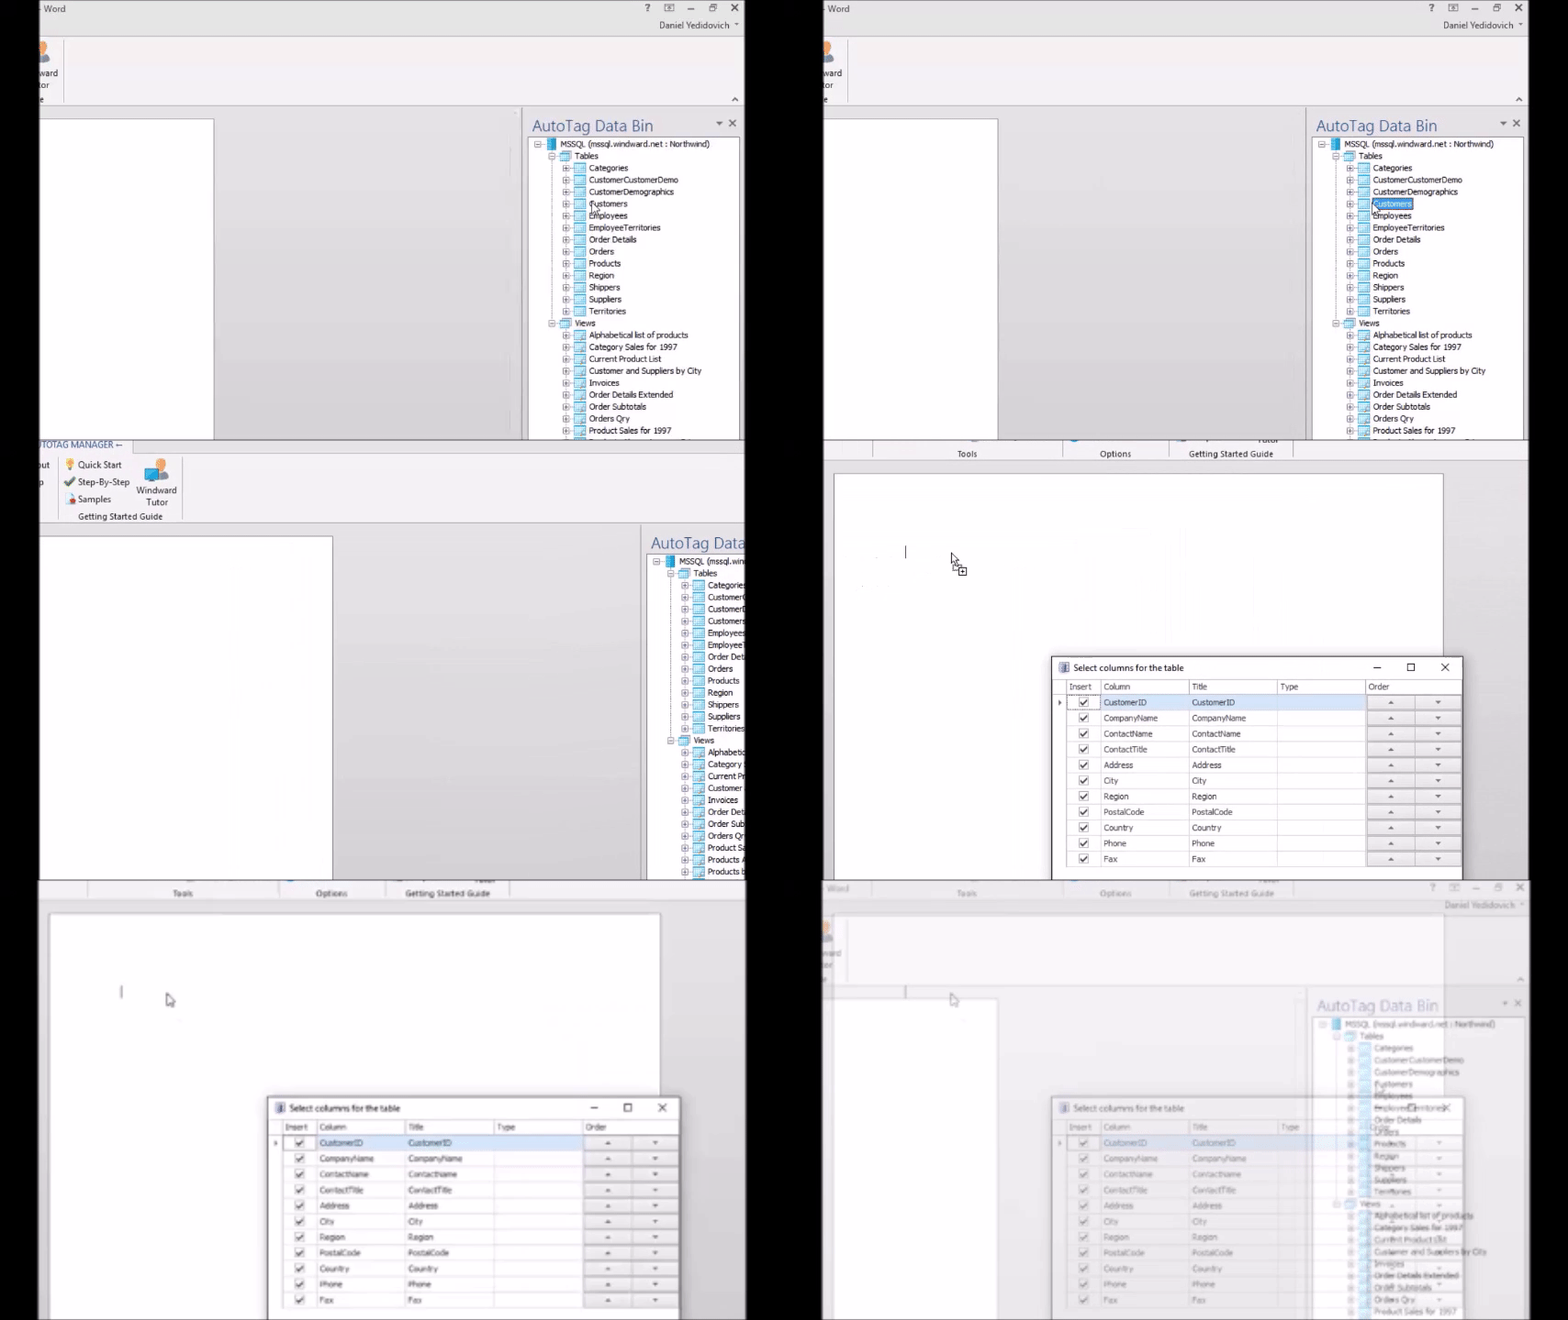
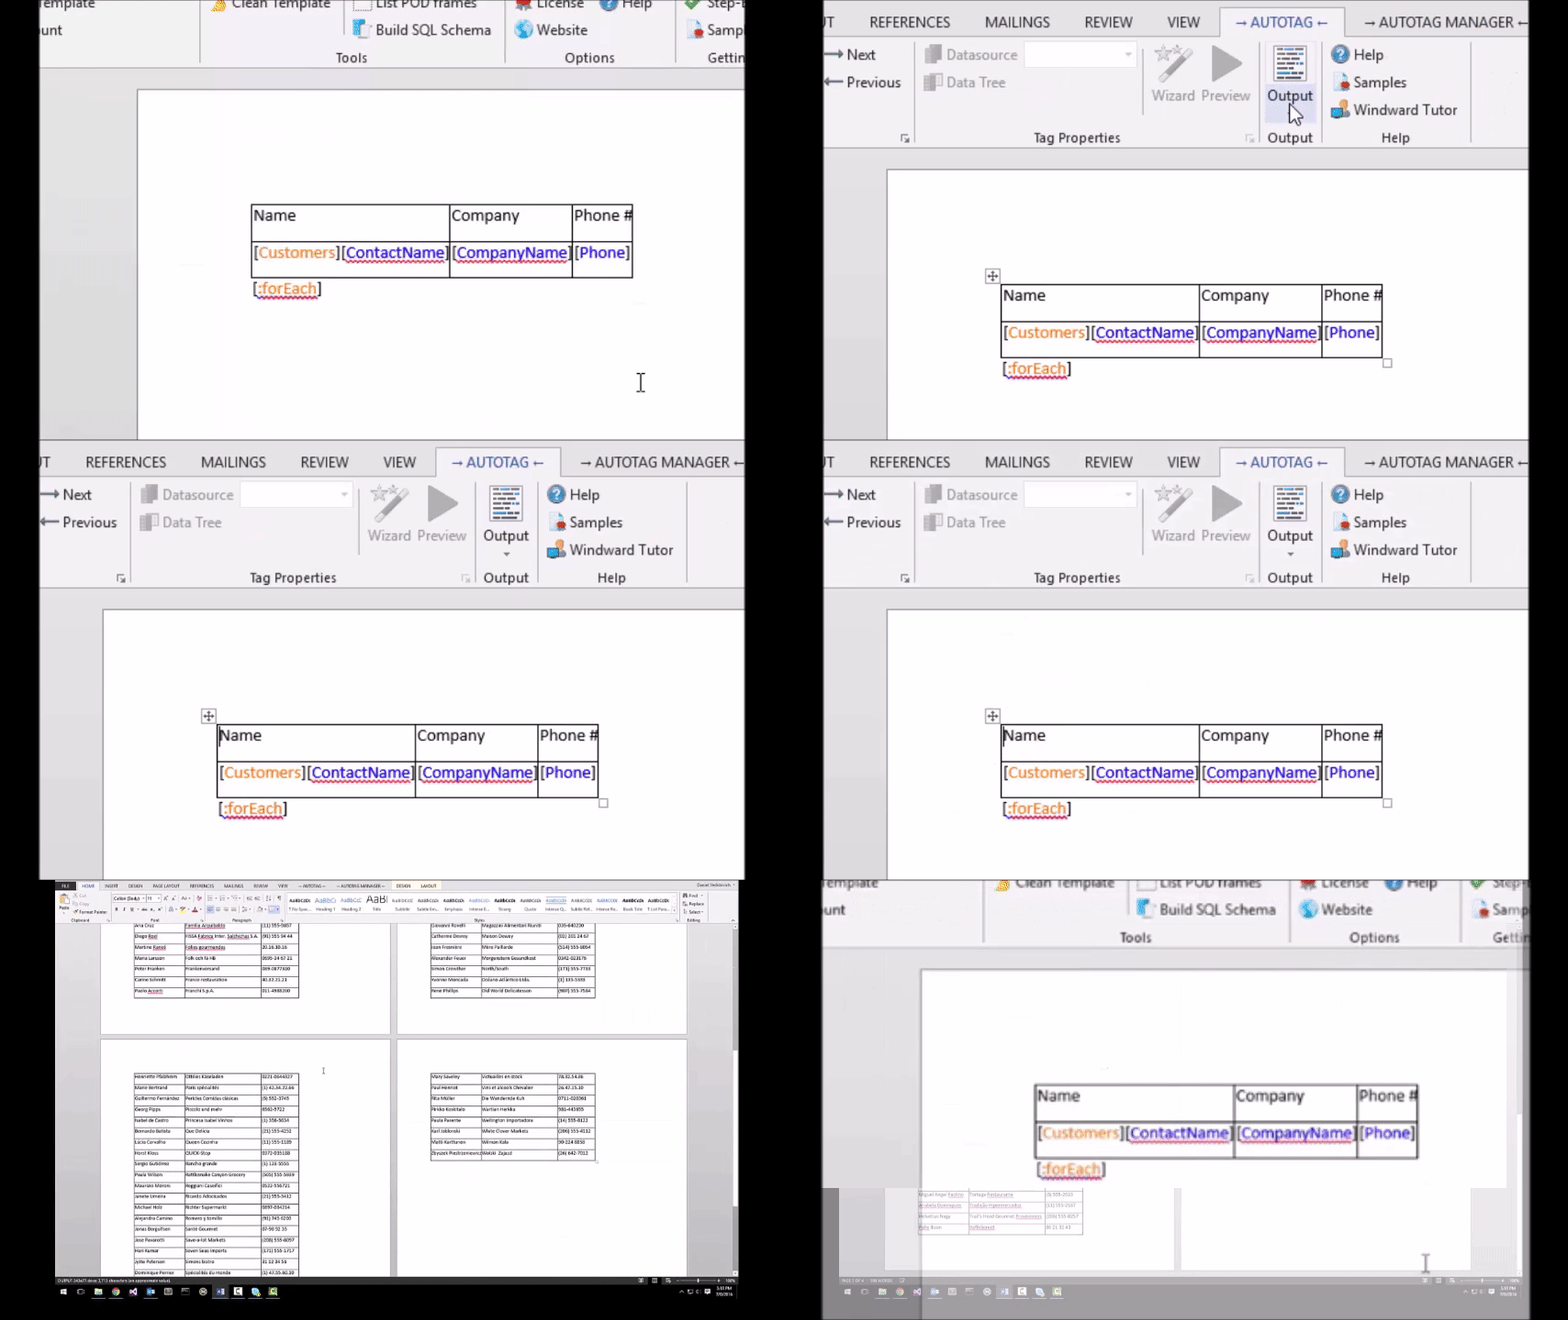
Drag a table from the data bin to the document. When you do this, a window will appear prompting you to select which columns to display.
4. Select Columns to Display
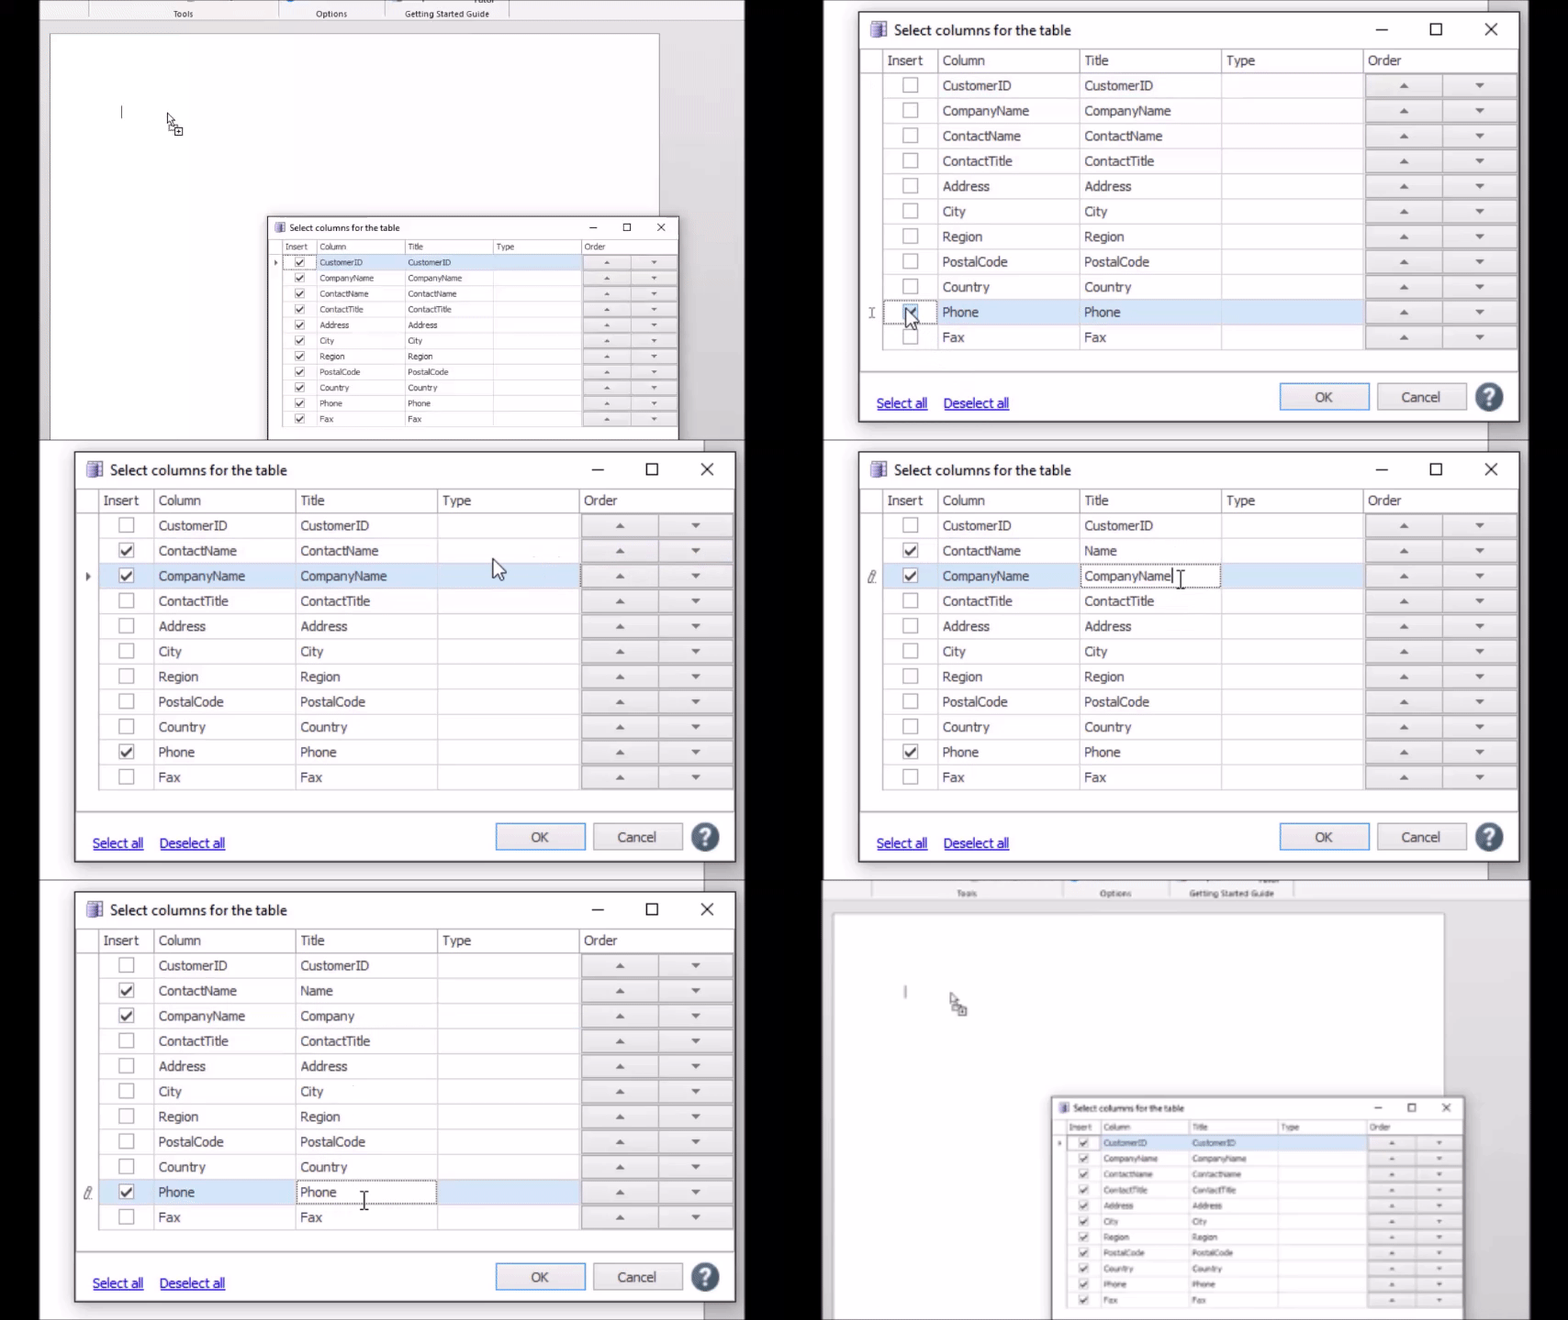
Select columns to display by clicking the checkmarks on the left. You can re-order the columns by clicking the arrows in the right column. You can also rename them by clicking on the respective cell under the "Title" column.
5. Generate the Document and View the Results
Click "Output" in the AutoTag ribbon and then "DOCX" in the drop-down menu, wait a few moments and then view the results.
