Objective
To filter data based on a single criteria which is set at the time of the document generation in a document which filters out a list of products that need to be re-ordered.
Background Information
You often like to reorder products, but the stock you like to keep changes throughout the year. In January, business is slow and you don’t want hundreds of unused items (that will probably expire or go out of fashion), but in December, with the Christmas rush, you want to make sure you have enough to provide for every Christmas shopper that enters your store. In this tutorial we’ll teach you how to create a list that shows products to reorder based on a parameter reorder-level parameter which you only have to set when you generate the final document!
Pre-requisites
Inserting a Tag, ForEach Tag, SQL - Part 1: Basic Selection, SQL - Part 3: Filtering with Static ValuesStarting Template
Start with a table with Product Name and Units In Stock columns, as well as a ForEach tag, some out tags and an End ForEach tag as shown below. If you have trouble creating this, check out the ForEach Tag tutorial. 
Procedure
1. Add a parameter
Parameters in AutoTag allow you to substitute placeholders for values in your data selection, conditional tags, and many other places. Here, they let us substitute a placeholder in a data filter which we fill in with a value when we generate the document. In order to add a parameter, click the Parameters button in the AutoTag Manager ribbon, click Add, then type a name. We used ReorderLevel. Select its type as Integer, and set a default value—we used 20. Finally, click Save to save the parameter.
2. Open the SQL Wizard (and resize it)
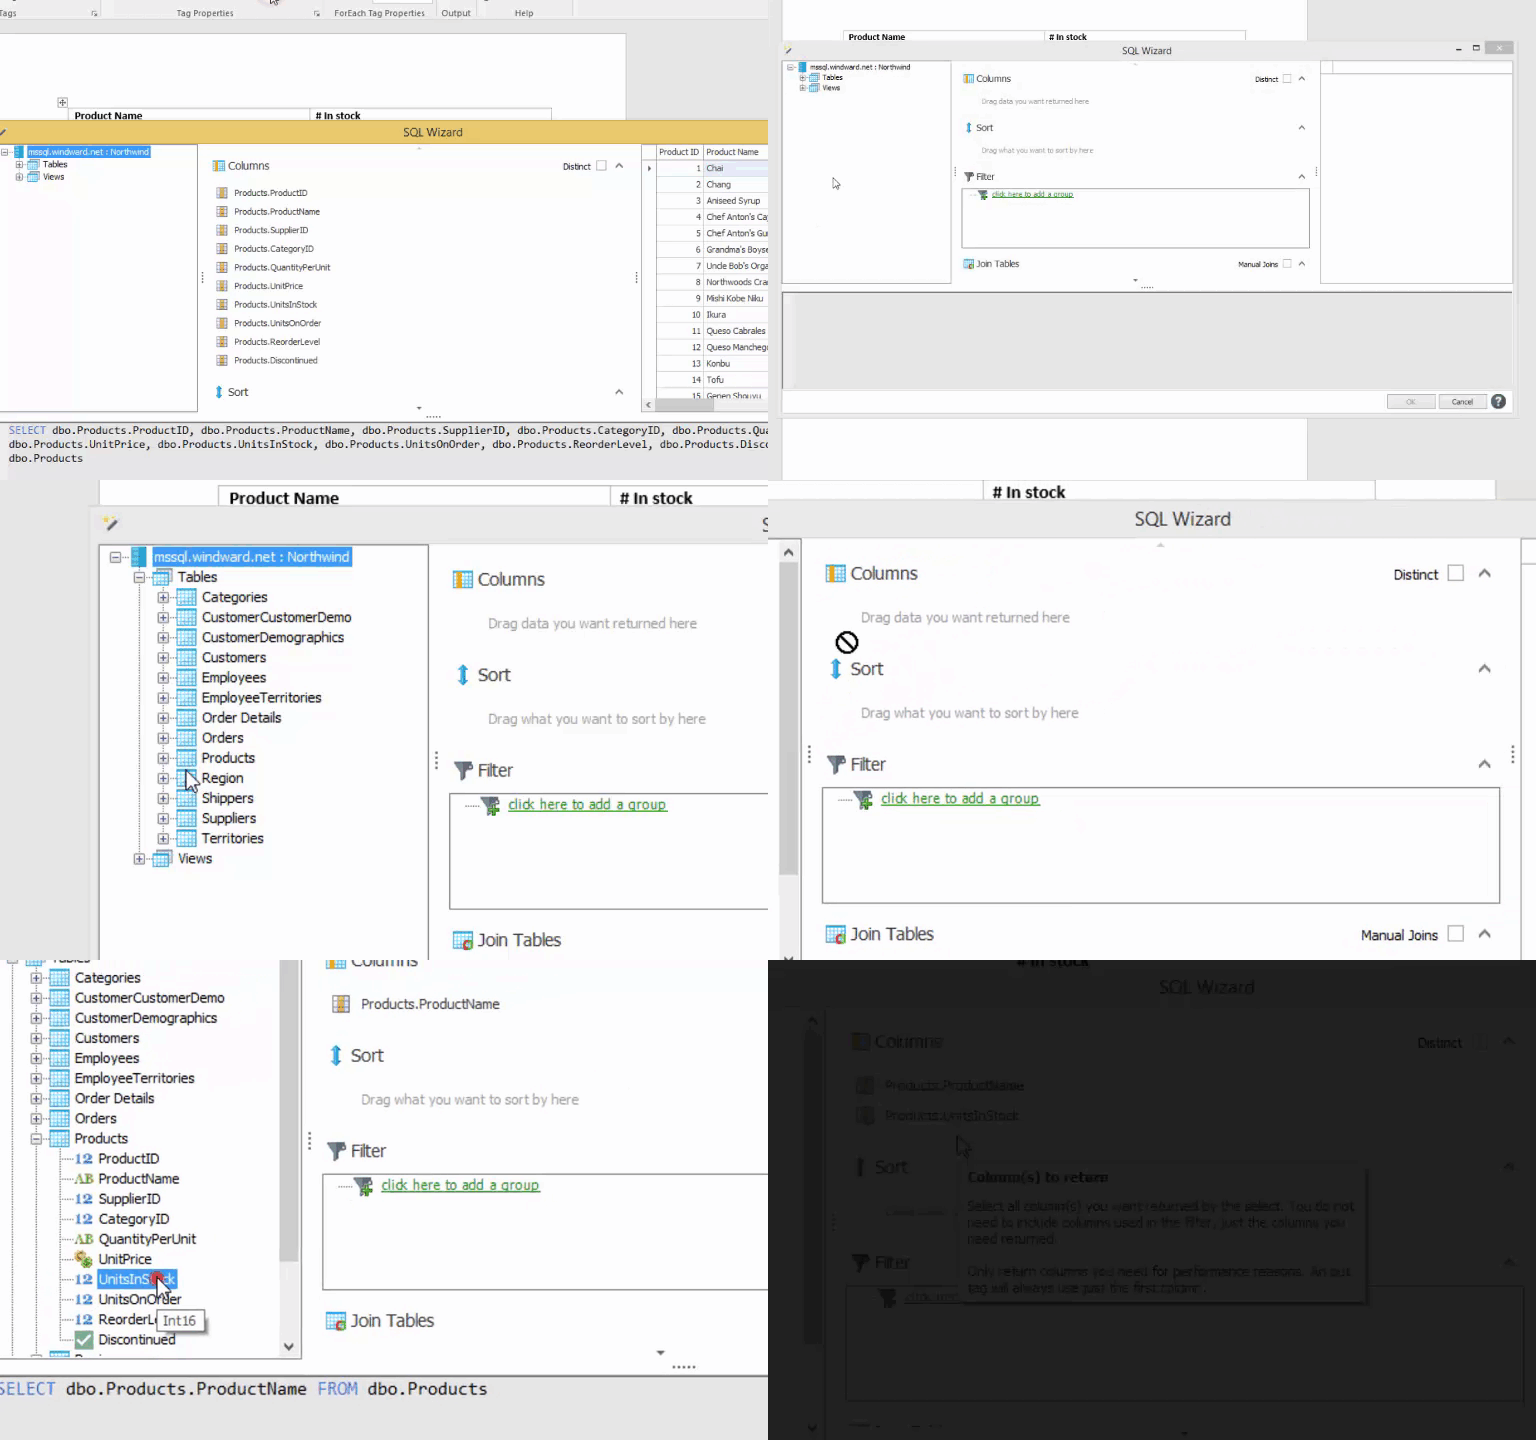
Open the SQL Wizard as you have in the past—that is, select the ForEach tag and click Wizard in the AutoTag ribbon.
3. Drag ProductName, and UnitsInStock to Columns
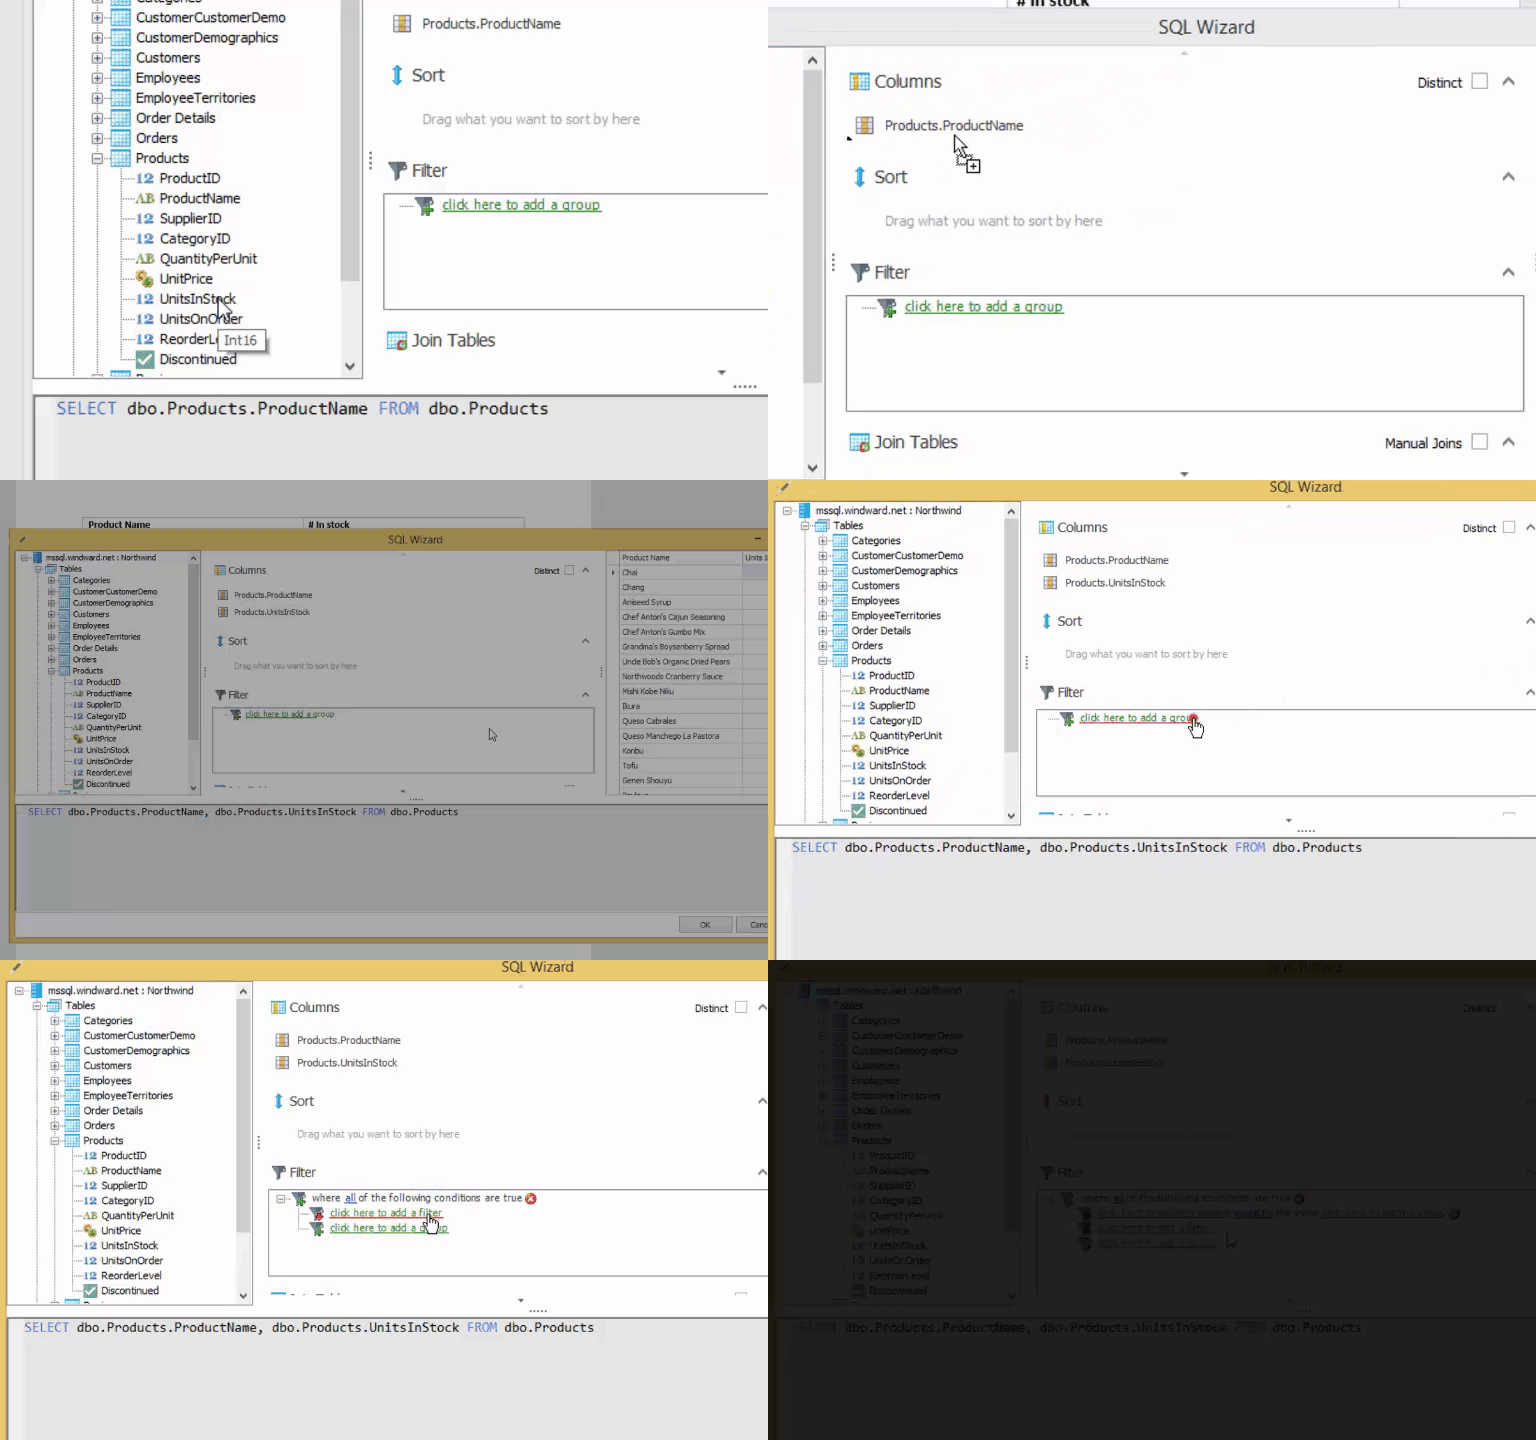
As you have done before in SQL – Part 1: Basic Selection, drag the columns you need to work with in to the Columns box. We’re going to use columns from the Products table, ProductName and UnitsInStock for this tutorial.
4. Add a filter
Now for the good stuff. Add a filter as shown in SQL – Part 3: Filtering with a Static Value. Click to add a group, then click to add a filter.
5. Set filter's left side
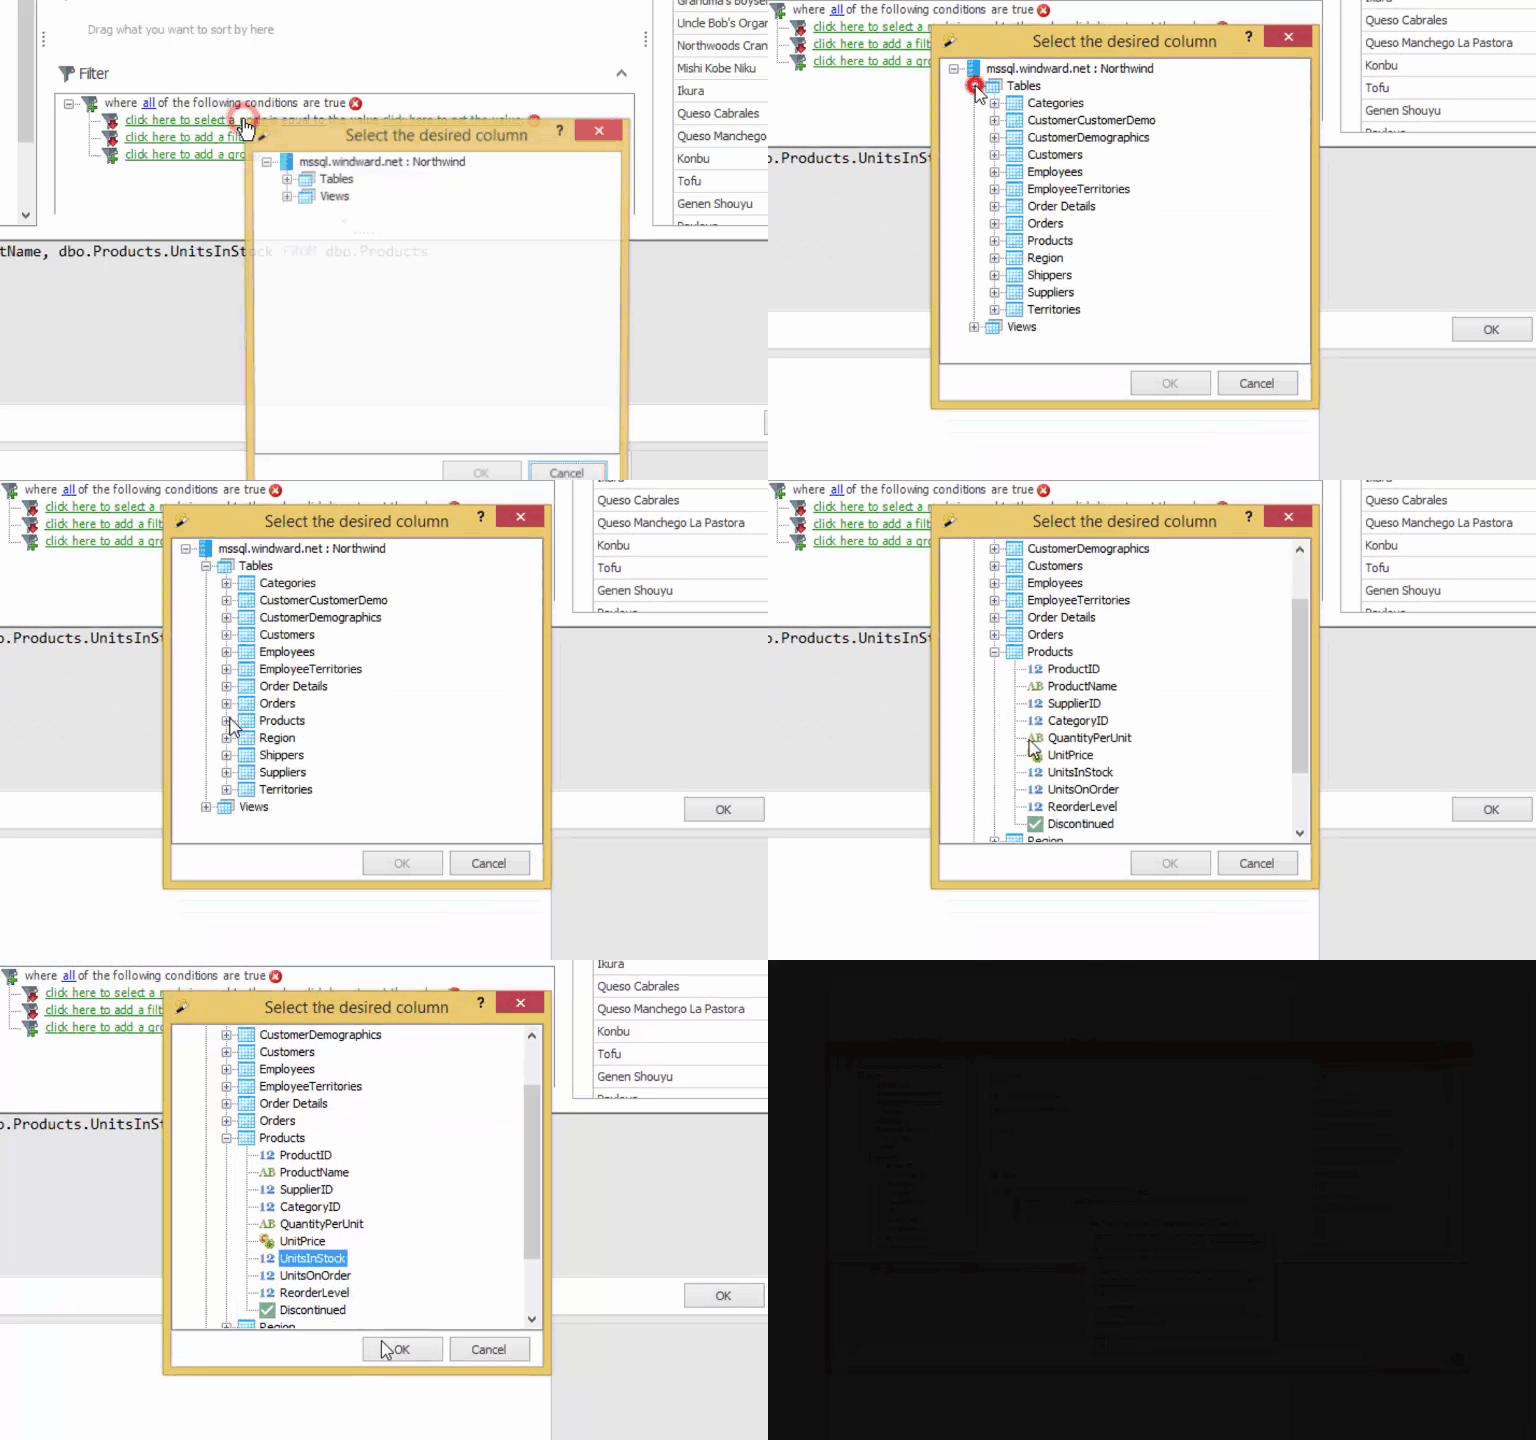
Again, as before in Part 3, set the left hand side by clicking to add a node, then expanding the Products table and selecting the UnitsInStock column.
6. Change the filter condition
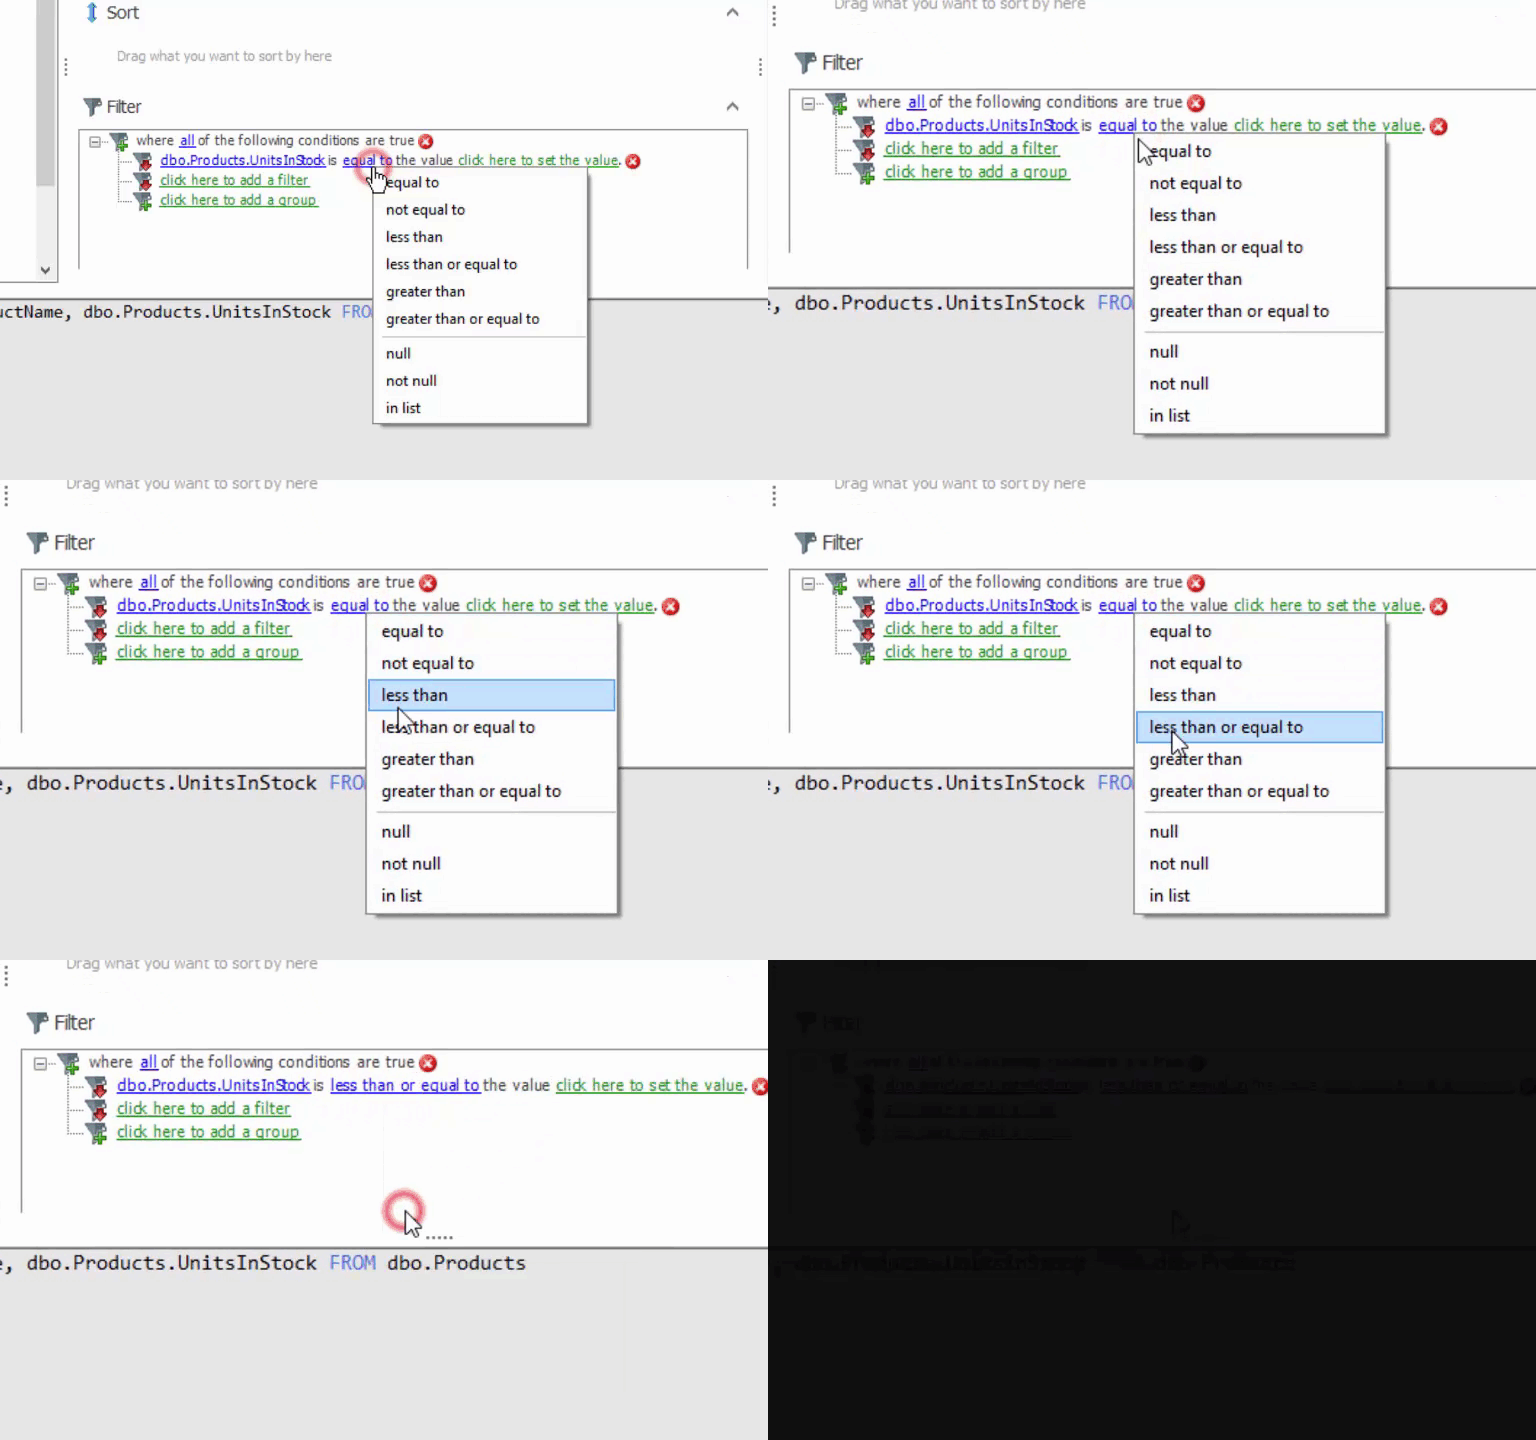
We are checking if the Units in Stock is less than or equal to the Reorder Level, so we need to change the condition by clicking the current one, and selecting a new one.
7. Set the filter's right side
Finally, set the right hand side of the filter by clicking toset the value. As happened in Part 3, you can type a value here, or, you can click the drop-down menu and all of your document’s parameters will be shown. Select the ReorderLevel one. Close the SQL Wizard when you are done.
8. Select data for out tags
This step should be habitual to you at this point. Simply use the data tree to select a column for each out tag in the document.
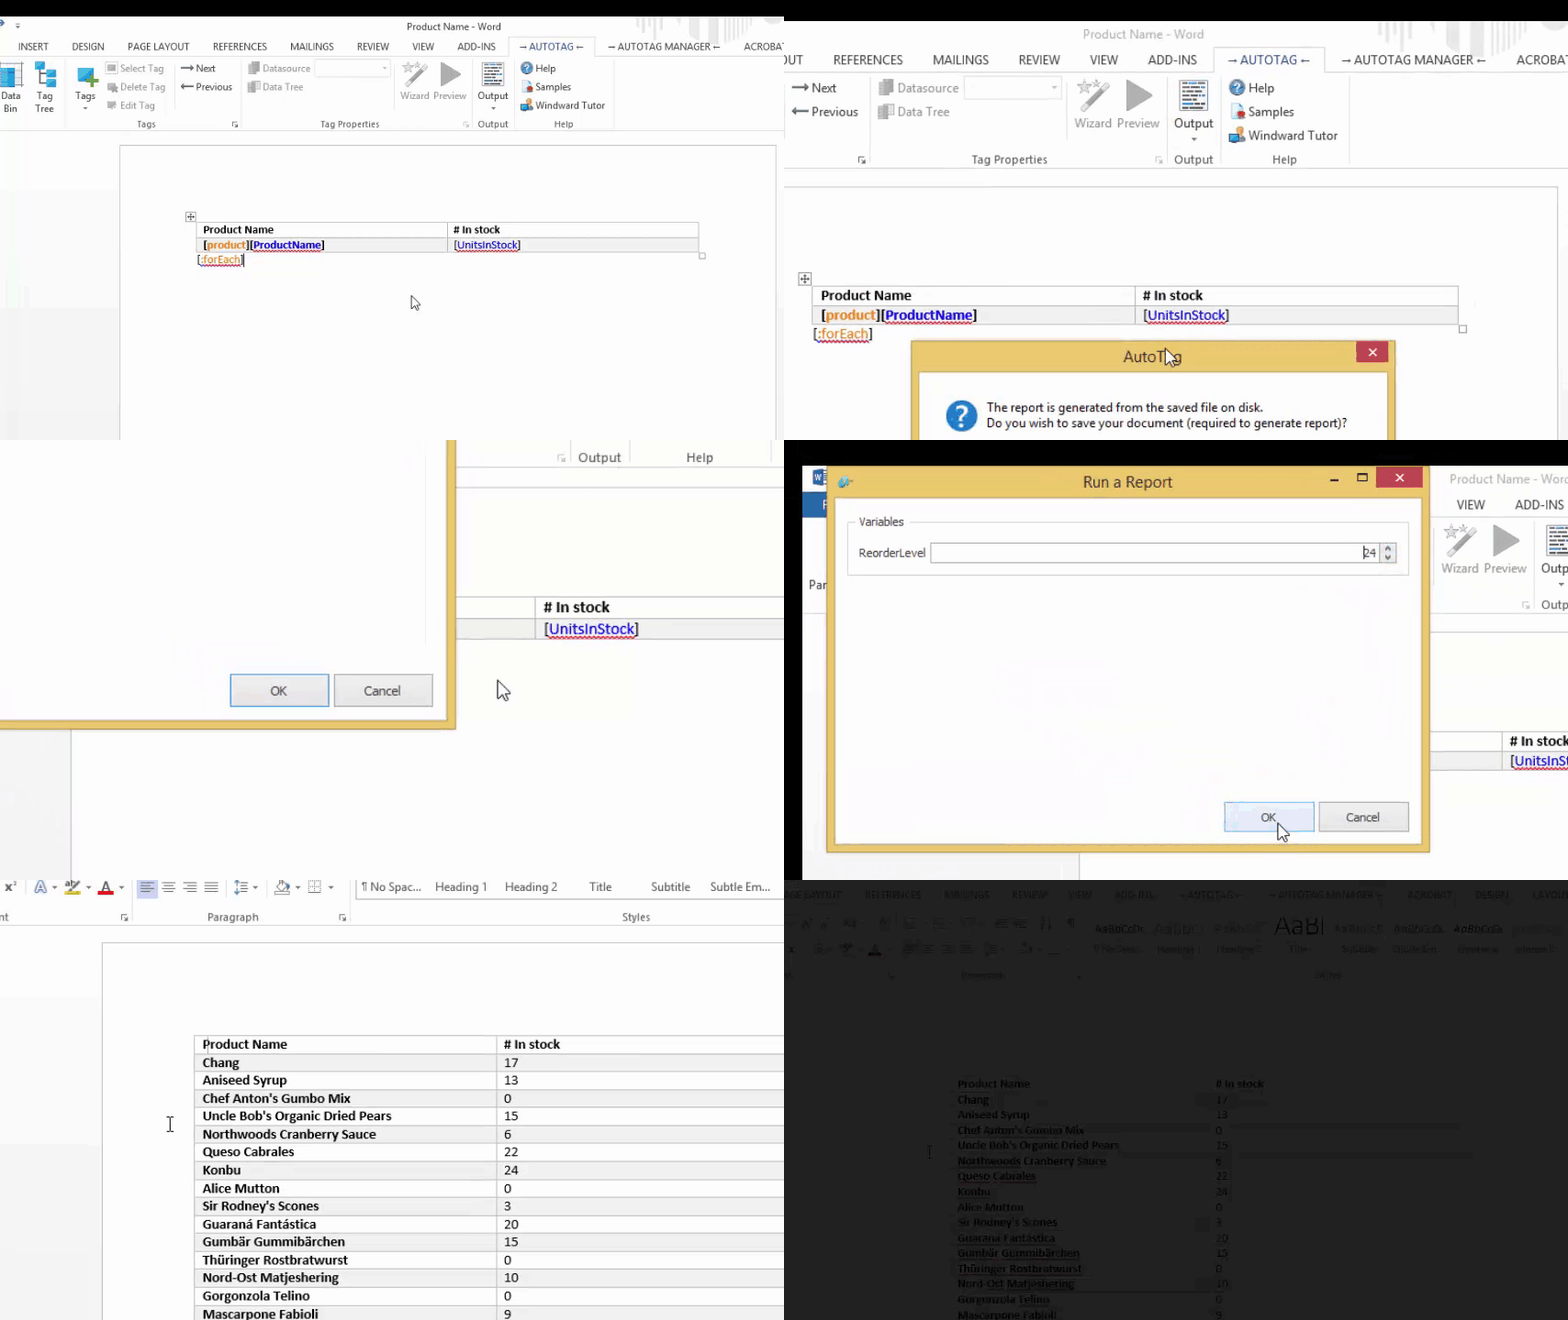
9. Set the parameter and generate the document
Finally, we are going to generate the document just like we always do. Except this time, AutoTag will prompt you to fill in all of the parameters before the report runs.


