Objective
To sort data and gain more experience in the XPath Wizard.
Background Information
Assuming you’ve completed the previous tutorial and have a list of orders showing the shipper, and shipping costs, you are probably wondering what you can do with this list next. Let’s go ahead and sort the shipments by cost so we can get a better idea of the range of shipping costs.
Pre-requisites
Inserting a Tag, ForEach Tag, XPath - Part 1: Basic SelectionStarting Template
This tutorial is a continuation of the XPath - Part 1: Basic Selection tutorial. We will start off with the template as it is at the end of that tutorial, so if you haven’t already, you should check that tutorial out (it won’t take very long)! 

Procedure
1. Open the XPath Wizard
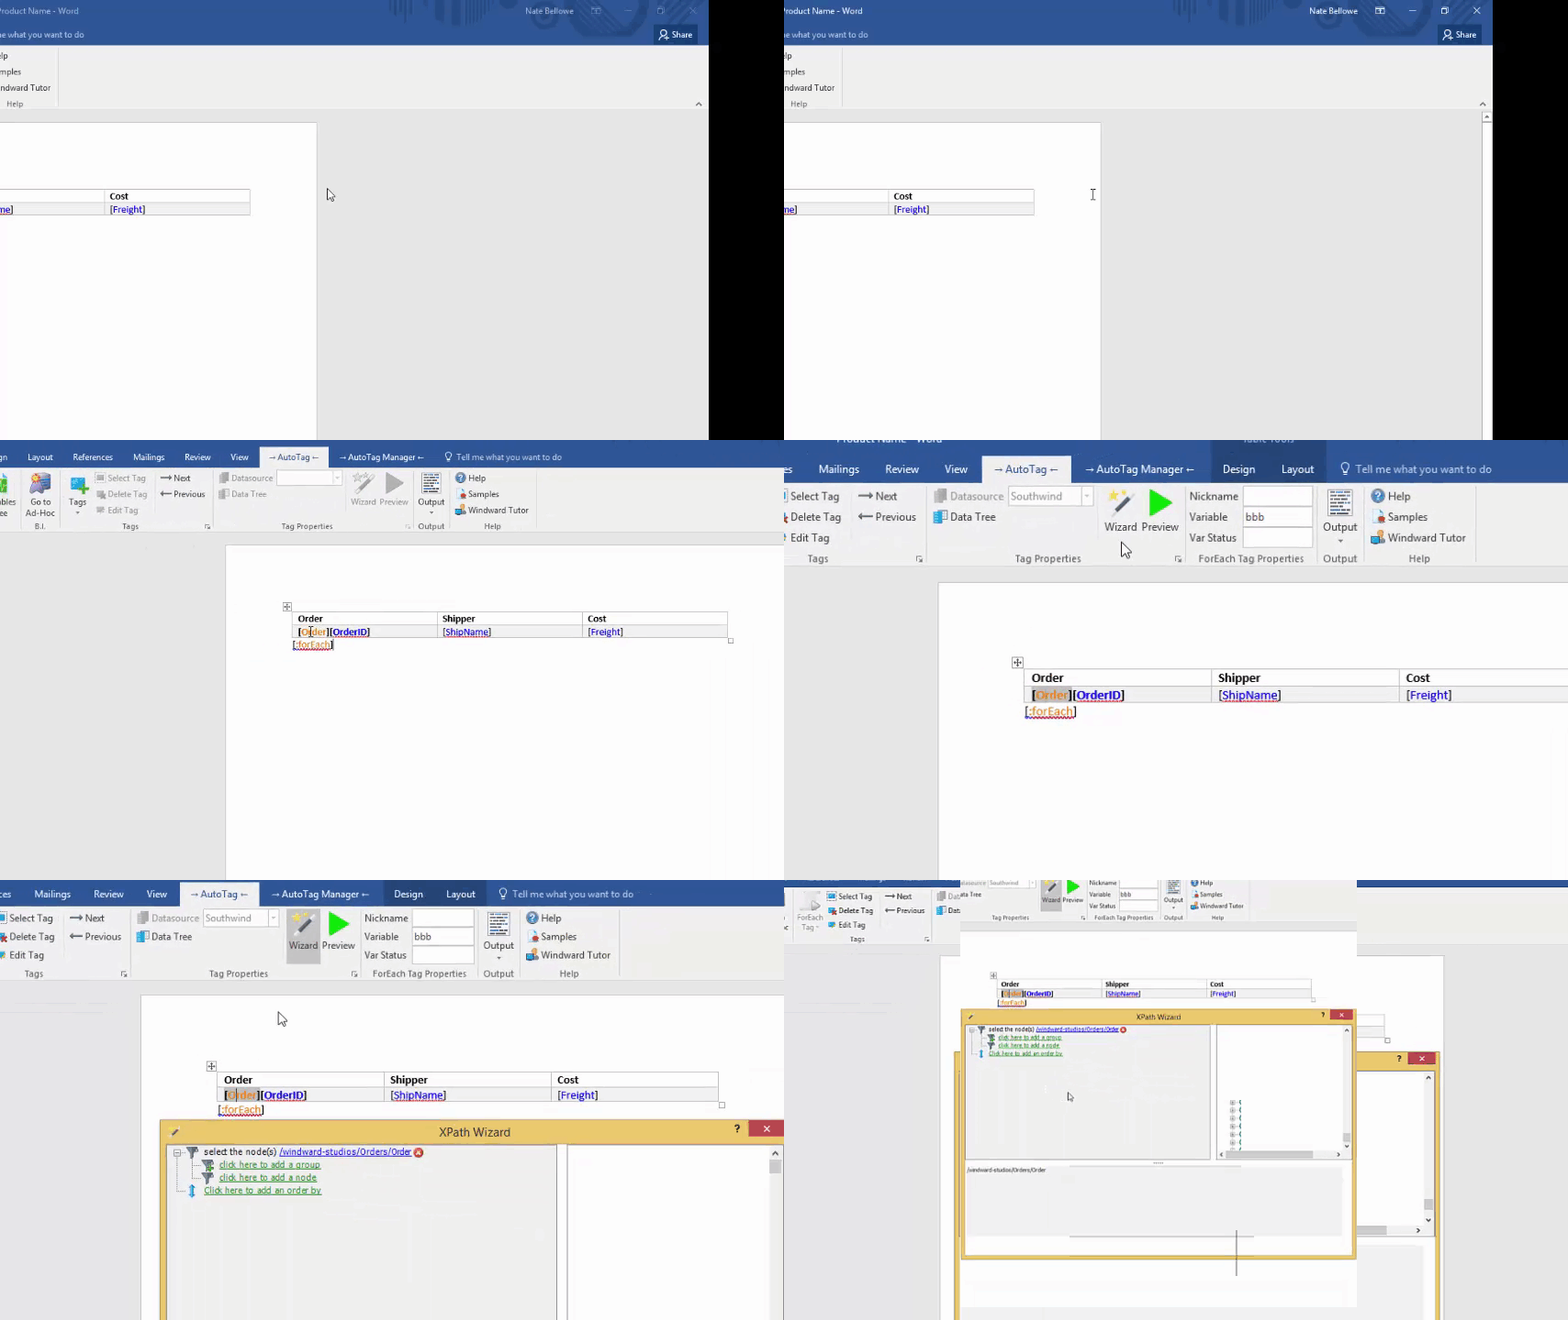
This is exactly the same as in the previous tutorial. Select the ForEach tag [forEach Order: and click the Wizard button in the AutoTag ribbon.
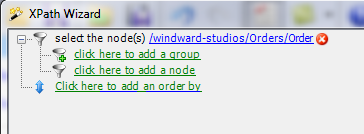
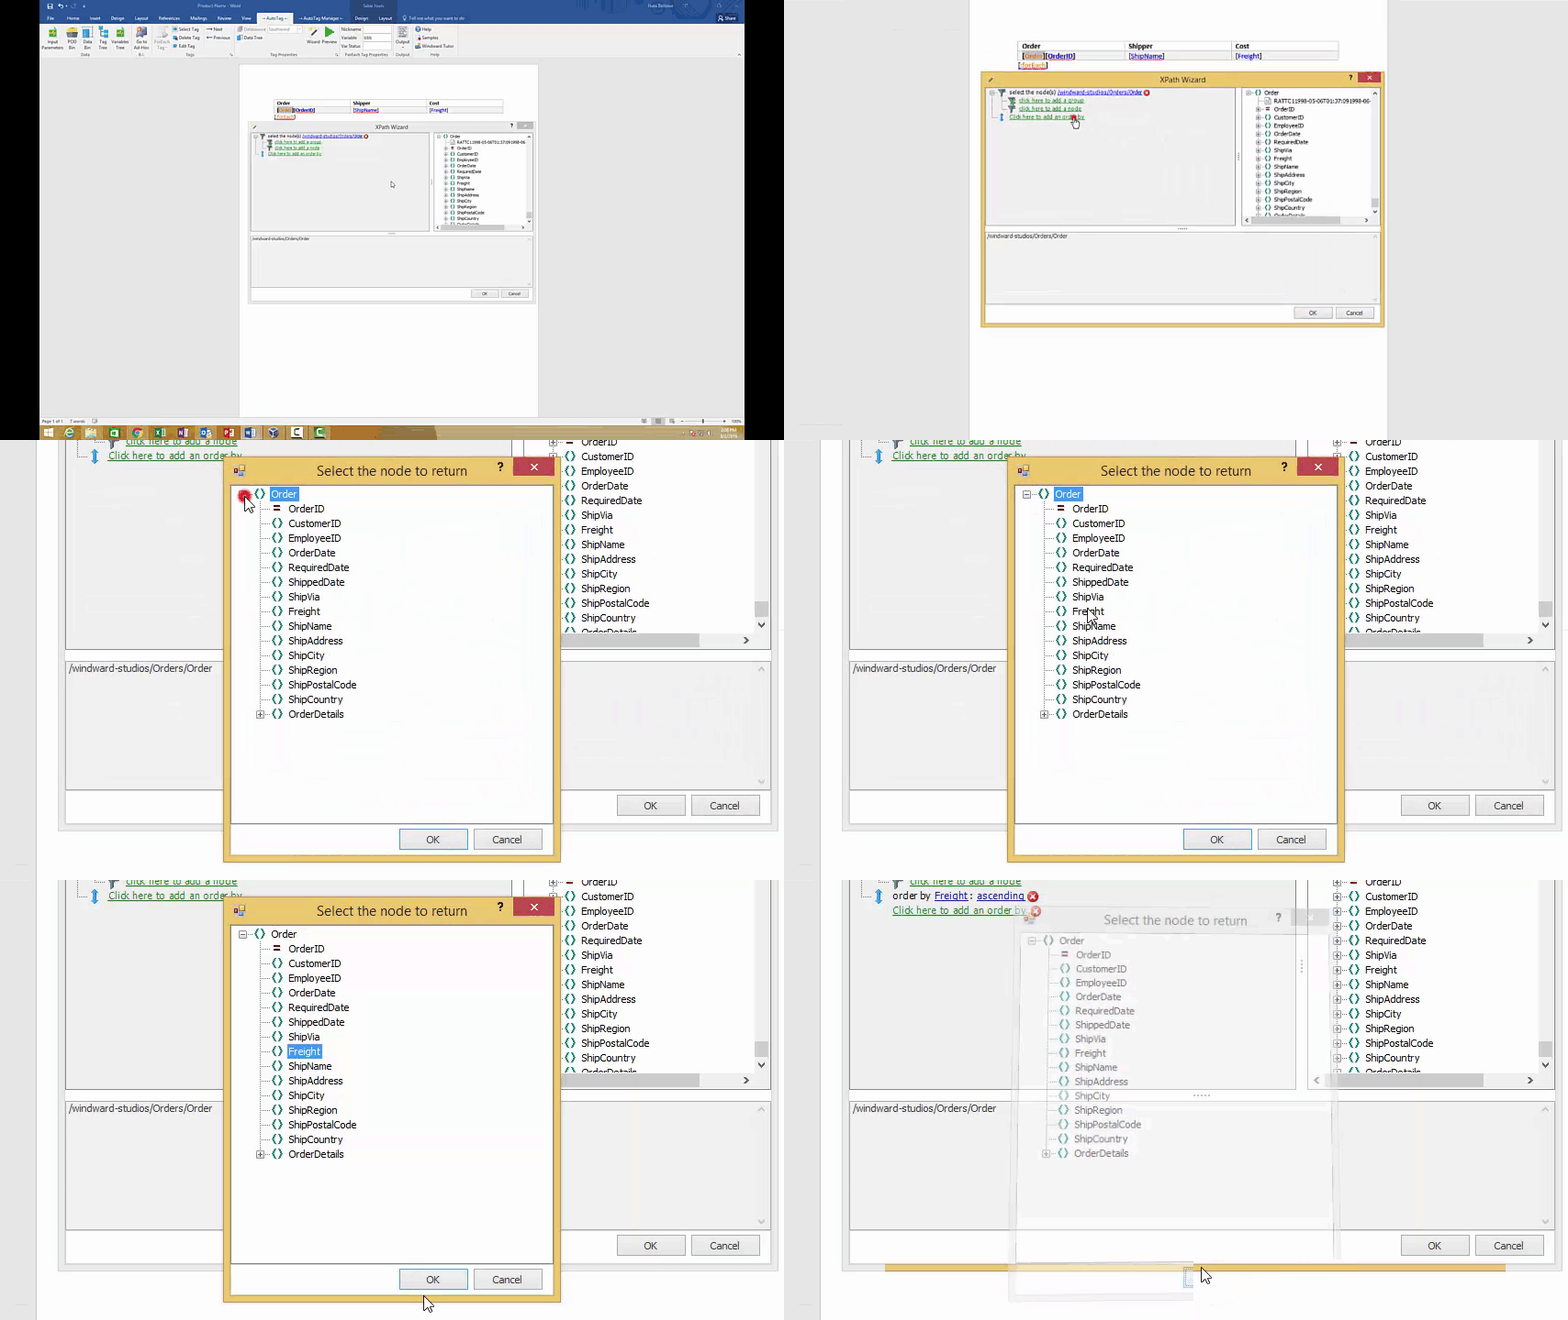
2. Add an OrderBy for Freight
Now, we decided to sort by the shipping cost, so that we can get a good view of the range of results. To do this, simply click to add an order by, which will cause a window to show up, similar to the window you saw in the previous tutorial. Select a child node. We chose Order/Freight. You’ll notice when you are done that the add an order by link is still there. You may add a second order by criteria for cases where multiple rows have the same value in a column. A good example is in a directory, where you would like to first sort people by last name, and then by first name.
3. Generate and view results
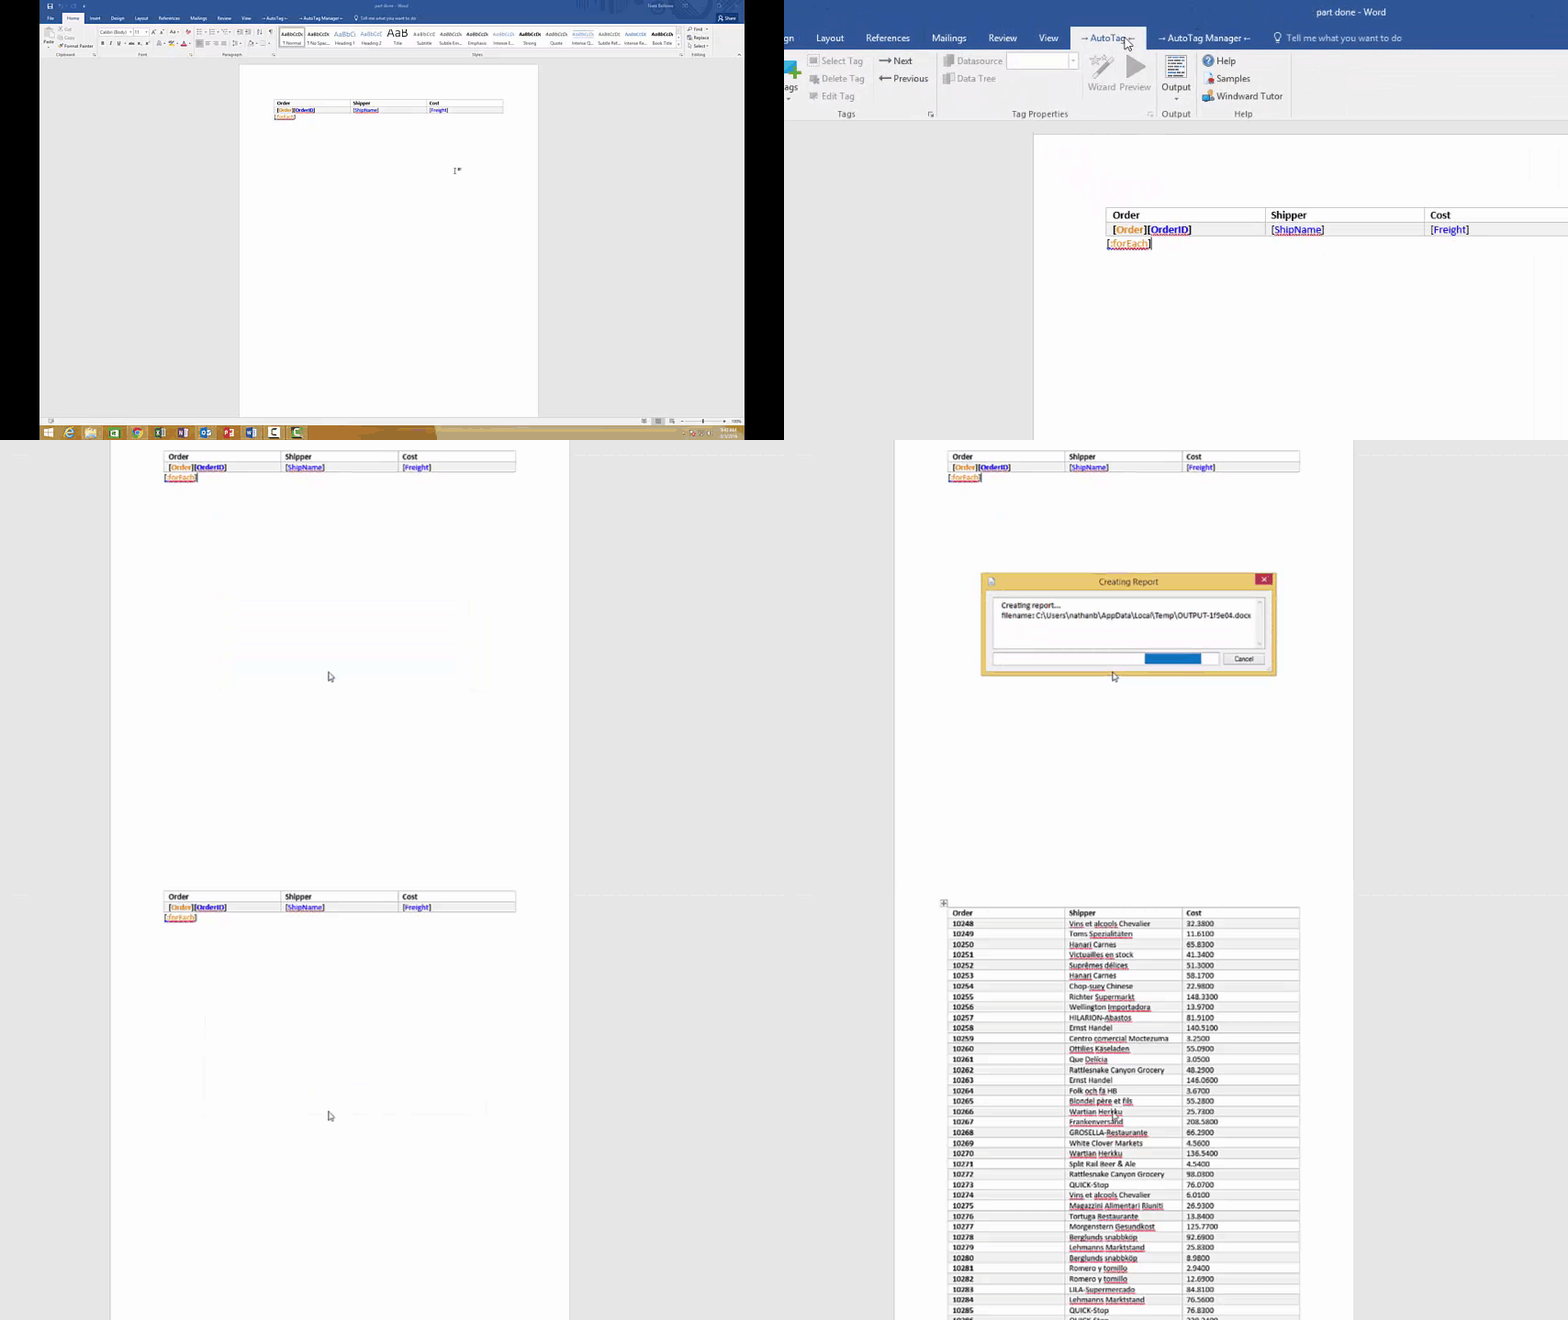
Finally, generate a document and see what you have created. If you don’t know how to do this, check out the tutorials in the AutoTag Basics category.


