Objective
To filter data based on a single criteria which is set at the time of the document generation in a document which filters out a list of products shipped by a specific shipper.
Background Information
You have learned how to select data in XPath, and you probably know how to sort it from the second tutorial in the set. If you previously looked at XPath - Part 3: Filtering with Static Values , then you also know how to set up a basic filter using a static value. If you didn’t, everything you need to learn will be in this tutorial. Here, we take the case where you have some document (for example, our list of products and shipping costs) and some value you want to filter (which shipper delivered the product), but say you want to change the filter each time you generate the document? This can be done with a parameter filter. AutoTag will then prompt you for the new filter value before you generate your document!
Pre-requisites
Inserting a Tag, ForEach Tag, XPath - Part 1: Basic Selection, XPath - Part 2: Sorting with OrderbyStarting Template
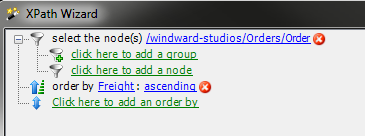
This tutorial is a continuation of the XPath - Part 2: Sorting with OrderBy tutorial. If you haven’t completed that tutorial yet, you should go back and do it first. Start here with the resulting template from the end of Part 2. You may also start from the template from Part 3, in which case you only need to do step 5. 
Procedure
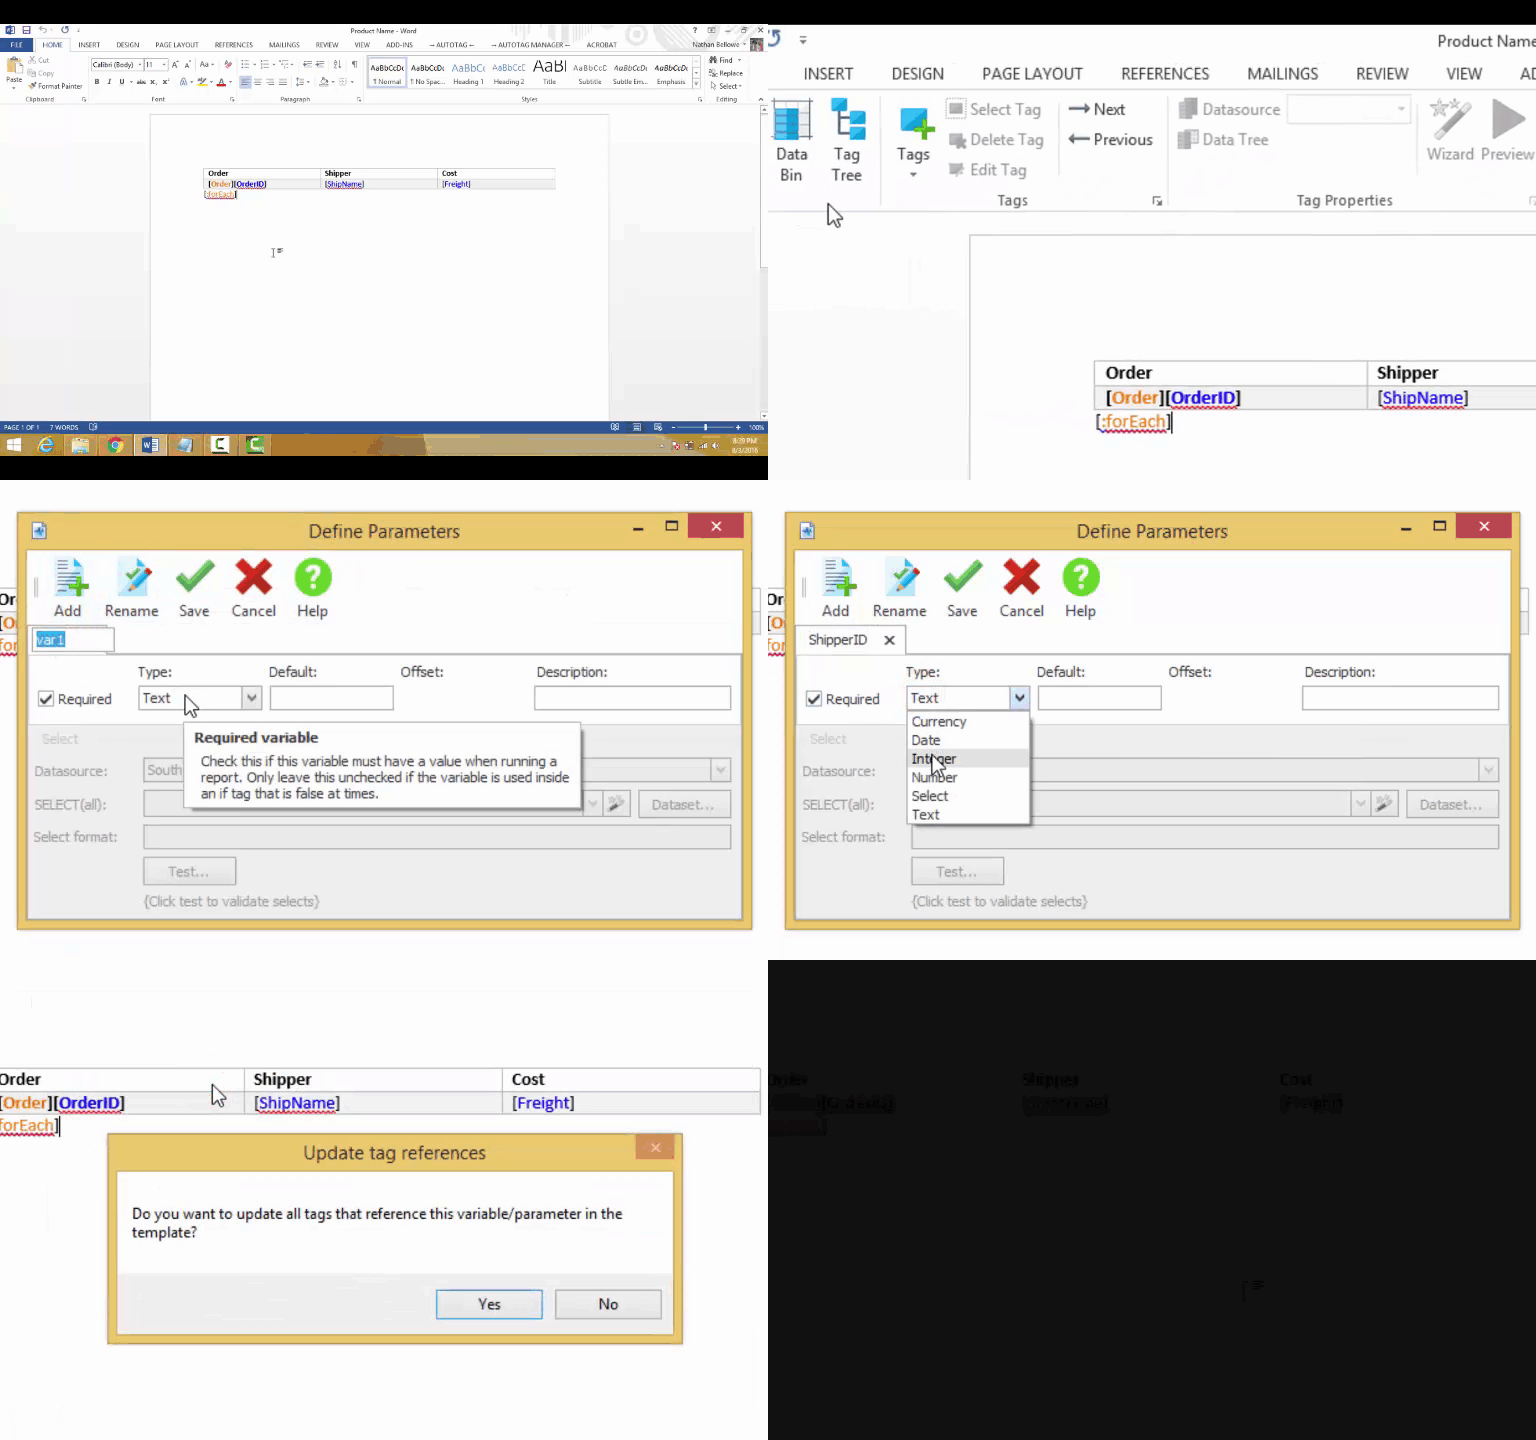
1. Add a parameter called ShipperID of type Integer with default value 1
Variables in AutoTag allow you to substitute placeholders for values in your data selection, conditional tags, and many other places. Here, they let us substitute a placeholder in a data filter which we fill in with a value when we generate the document. In order to add a parameter, click the Parameters button in the AutoTag Manager ribbon, click Add, then type a name. We used ShipperID. Select its type as Integer, and set a default value—we used 1. Finally, click Save to save the parameter.
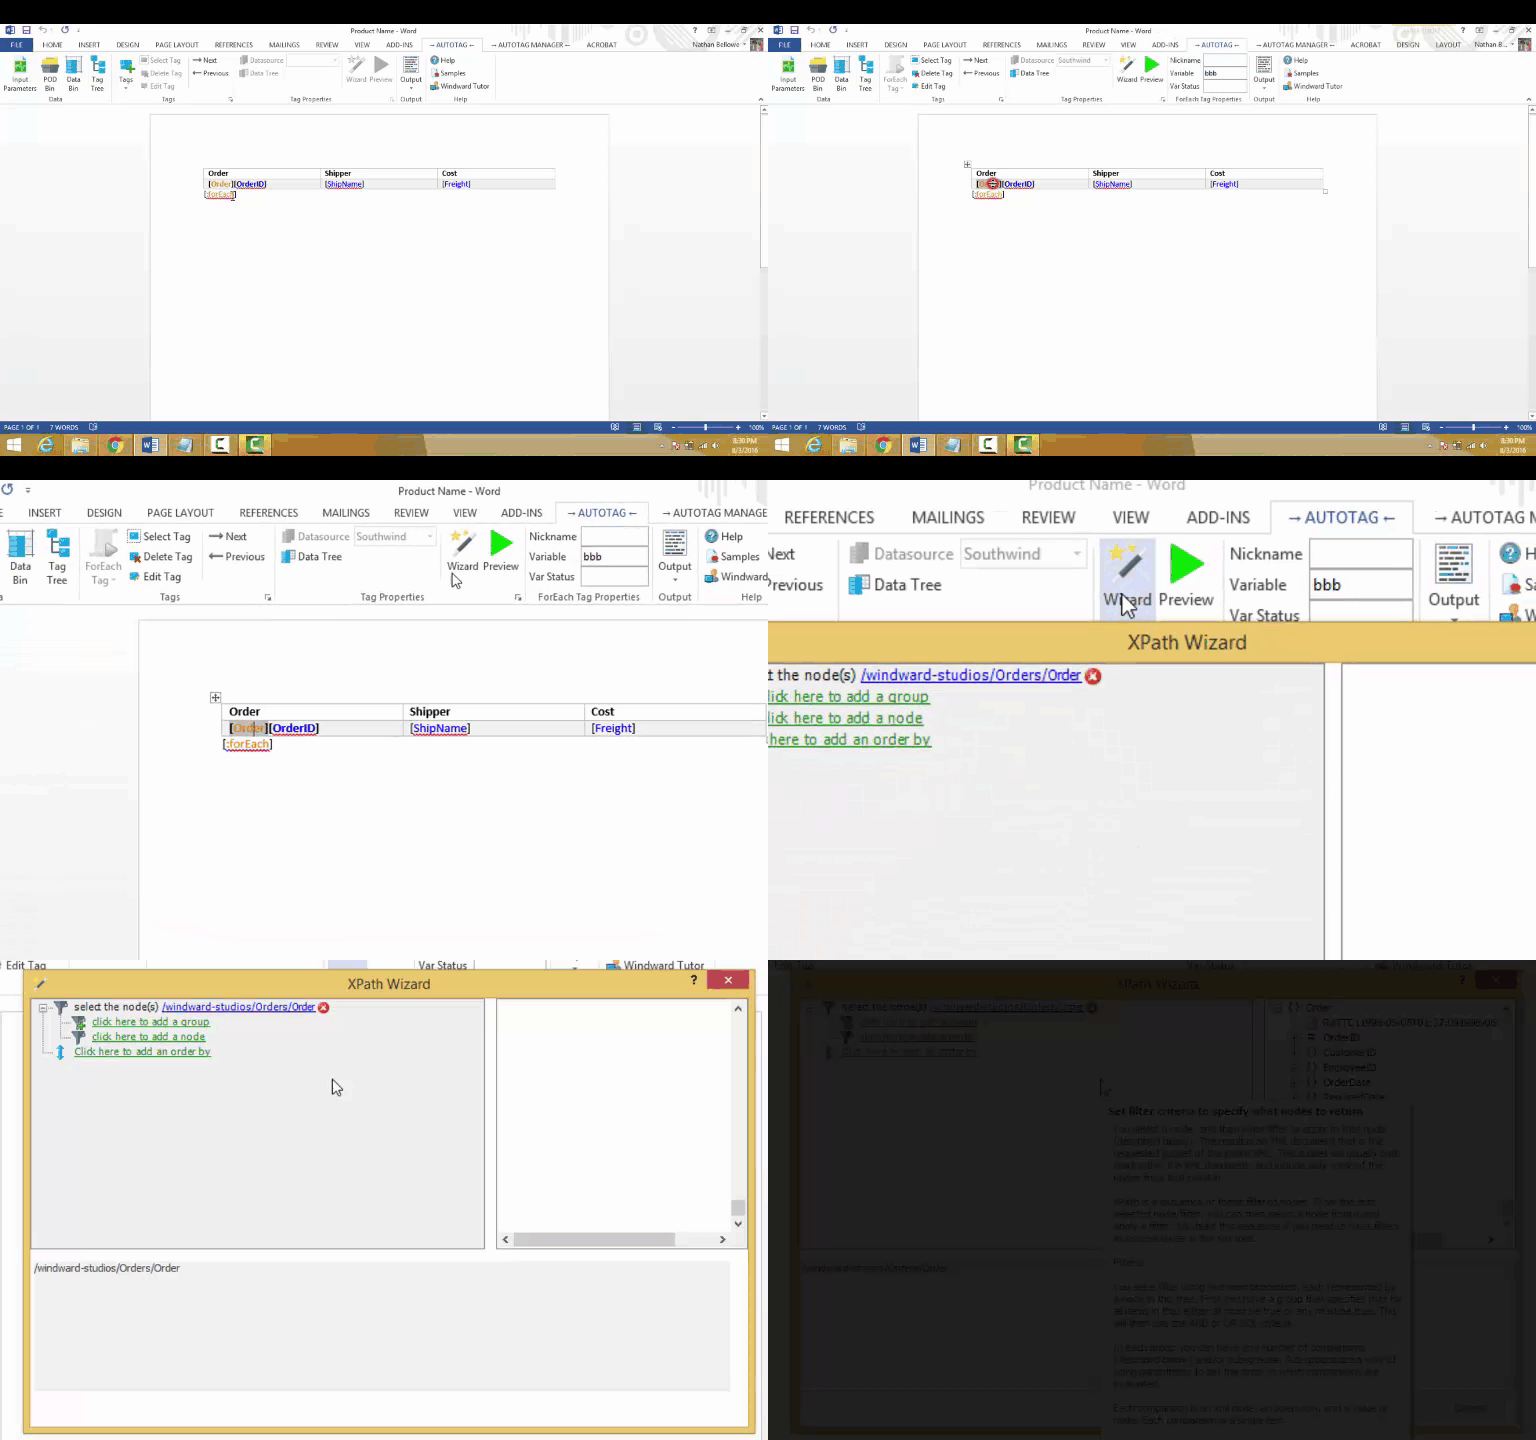
2. Open the XPath Wizard
As in the earlier sections of the XPath tutorials, select the ForEach tag and click Wizard in the AutoTag ribbon to open the XPath Wizard.
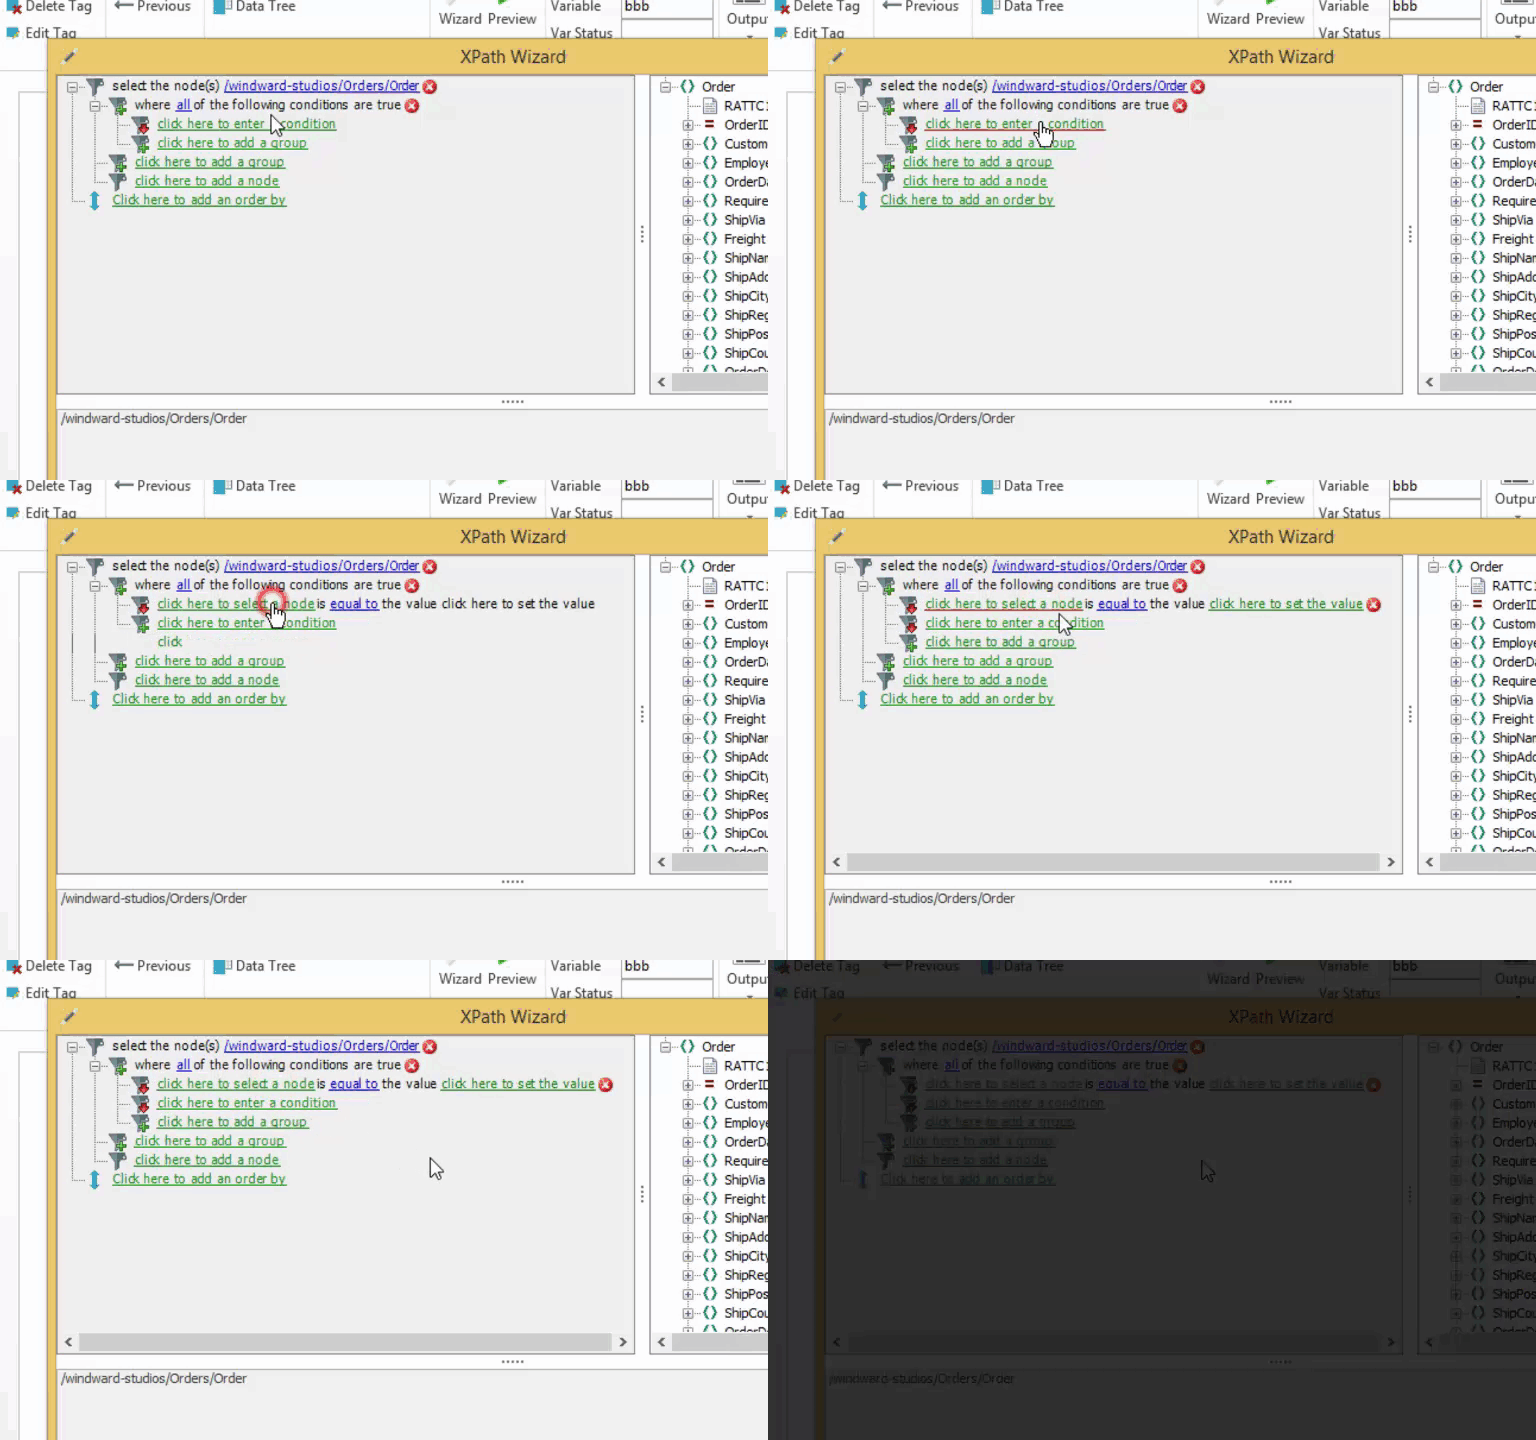
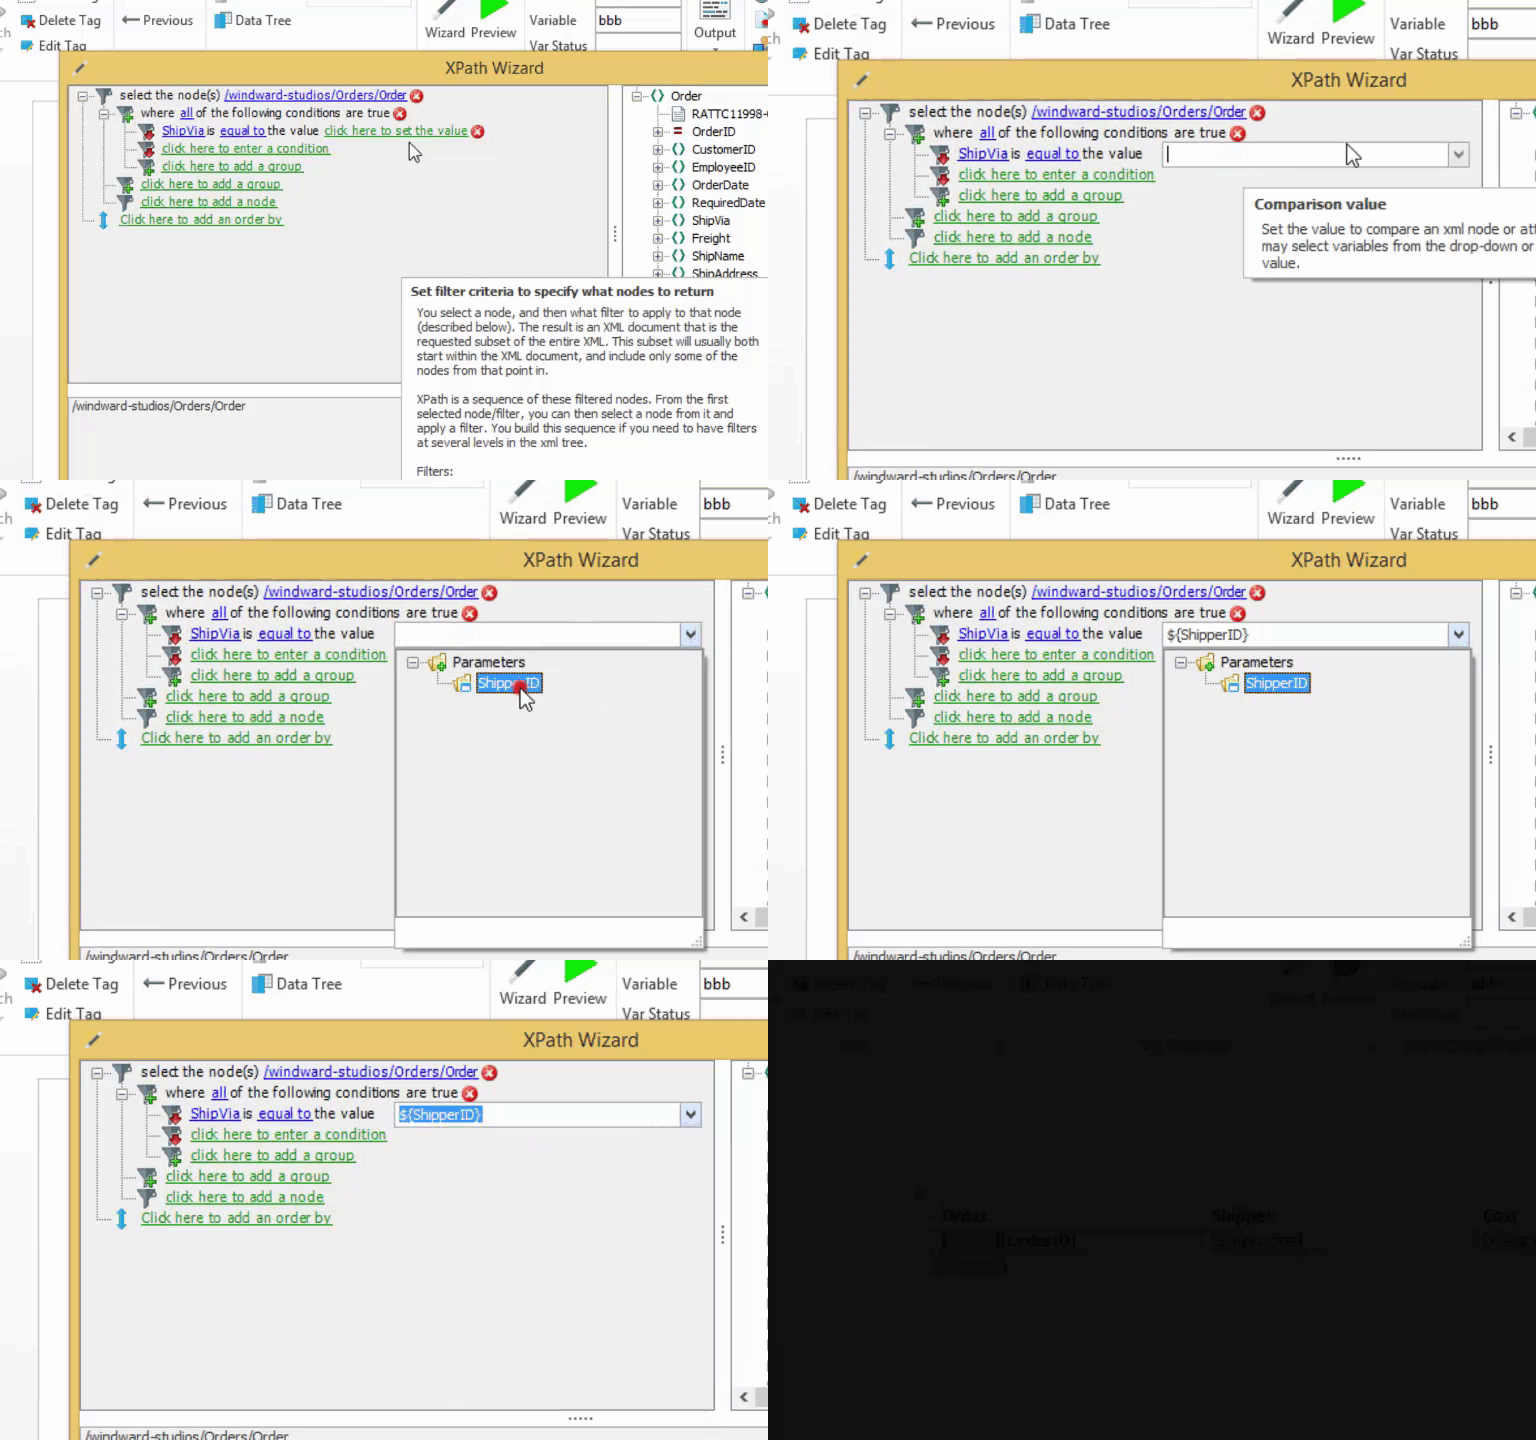
3. Add a group, add a condition
This step is the same as in Part 3 as mentioned in the Background Information section. You will click to add a group, then click to add a condition.
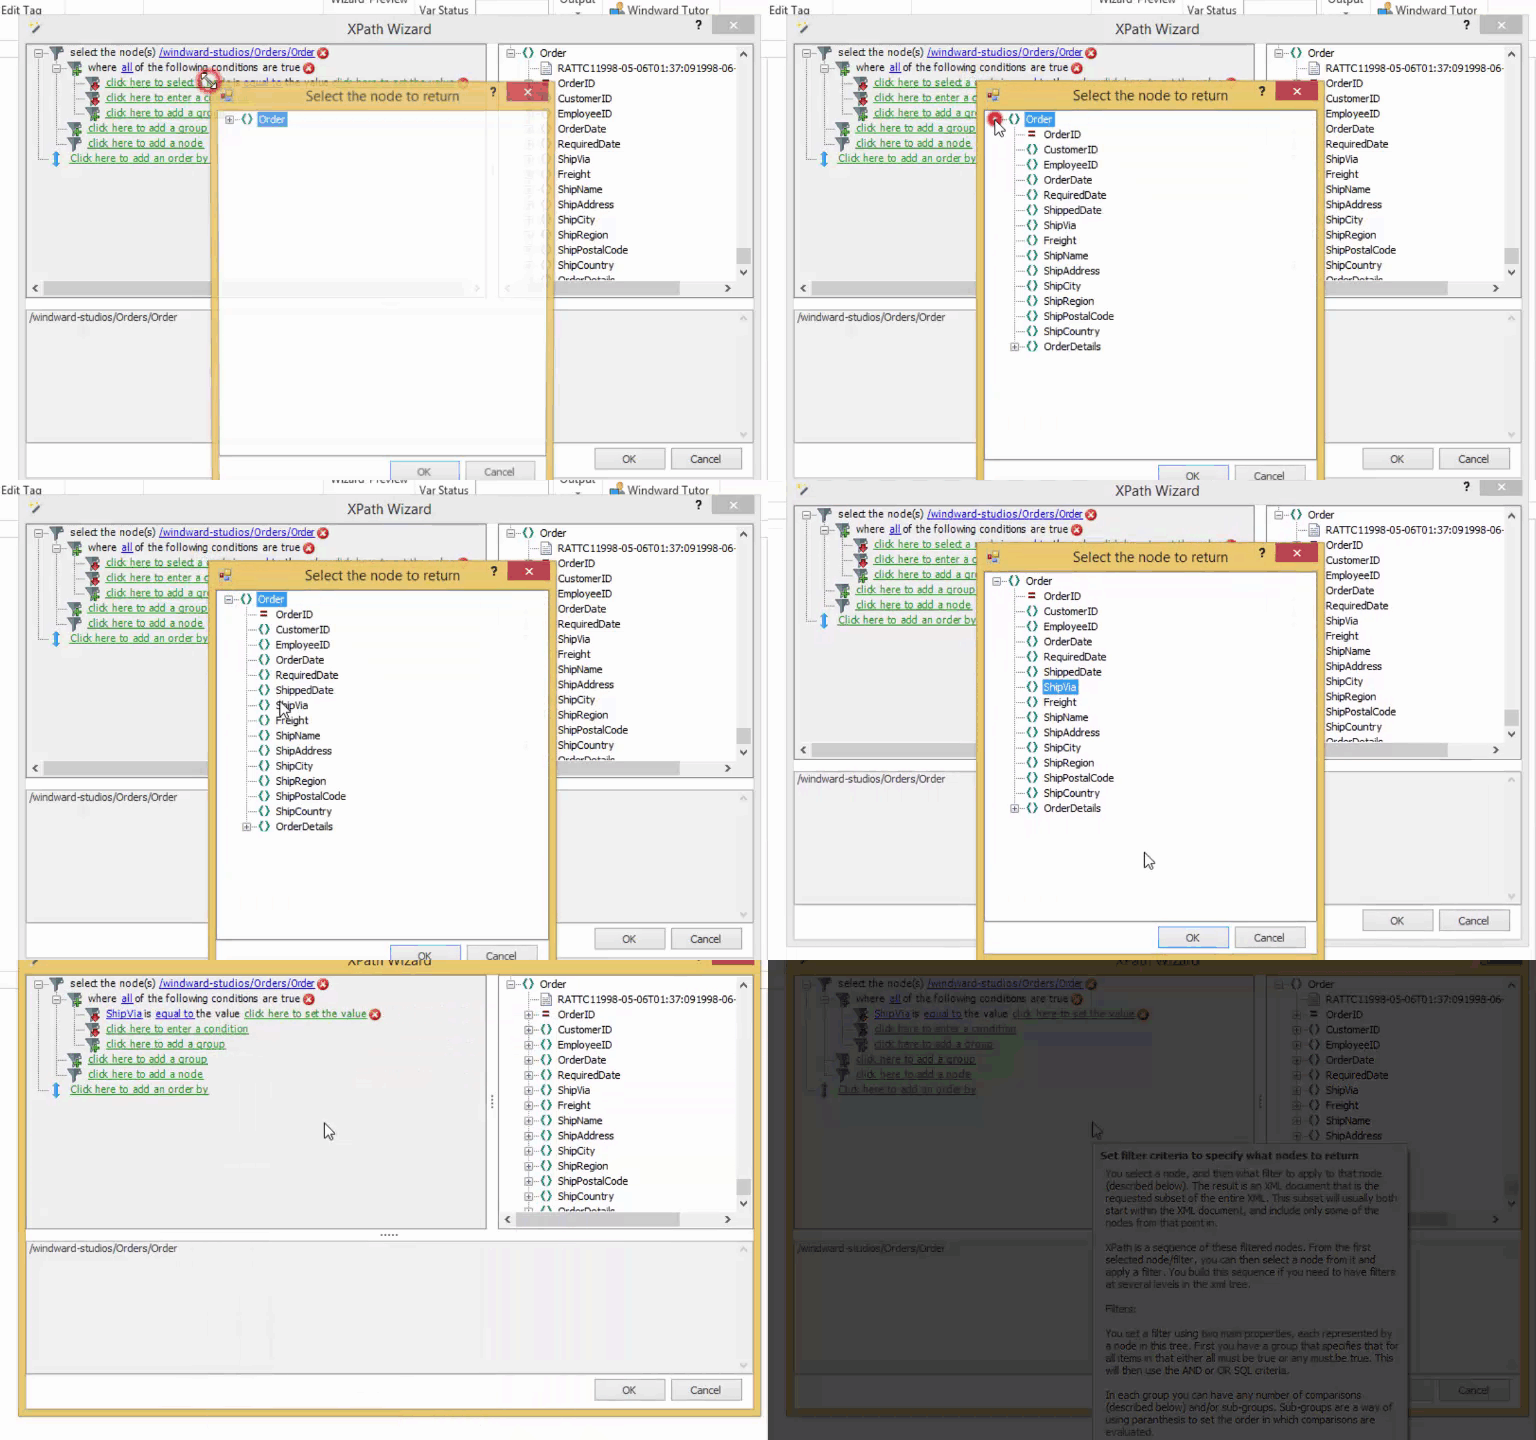
4. Set the node to ShipVia
Again, this is the same as what you did in Part 3. Click to select a node, and choose the ShipVia node. This is the left side of your filter. This is the value you will be looking at in your filter.
5. Set the value to $(ShipperID) parameter
This is where this tutorial varies from Part 3. Instead of choosing a static value as we did there, we’re going to use the parameter we just created as a placeholder for the static value we used earlier. So click to set the value and then in the drop down menu, choose the ShipperID parameter.
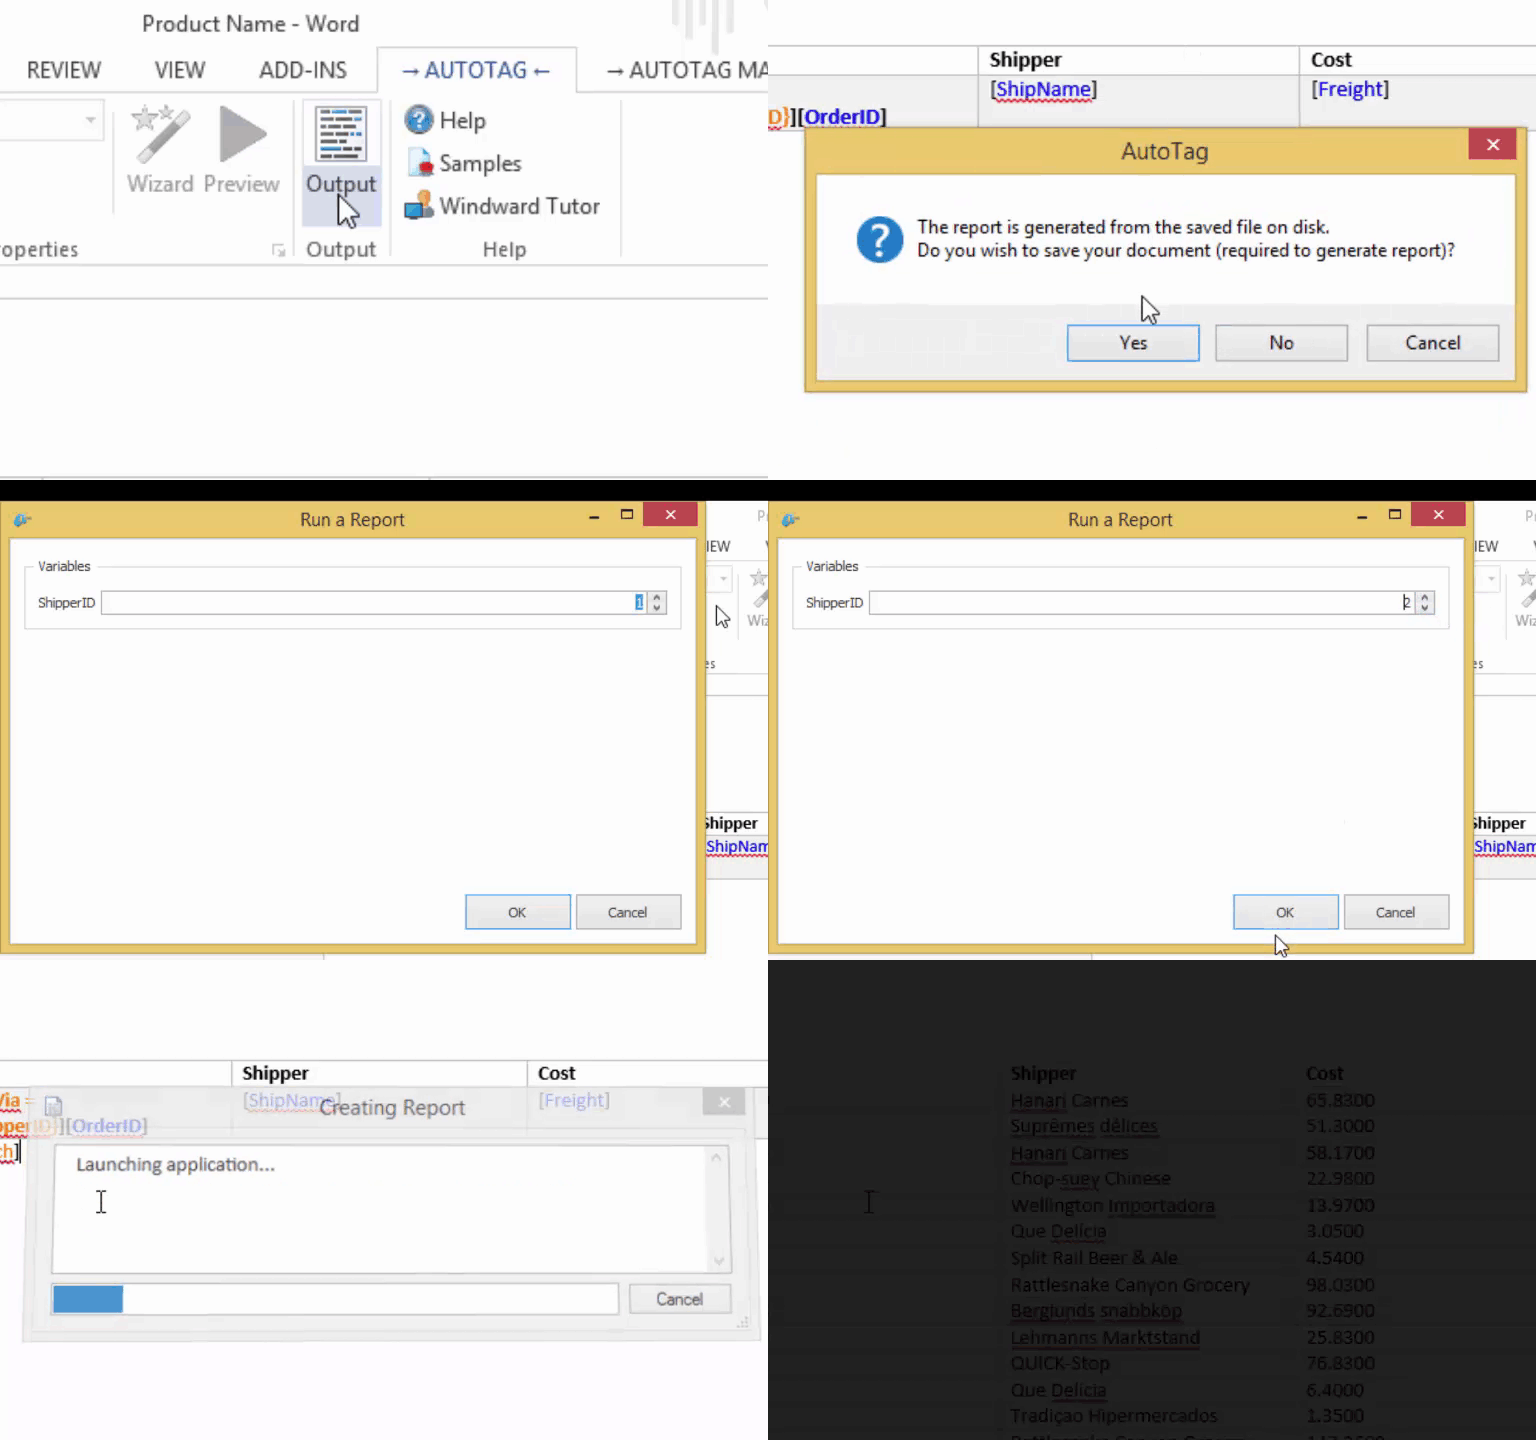
6. Set the parameter and generate document
This is the same step we always do to view the results after finish a tutorial, however this time there is an added action to be completed here! When you click output and select a format, you’ll notice a Parameters window opens prompting you to enter a value for the parameter you created. Enter the value and you are done. Check out the results to see what we have made.
